Introduction
In this guide, we'll show you how to efficiently organize the new workflows you've created in StudioHub. This organization step will help you keep your automations neat and accessible.
Steps
Step 1: Access StudioHub and Navigate to Automation
- Launch StudioHub and go to the "Automation" section.

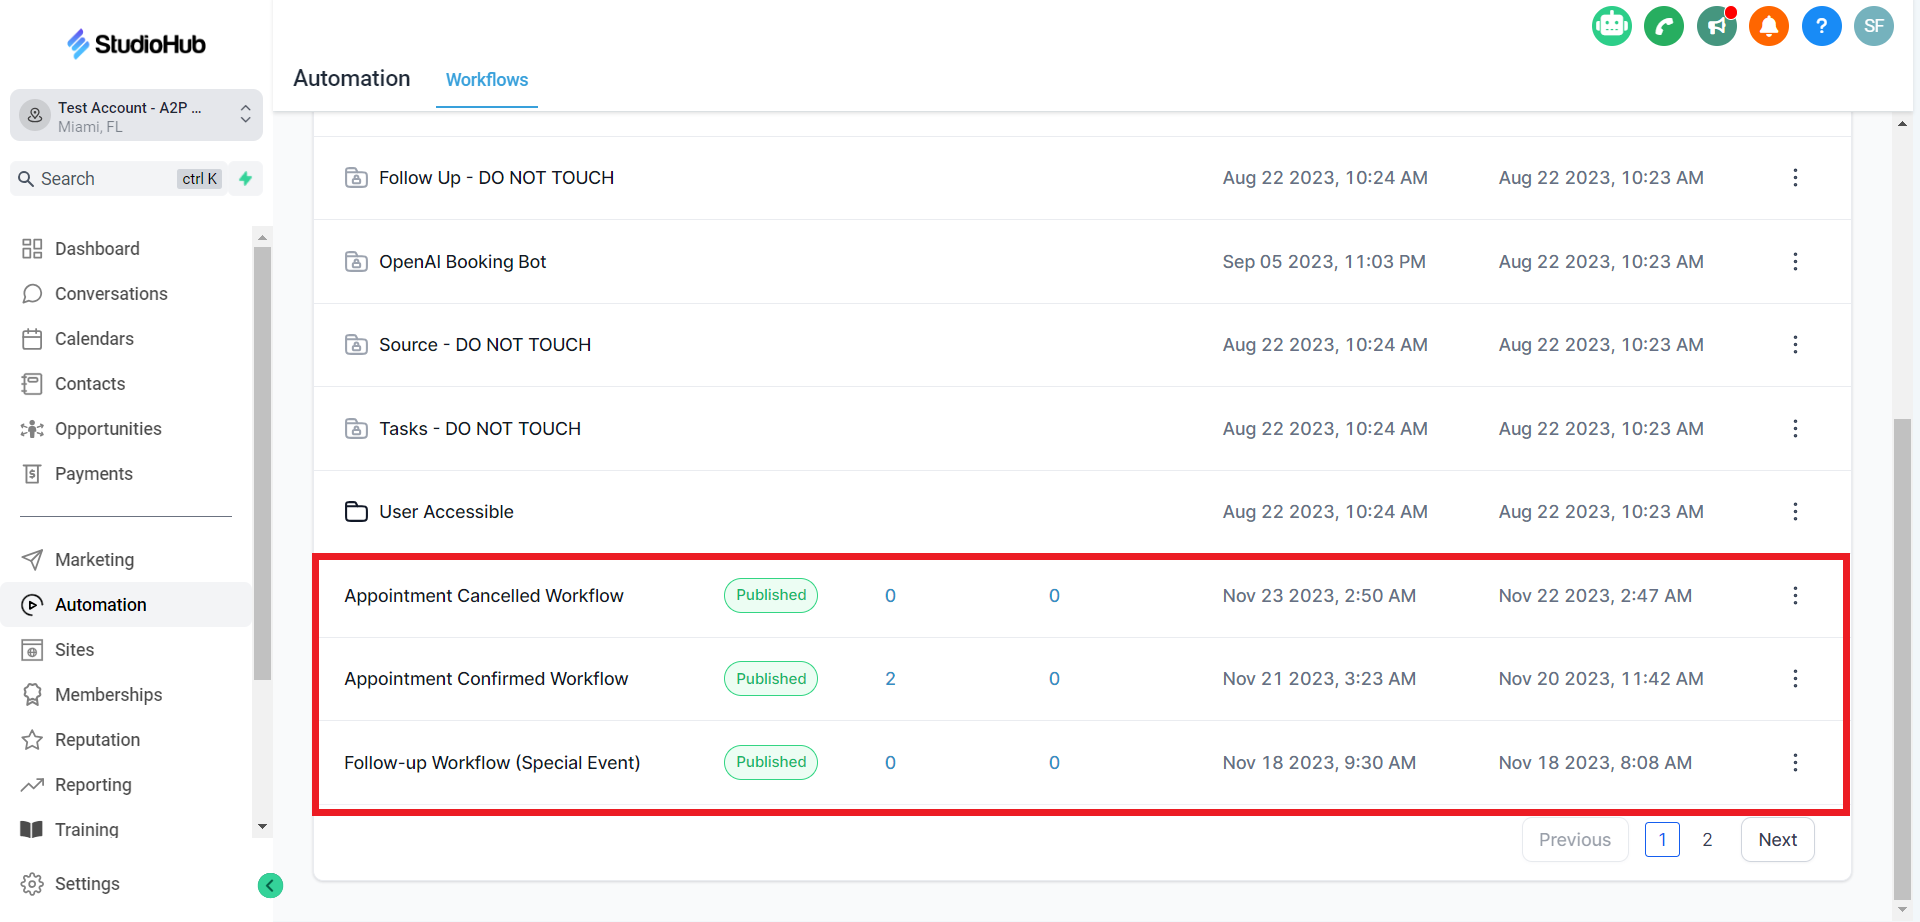
- Locate your recently created workflows.
Step 2: Create a New Folder
- To keep your new workflows organized, create a new folder. Click on the "Create folder" option at the top

Step 3: Name the Folder
- Give your folder a descriptive name. For instance, if you've set up a new calendar or location called "Side Street Location", name the folder "Appointments in Side Street Location". Once done click "Create".

Step 4: Move Automation to the Folder
- Now, locate the automation that you would like to move to the folder. Click the 3 dots beside your workflow automation

- Select the "Move to Folder" option

- A pop-up will appear, Click on the "Select Folder" field and choose the folder you've just created, in this case, "Appointments in Side Street Location."

- Once you've selected the folder click "Move"

Conclusion
Organizing your automation in StudioHub is a simple yet effective way to keep your workspace clean and easily accessible. Now, you can efficiently manage your automation and easily locate the ones you need. This small but essential step can streamline your workflow and help you stay on top of your automation game.
Check out the next guide in this series on How to use calendars and Workflows