Introduction
In this guide, we'll walk you through the steps to create new calendars in StudioHub. This is essential if you're managing multiple locations and want to have dedicated calendars for each venue. Let's get started.
Steps
Step 1: Access Calendar Settings:
- Once you've logged into your StudioHub account, go to the menu on the left panel and scroll down till you see the "Settings" option.

Step 2: Navigate to Calendars:
- In the settings menu, look for the "Calendars" option.

Step 3: Duplicate the Main Calendar:
- In the "Calendars" section, you'll see the "Main Calendar". Click on the three dots to the right of the "Main Calendar" entry.

- From the dropdown menu, select "Duplicate Calendar".

- A confirmation pop-up will appear, click on the "Duplicate" option.

Step 4: Name the New Calendar:
- A new window will appear. In the "Name" field, provide a unique name for the new calendar.
- For example, if this calendar represents "Location A," you can name it "Location A Calendar."
- Consider adding a number or identifier to distinguish it clearly, especially if you have multiple locations. Example: "1 - Location A Calendar"
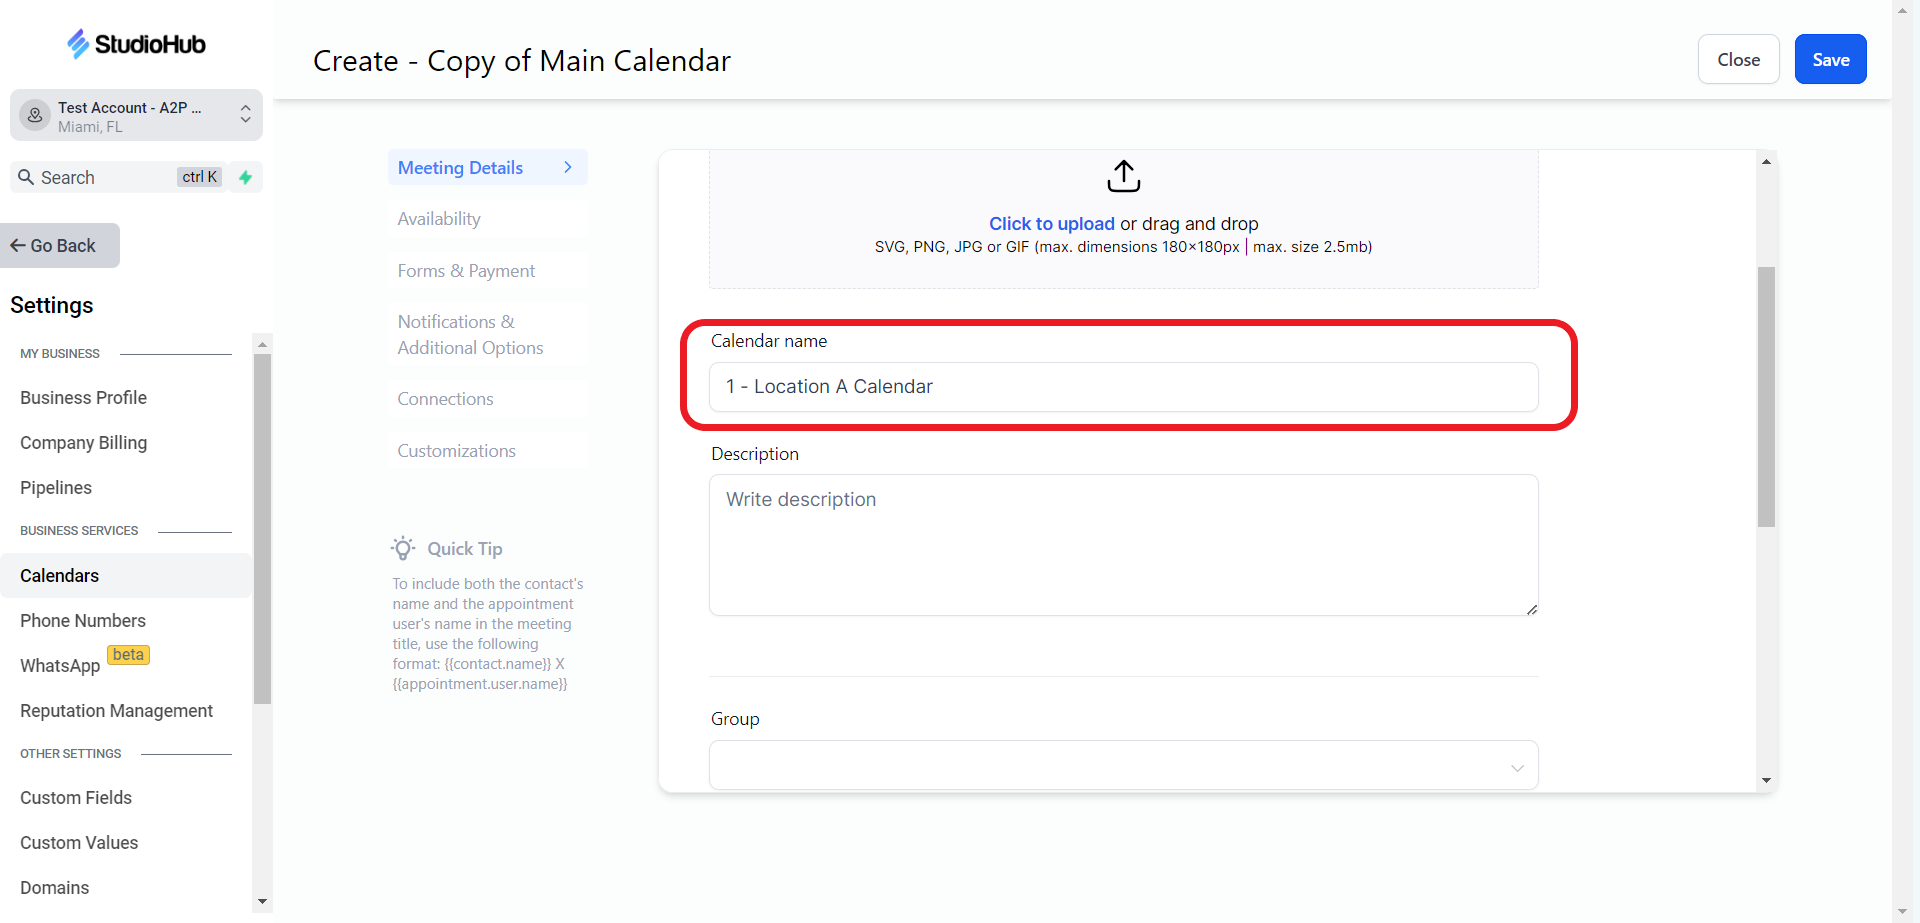
- You can also add a description to the calendar

- Scroll down, and add details to the remaining fields if needed

- Once done click on the blue "Save" icon on the top right corner of the screen.
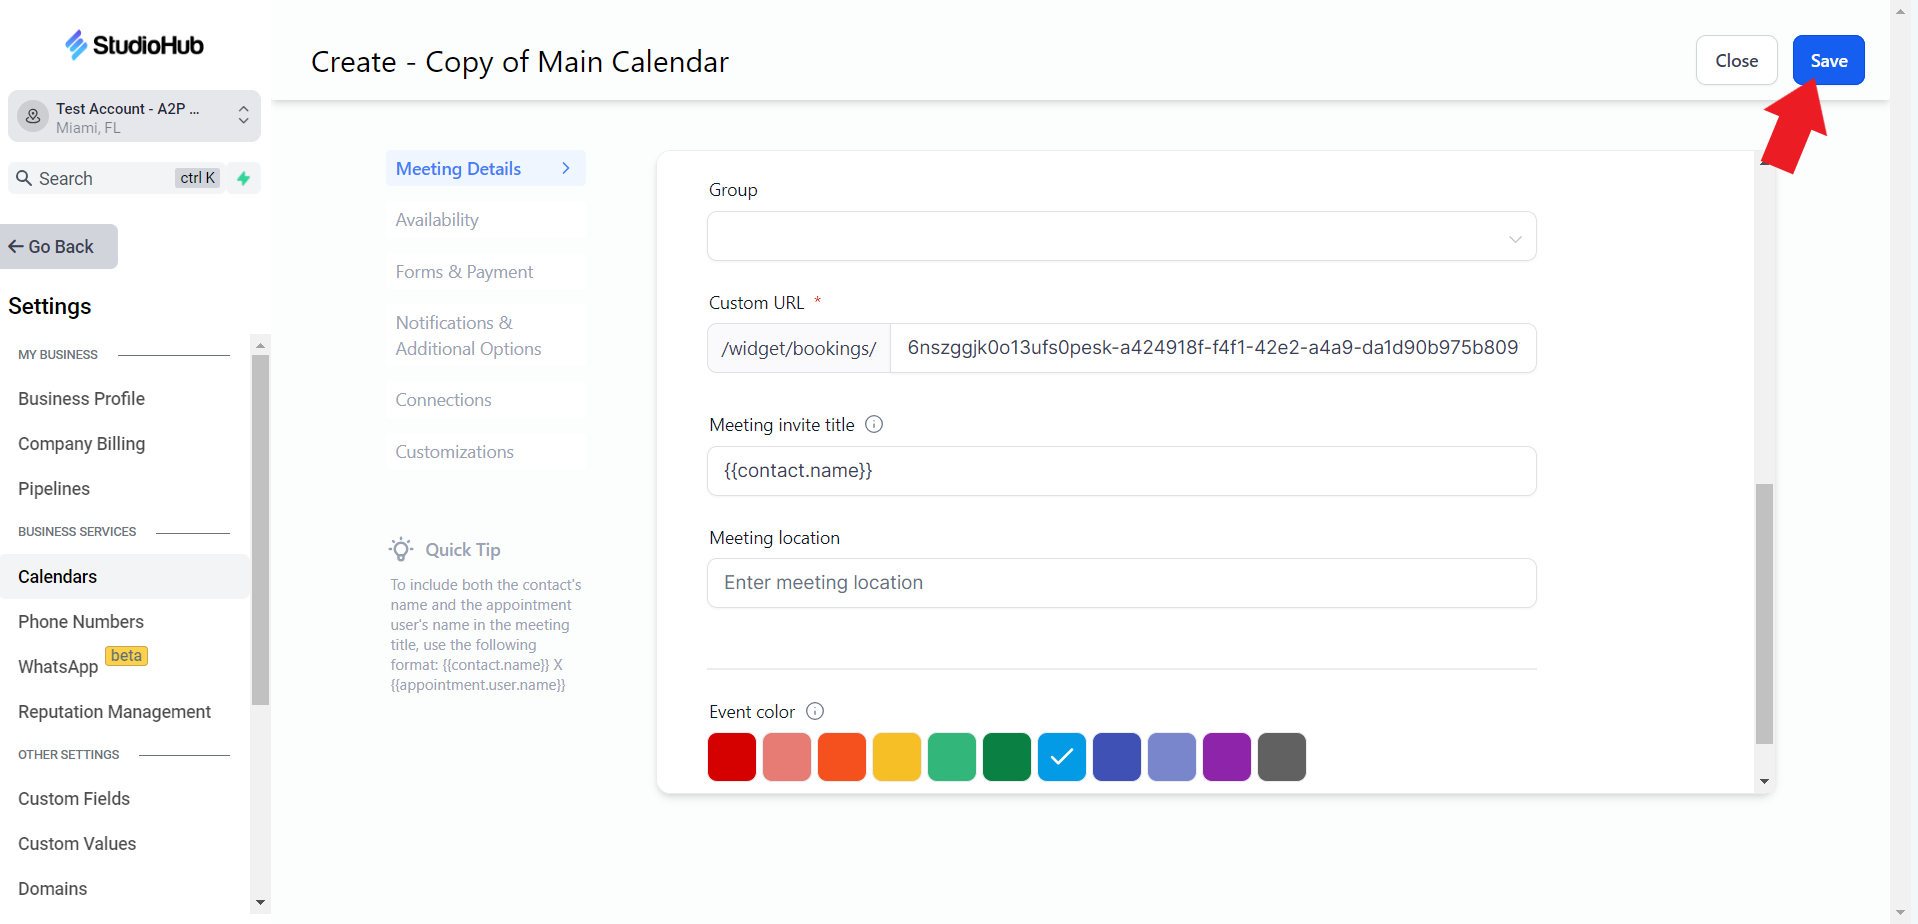
- After saving the calendar just click on the "Close" icon beside the "Save" icon.

Conclusion
In this guide, we've seen how to create new calendars in StudioHub. By following these steps, you can set up dedicated calendars for each location you manage, making it easier to organize appointments and provide accurate location details.
Check out this next guide on How to create the Appointment Confirmed Workflow.