Introduction
Automating your appointment confirmation process can streamline your business operations and enhance customer satisfaction. StudioHub offers robust tools for creating custom workflows, and in this guide, we'll walk you through the steps to set up an appointment confirmation workflow within StudioHub. This automation will ensure that anyone booking an appointment in your calendar receives timely and relevant notifications. By the end of this guide, you'll have a well-structured workflow that sends confirmation messages and reminders for appointments.
Steps
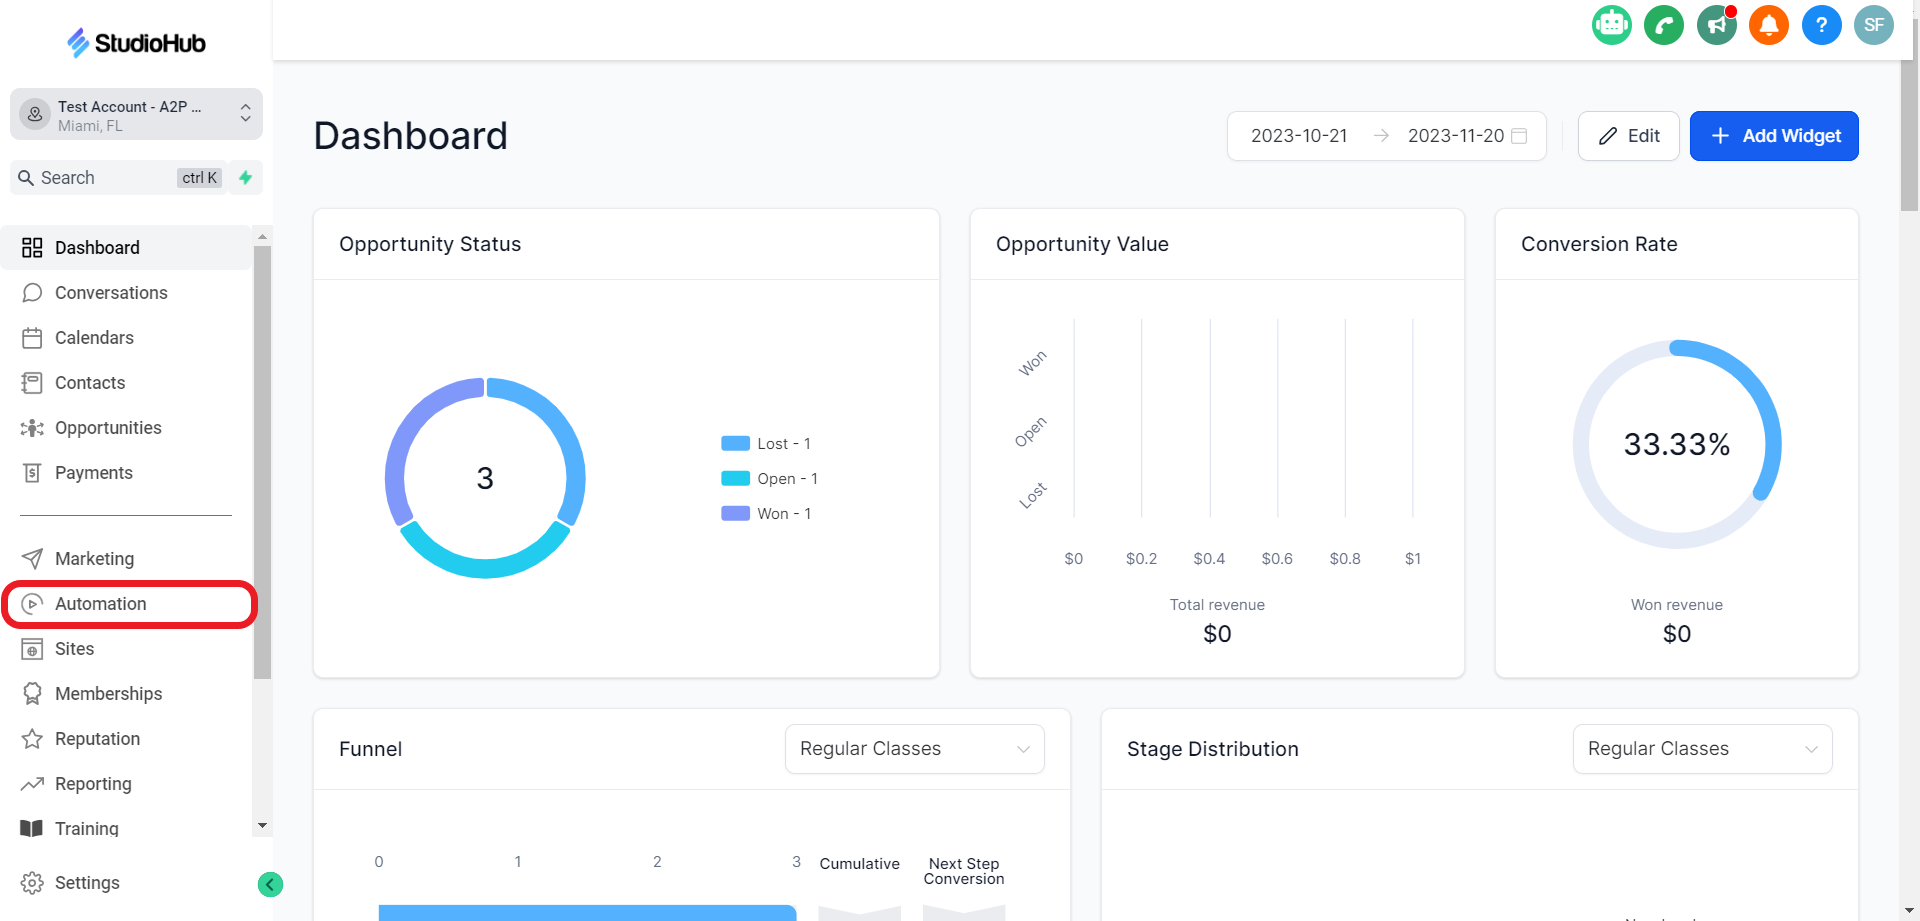
Step 1: Accessing Automation in StudioHub
- Log in to your StudioHub account. Click on the "Automation" option available on the menu on the left panel of the screen.
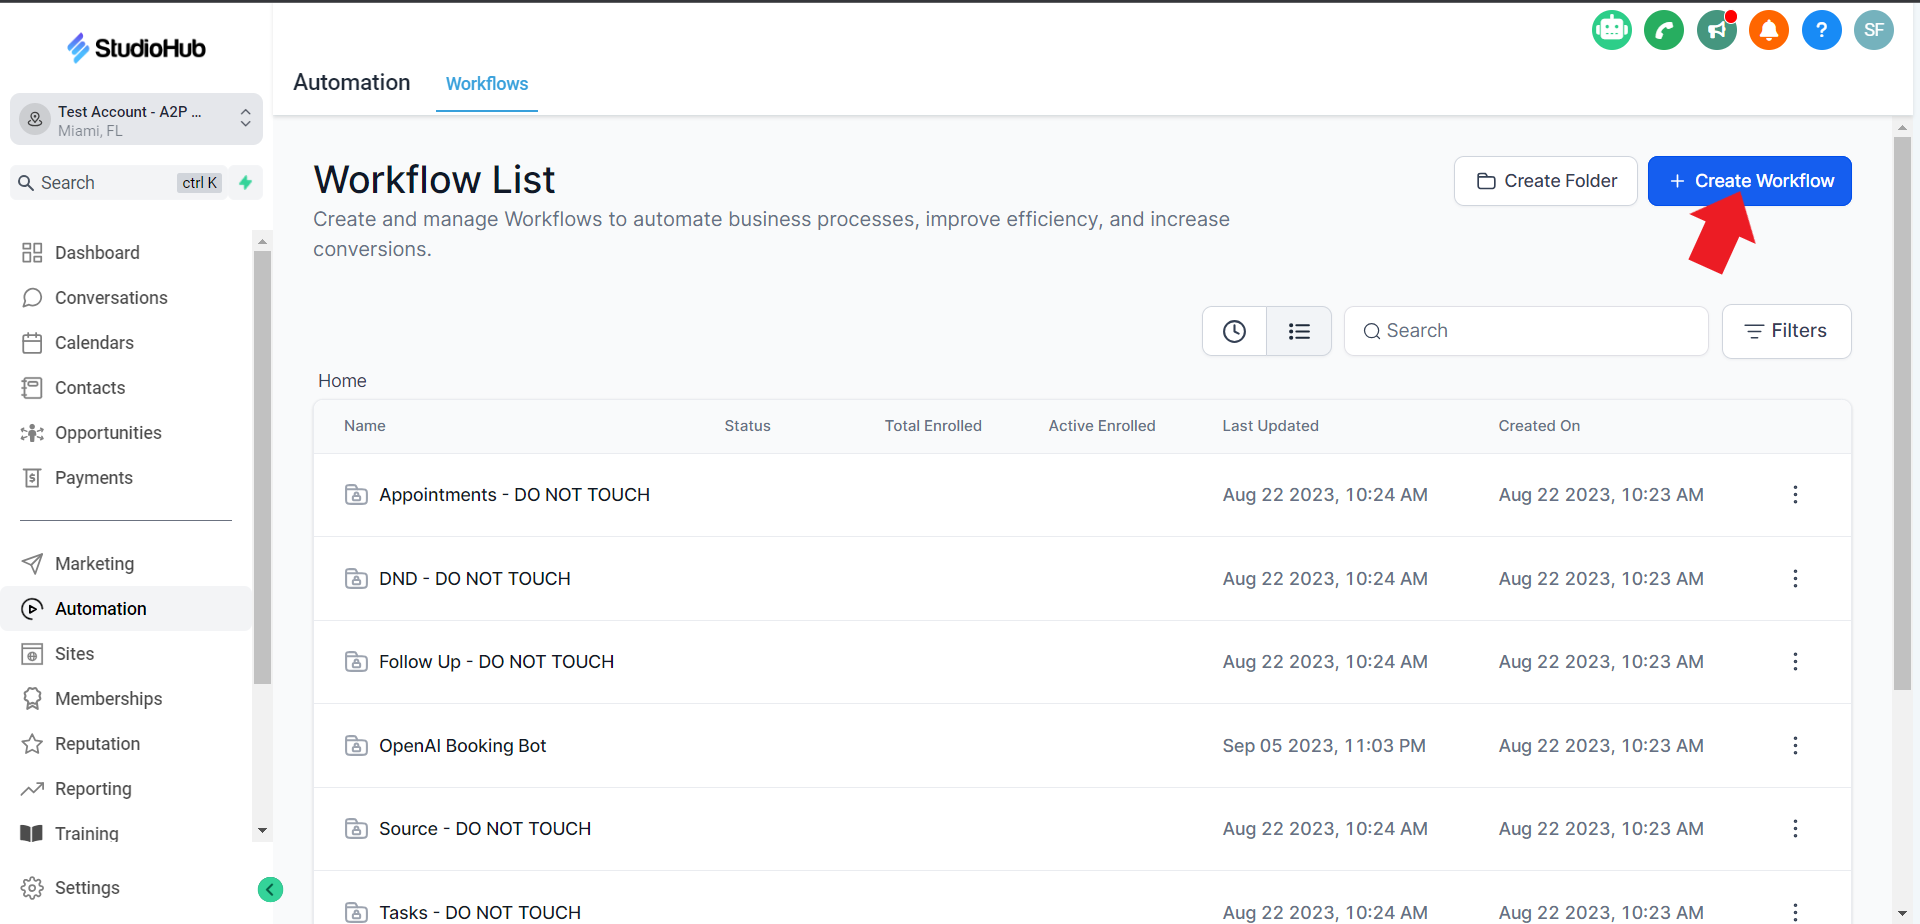
Step 2: Creating a New Workflow
- In the Workflows section, click on "Create Workflow".
- Select "Start from Scratch", and click on the "Continue" option.

- Name the Workflow on the top

Step 3: Setting Up the Trigger
- Click on the "Add New Trigger" box

- On the Workflow Trigger menu on the right search for the "Appointment Status" option and select it.

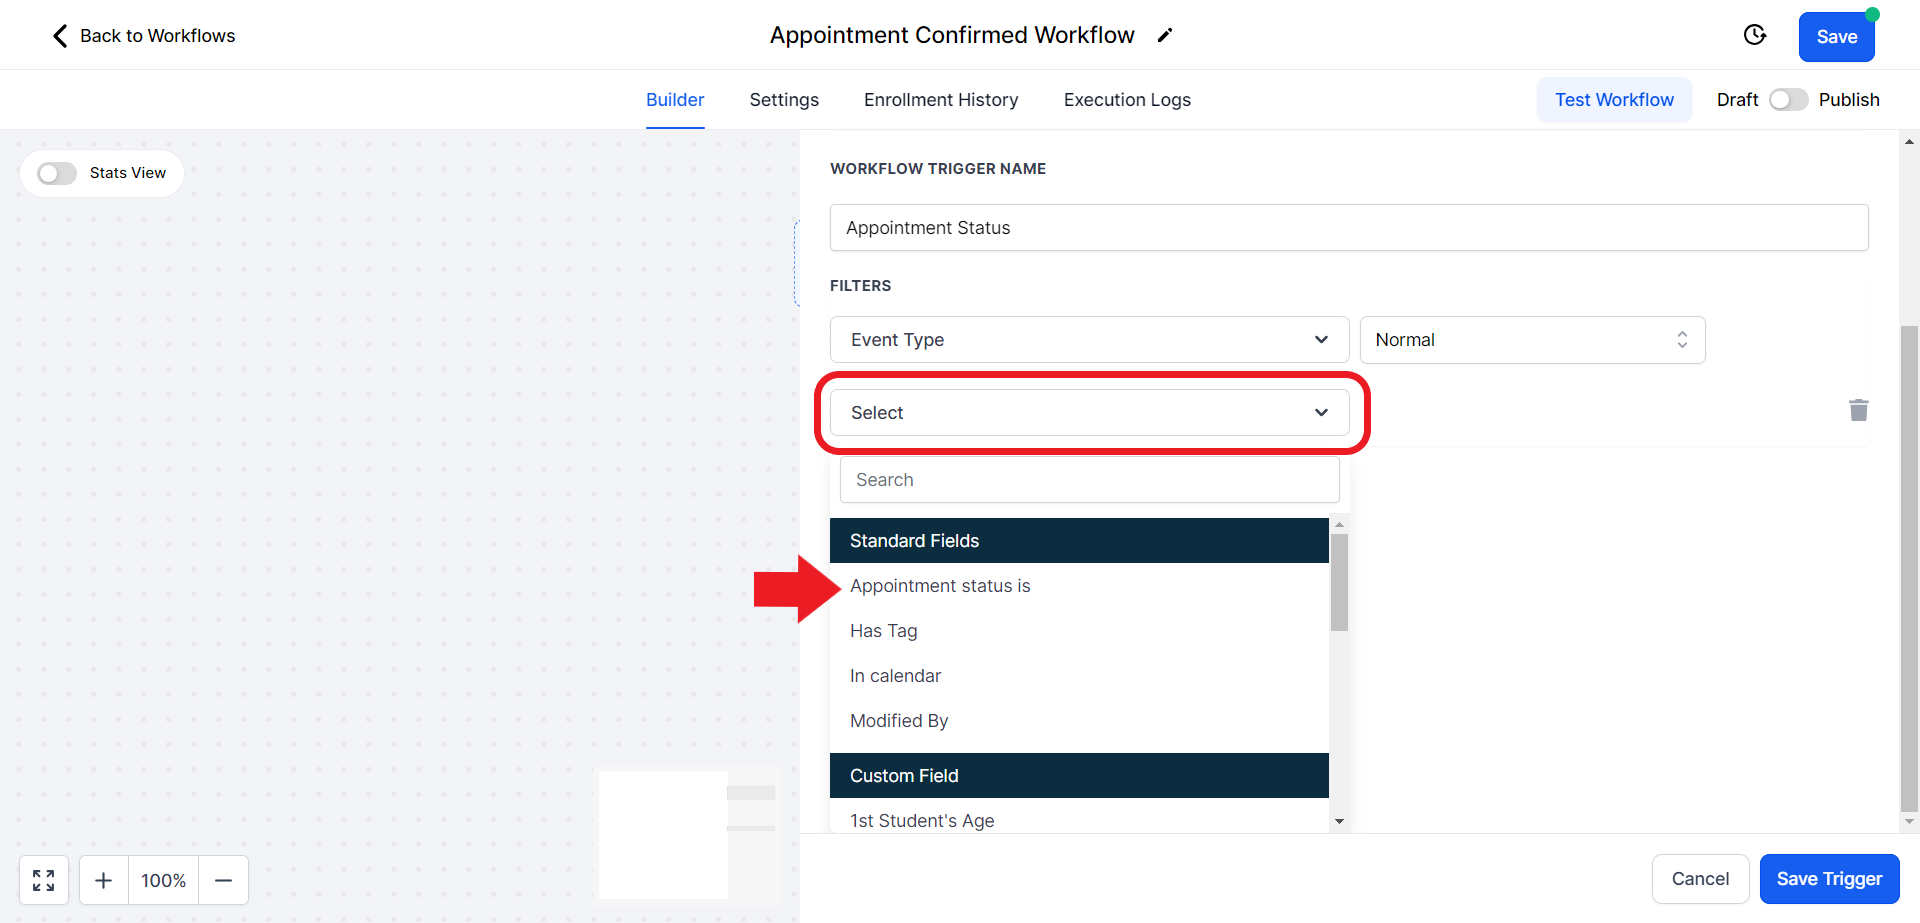
Step 4: Adding Filters
- Click "Add Filters."

- Click on the filter field and select the "Appointment status is" option.
- A new filter field will appear on the right side of the first field. Click on it and choose the "Confirmed" option.

- Click on "Add filter" again

- Click on the filter field and select the "In Calendar" option

- Click on the filter field on the right and select the calendar according to the location you are creating this workflow for

- Once all the necessary filters have been added click "Save Trigger"

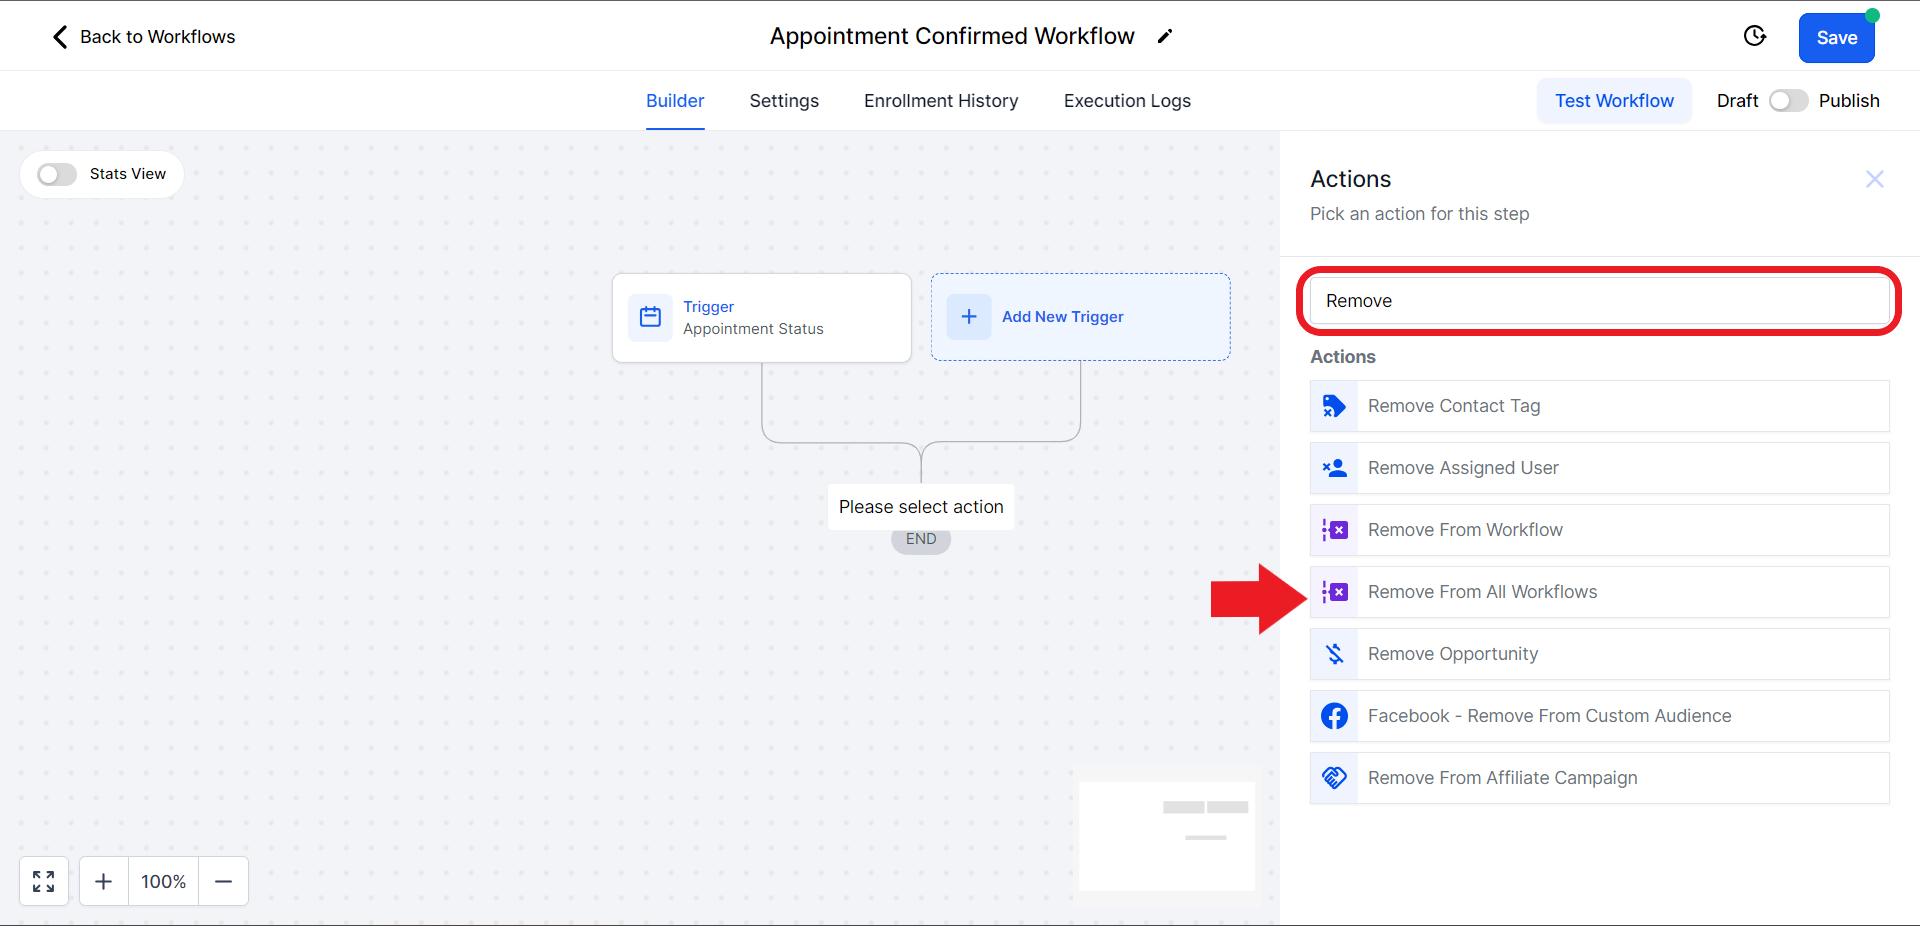
Step 5: Adding the First Action Step
- Click the plus sign to add an action step.

- In the Actions search bar on the right side, search for and select "Remove from All Workflows" option
- Toggle the switch to disable "Include current workflow" and click on "Save Action"

Step 6: Adding the Second Action Step
- Add another action step by clicking the plus sign.

- Search for "Note" in the search bar on the right and select "Add Note."
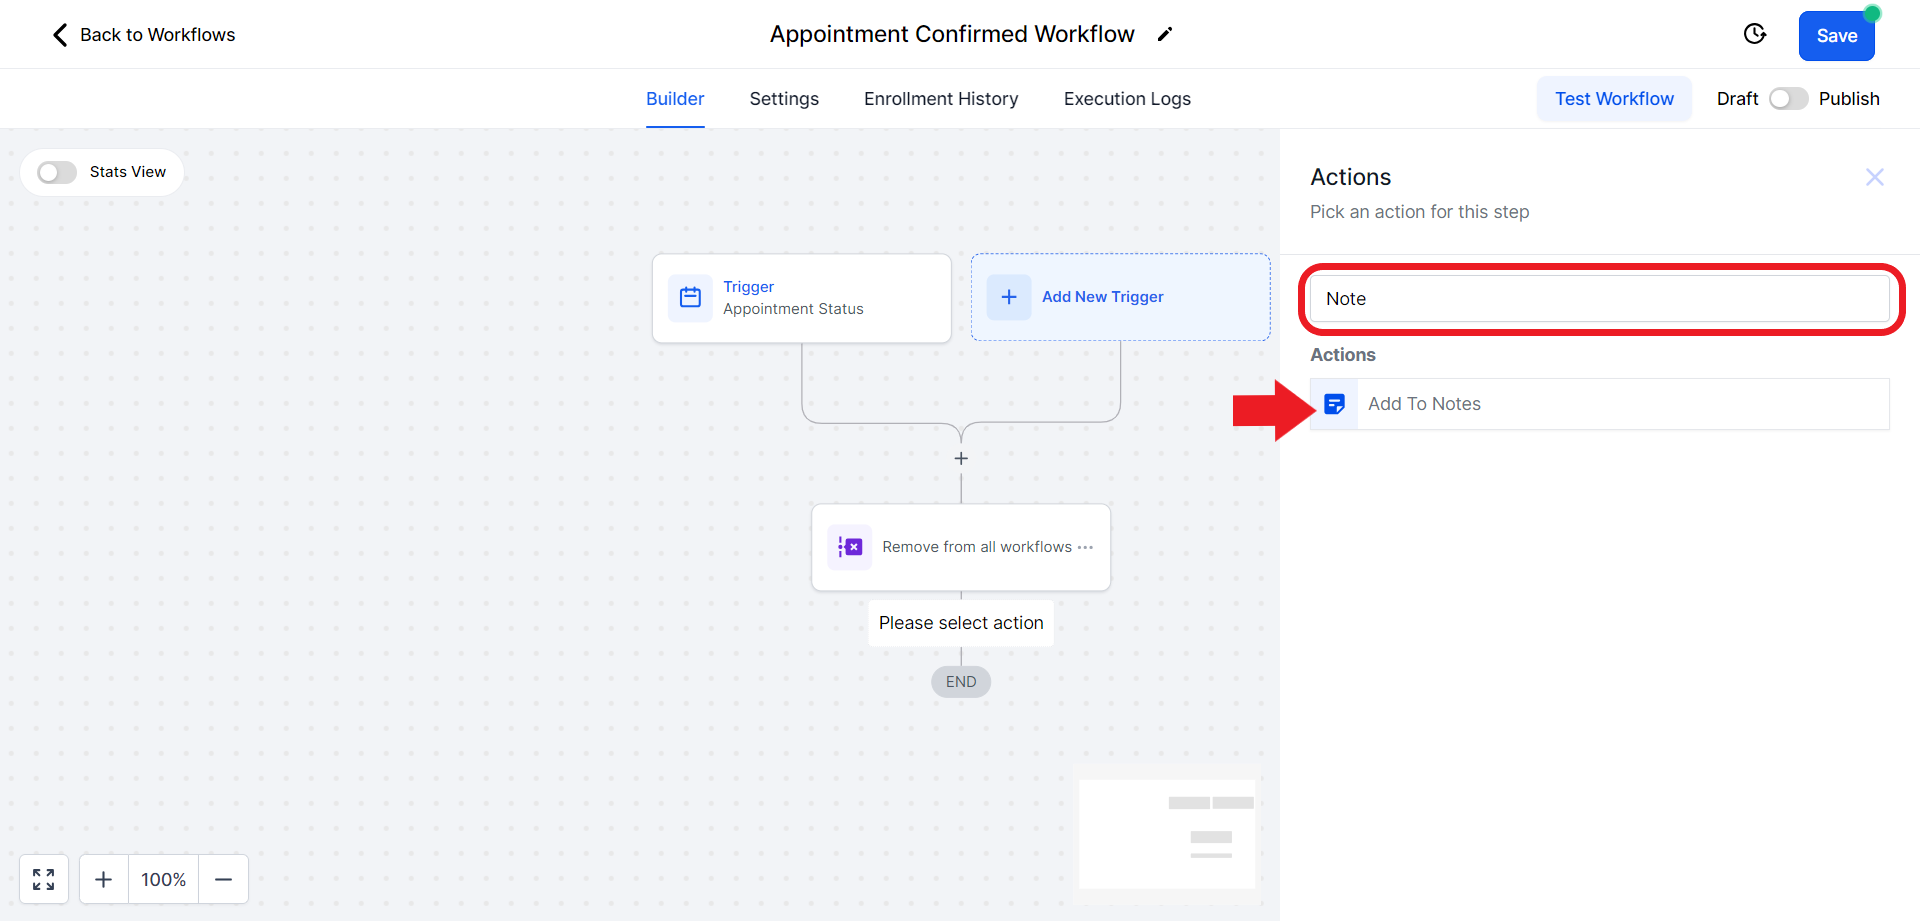
- In the note content, include a message like "Booked appointment in [Name of Your Calendar]". Save the action.

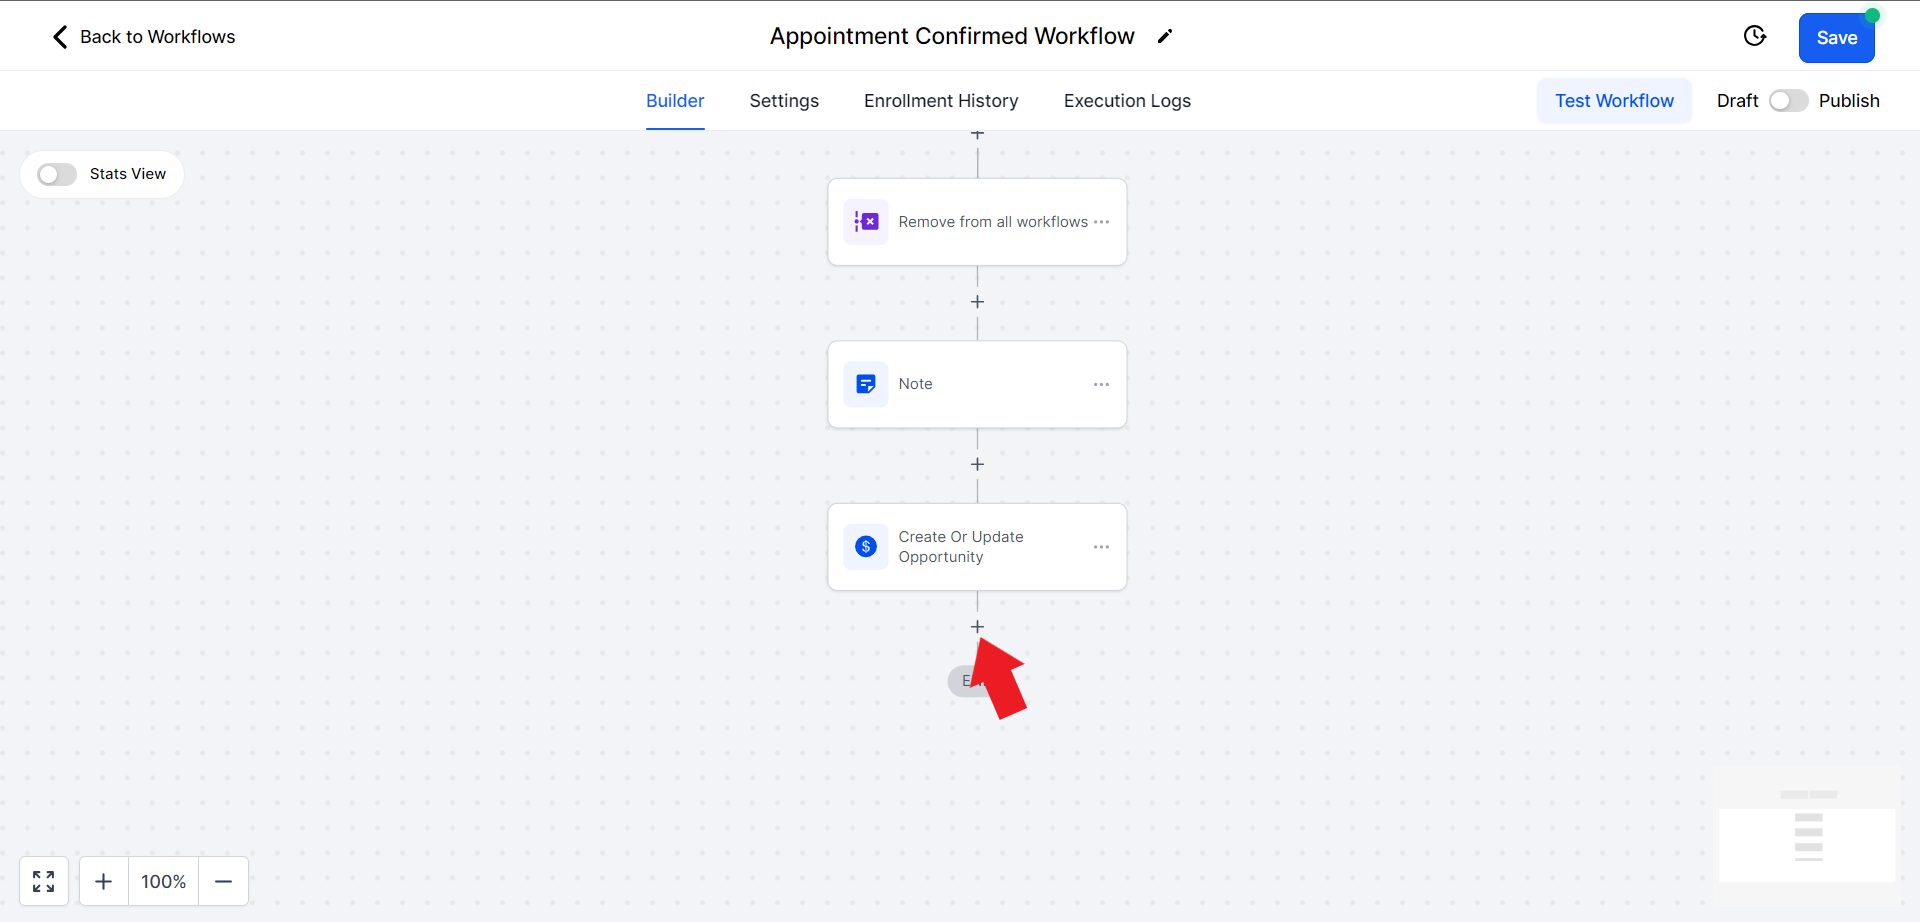
Step 7: Updating Opportunity
- Add an action step for "Update Opportunity". Click on the plus sign

- In the search bar search for "Update", and click on "Create/Update Opportunity".

- Click on the "Select Pipeline" field and set the Pipeline to "Regular Classes".

- Click the "IN PIPELINE STAGE" field and from the drop-down menu choose the "Appointment Booked" option.

- Set the Status to "Open."

- Save the action.

Step 8: Adding a Tag
- Include an action step by clicking on the plus sign to add a tag.
- On the Action search bar search for "Add" and then click on the "Add Contact Tag" option

- Click on the "Tags" option and in the search bar create a tag relevant to your location (e.g., "Side Street Location"). Click on the "Add New Tag" option
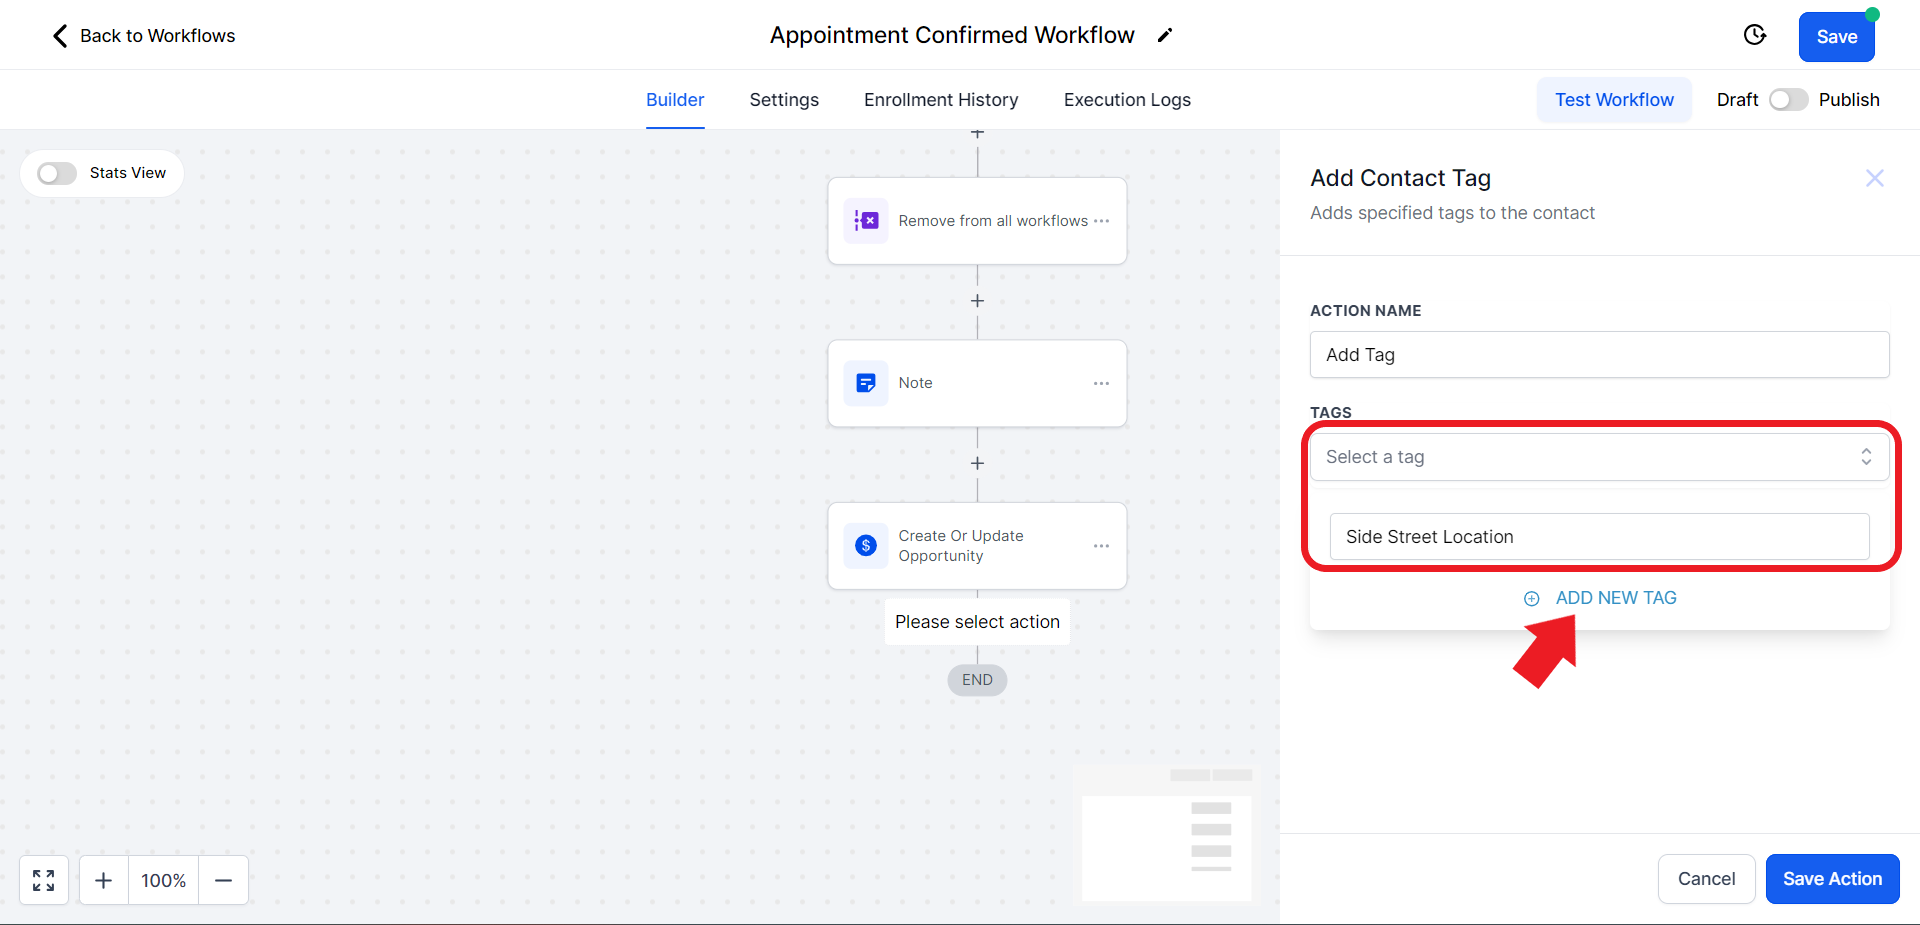
- Once done click "Save Action"

'
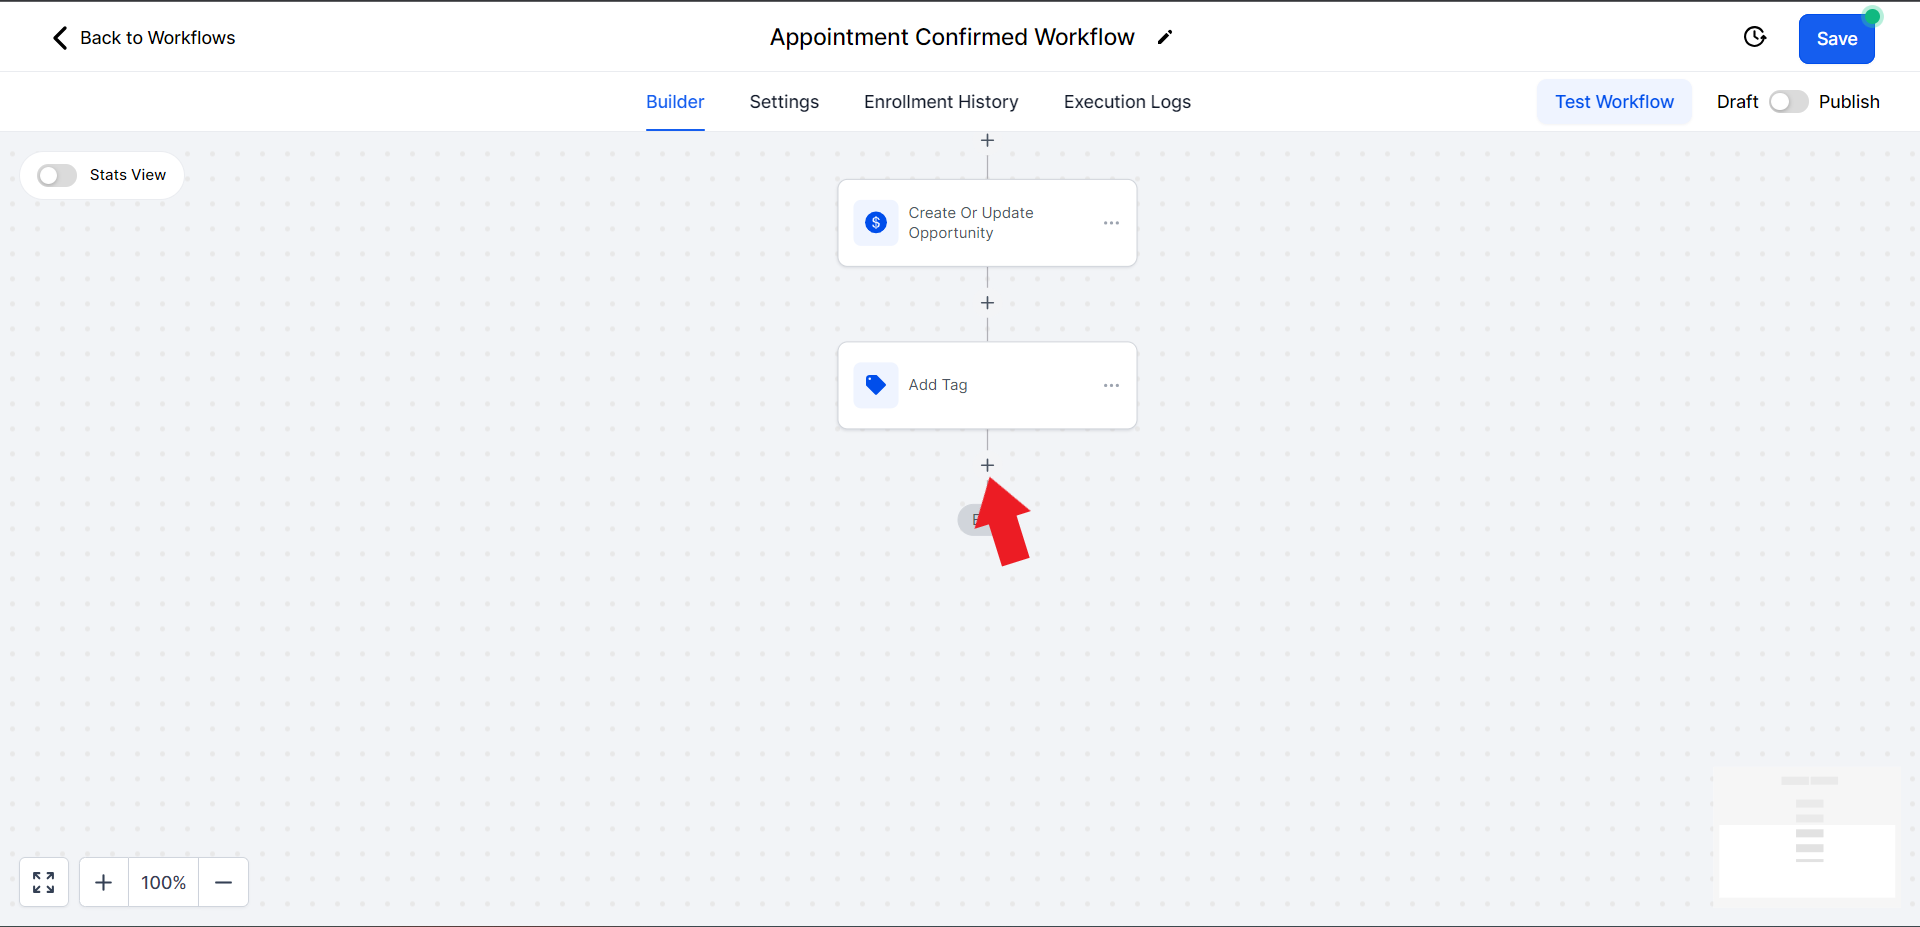
Step 9: Sending Appointment Confirmation SMS
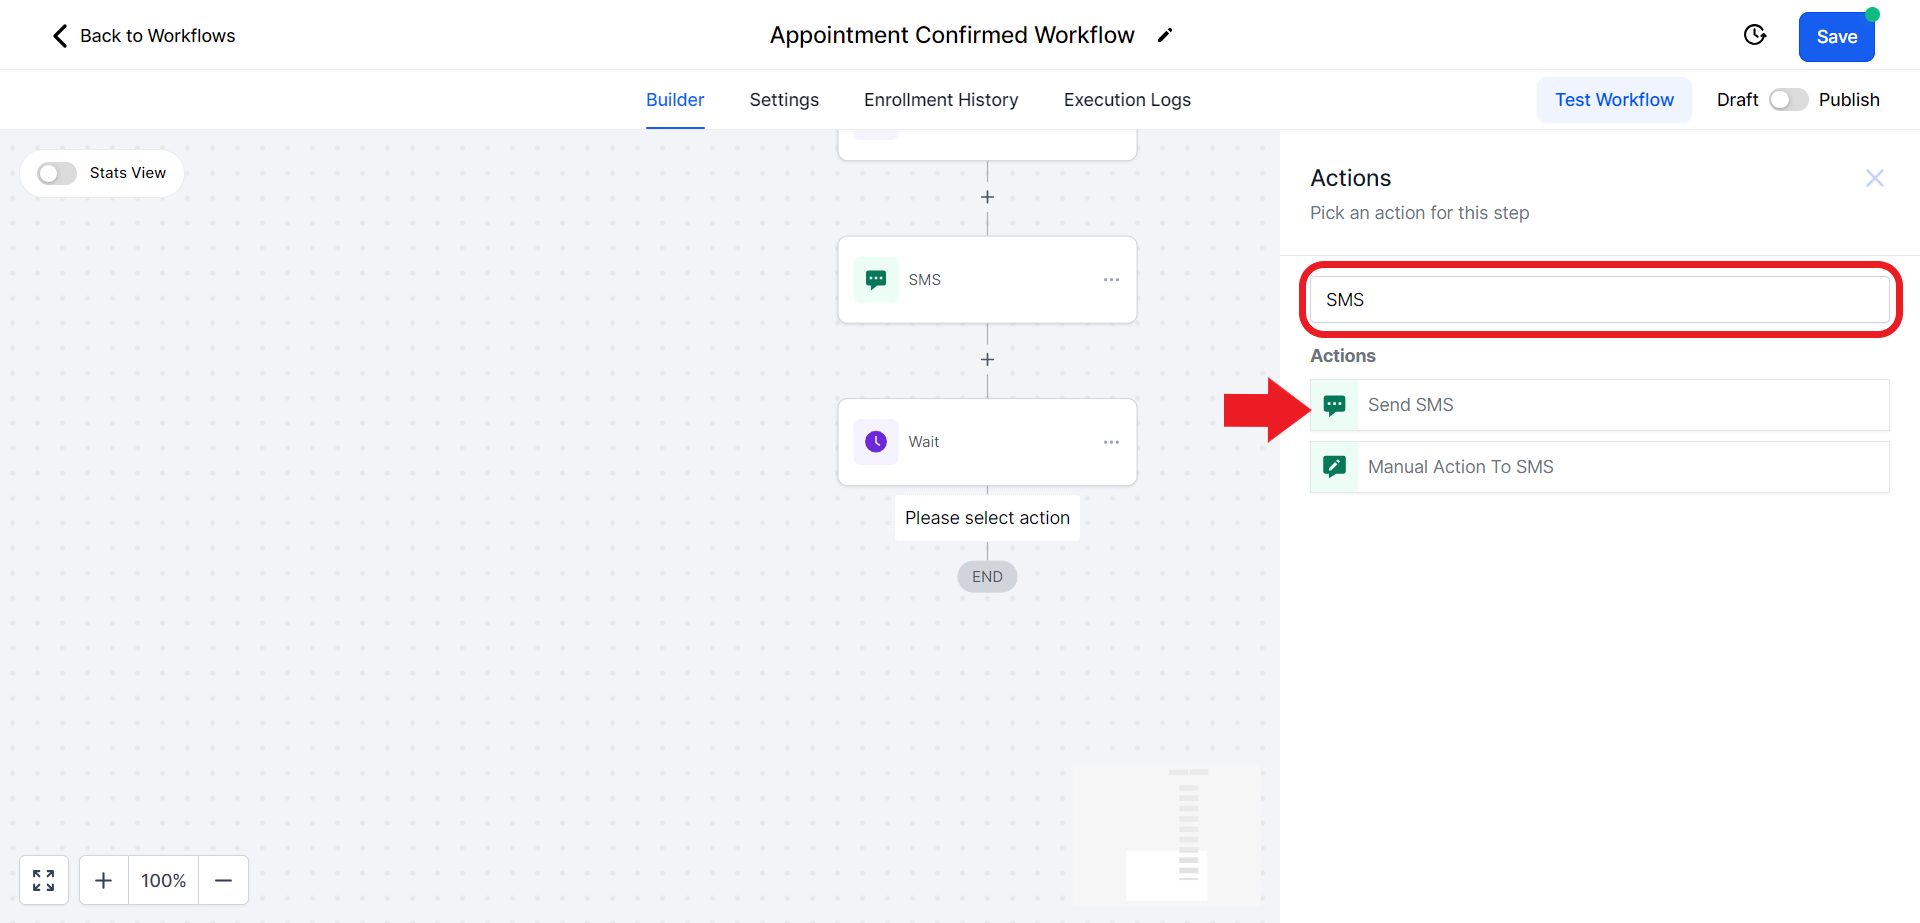
- Add an action step for sending an SMS. Click on the Plus sign.
- In the Actions search bar search for "SMS" and click on the "Send SMS" option

- Customize the SMS content with the message. Once done click on the "Save Action" option at the bottom.

Step 10: Creating Info SMS
- Add an action step for sending an SMS. Click on the Plus sign again.

- In the Actions search bar search for "SMS" and click on the "Send SMS" option

- Add the message content and make sure to add the location of your studio

Step 11: Creating a Wait Step for One Day Reminder
- Add an action step for adding a wait delay. Click on the Plus sign again.

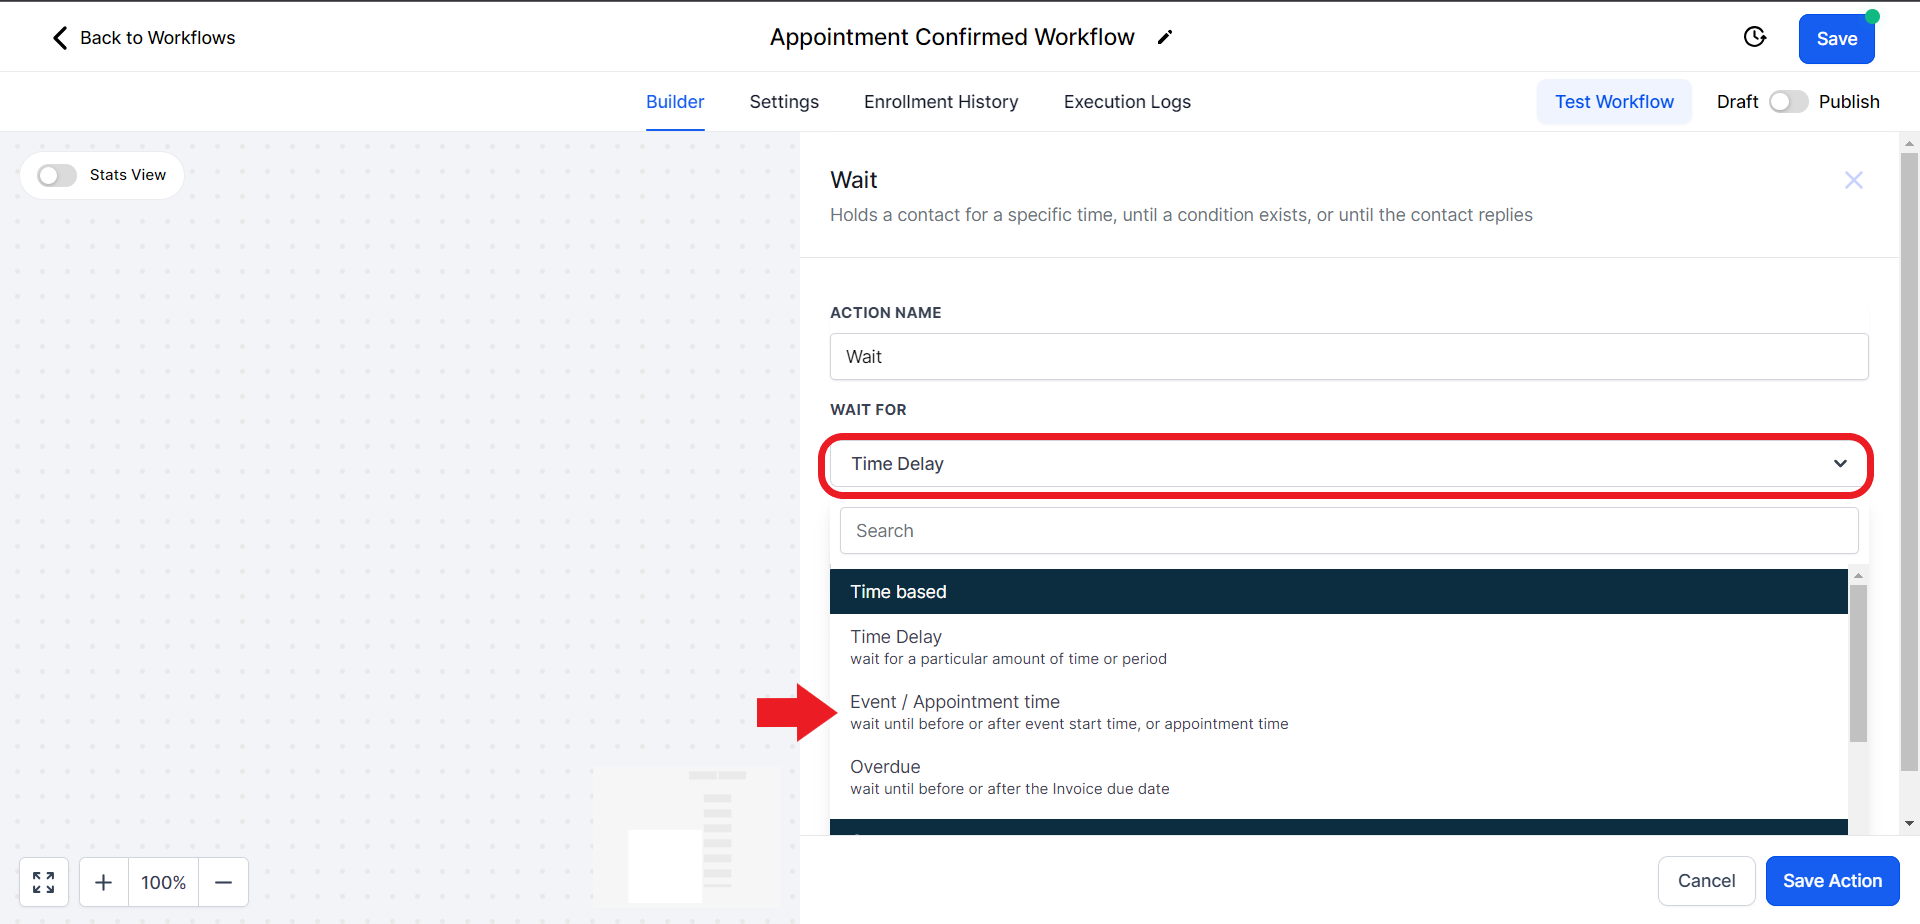
- In the Action search bar search for "Wait" and click on the "Wait" option below.

- Click on the "WAIT FOR" field and choose the "Event/Appointment Time" option.

- Click on "When" to set the value to "Before", and set the "Days" option to 1. This will send a reminder 1 day before the appointment. You can edit this according to your own preference

- Save the action once done.

Step 12: Sending the One-Day Reminder SMS
- Add an action step for sending an SMS. Click on the plus sign again. Make sure you are doing this after the wait delay is added (See step 11).

- In the Actions search bar search for "SMS" and click on the "Send SMS" option

- Compose the message. Make sure to add the studio location. Click "Save Action" once done

Step 13: Creating a Wait Step for One-Hour Reminder
- Click on the plus sign again to insert another wait step.

- In the Action search bar search for "Wait" and click on the "Wait" option below.

- Click on the "WAIT FOR" field and choose the "Event/Appointment Time" option.
- Click on "When" to set the value to "Before", and set the "Hours" option to 1. This will send a reminder 1 hour before the appointment. You can also adjust this according to your preference

- Save the action once done.

Step 14: Sending the One-Hour Reminder SMS
- Click on the Plus sign again to add an action step for sending an SMS.

- In the Actions search bar search for "SMS" and click on the "Send SMS" option
- Compose the message and make sure to add the location of the studio. Click "Save Action" once done

- Hit save on the top to update and save the entire workflow

Step 15: Turn on the Workflow Automation
- Toggle the Draft/Publish option on the top right corner

Step 16: Allow Re-entry
- Click on the Setting option in the workflow menu at the top.

- Toggle the "Allow re-entry" option. This will allow you to book a client multiple times.

- Once done hit save on the top.

Conclusion
By following these steps, you've successfully set up an appointment confirmation workflow in StudioHub. This workflow automates the process of sending appointment confirmation messages and reminders to your clients, improving efficiency and enhancing their experience. Remember to thoroughly review and customize each message, especially the location-specific information, to ensure a seamless experience for your clients. With this automation in place, you can focus more on delivering outstanding services while StudioHub handles the appointment management process.
Check out the next guide on How to create an Appointment Cancelled Workflow.