Introduction
In this guide, we'll show you how to create a workflow for your text blast campaigns in StudioHub. Let's get started!
Step 1: Access Automation Settings
- Log in to StudioHub
- Select Automation
- Select Create Workflow
- Select Start From Scratch

Step 2: Name Your Workflow
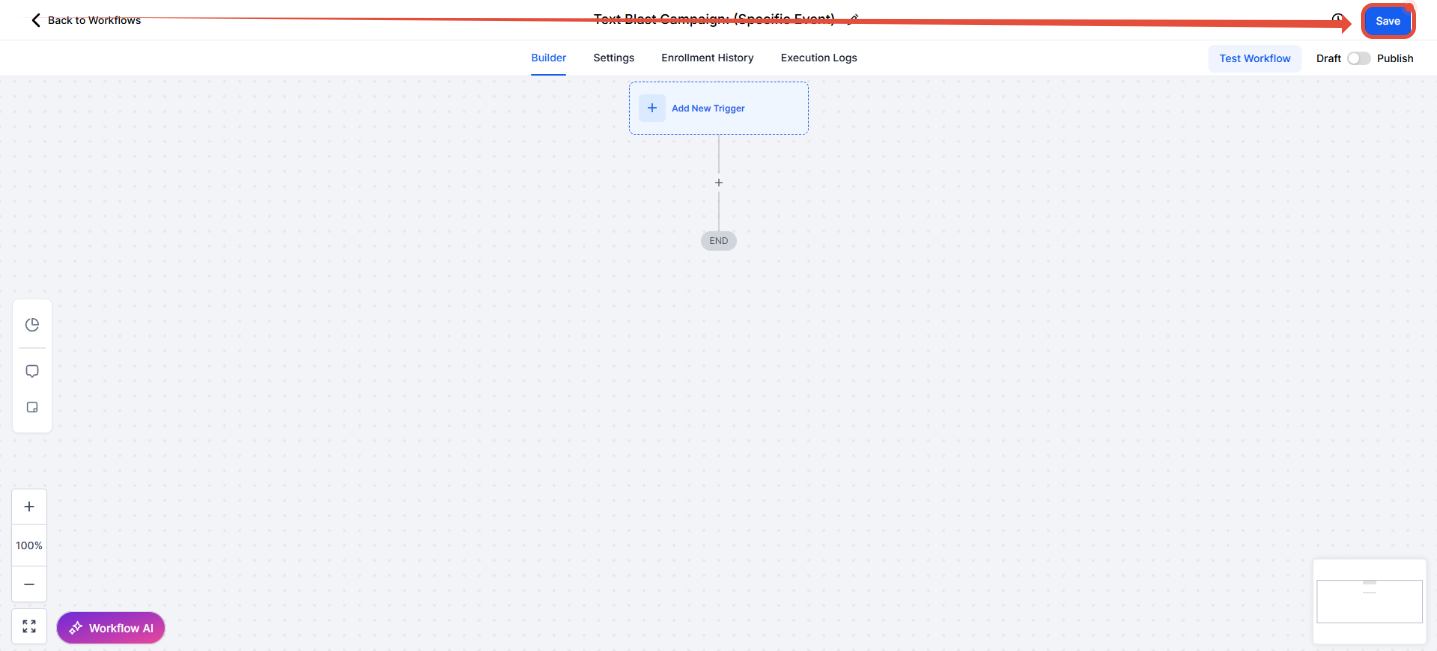
- Click the Pencil Icon (edit) to change the name of the workflow
- Change the name to "Text Blast Campaign" followed by the text blast name

- Click Save
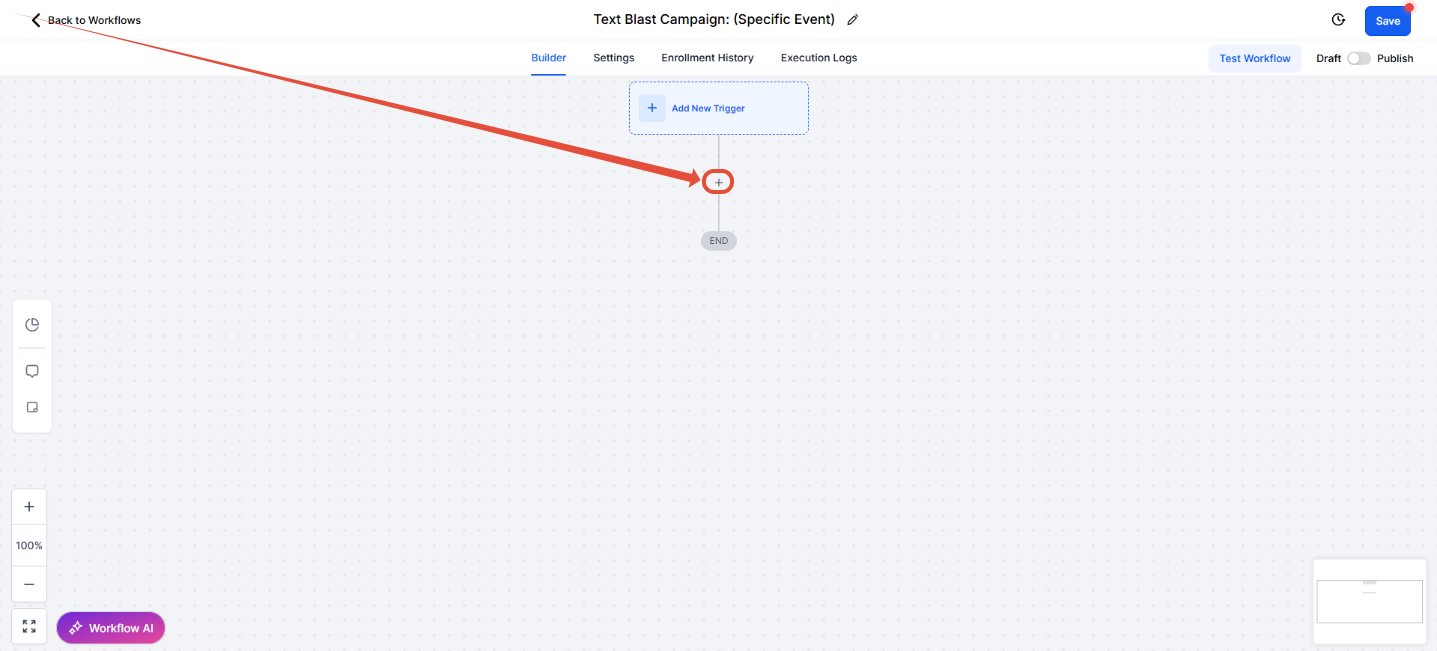
Step 3: Add the Wait action
- Click the + (plus sign) to add the first step.
- In the Action search bar, type "Wait"
- Click on "Wait"

- Enter 1 under the Wait field to set the wait time to 1 minute. (This will set the automation to wait 1 minute before moving on to the next step. This step helps the system 'think' and avoids glitches.)
- Click on Save Action

Step 4: Add an SMS Step
- Click the + (plus sign) below the Wait Step

- Type in SMS in the search bar
- Select Send SMS

Step 5: Compose an SMS
- Click on the Message field
- Type in your message: Eg, (Hi {contact.first_name}, this is { custom_values.studio_owner_first_name } from {location.name})

- You can use Custom Values, such as First Name, Last Name, etc, to make the message more personalized.
- To add a custom value, select the Tag icon (Custom Value).
- Then select the type of custom value you'd like to add. Eg, if you'd like to add a custom value about the contact, select contact.

- Select the custom value you'd like to add. Eg, Contact First Name

- Once you're done adding your text message, click Save Action
- Select Save

Step 6: Turning on your workflow
- Select the Toggle next to Draft
- Select Save

Conclusion
By following these steps, you will be able to create an automation for your text blast campaigns!
If you have any questions, please feel free to contact us at support@getmorestudents.com
If you have any questions, please feel free to contact us at support@getmorestudents.com