Introduction
This article will help you pay for your overdue balance on Facebook. It is crucial to regularly review and monitor this balance to prevent any overdue amounts, otherwise, the Ad Account will get disabled and your ads will pause.
Before You Start
Make sure to have your Facebook login details ready for Business Manager and Ad Account, and have your card ready for input if necessary.
Instructions
Step 1: Access Business Settings
- Open your web browser and go to business.facebook.com.
- Sign in to your Facebook Business account if you're not already logged in.
- Click on "Settings."

Step 2: Go to your business settings
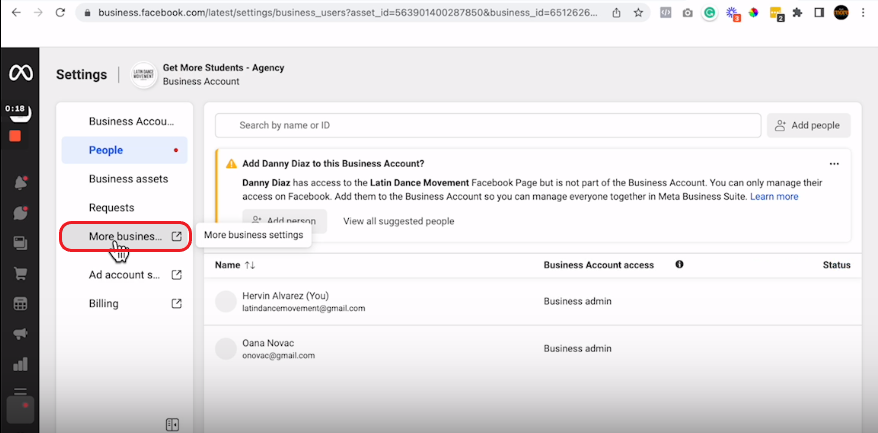
- In the settings menu, click on "More Business Settings." Wait for the next page to load.
Step 3: Access Billing Information
- In the left-hand menu, click on the three horizontal lines

- This will open the "All Tools" options menu, select the "Billing" option.

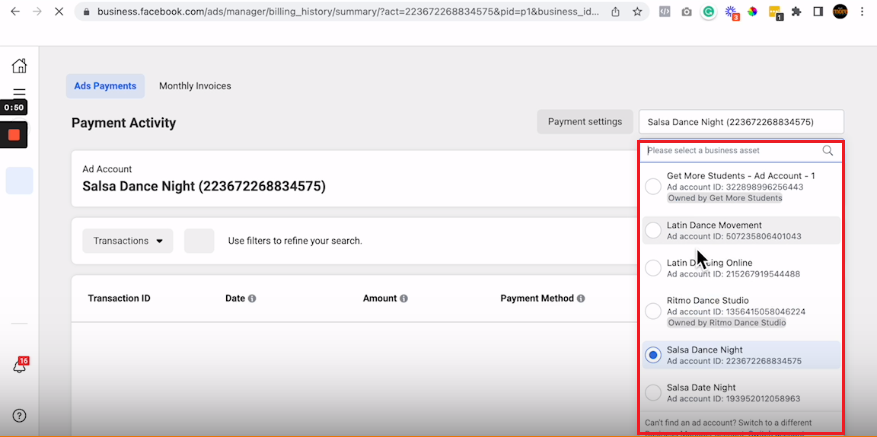
Step 4: Choose the Ad Account
- Click on the accounts option on the top right

- You'll see a list of your ad accounts. Choose the ad account with the outstanding balance you want to pay from the list.
Step 5: Pay the Due Balance
- Once you've selected the ad account, you'll see the outstanding balance displayed on the top right.

- Click on the "Pay Now" button.

It is crucial to regularly review and monitor this balance to prevent any overdue amounts, otherwise the Ad Account will get disabled and your ads will pause.
Conclusion
You have now paid your Balance due on Facebook. The next steps would be launching a new campaign or turning a current campaign on.