Introduction
In this guide, we will walk you through how to set up an automation in StudioHub to receive notifications whenever someone buys your product. By creating this automation, you can stay informed about your sales and respond promptly to customers.
Steps
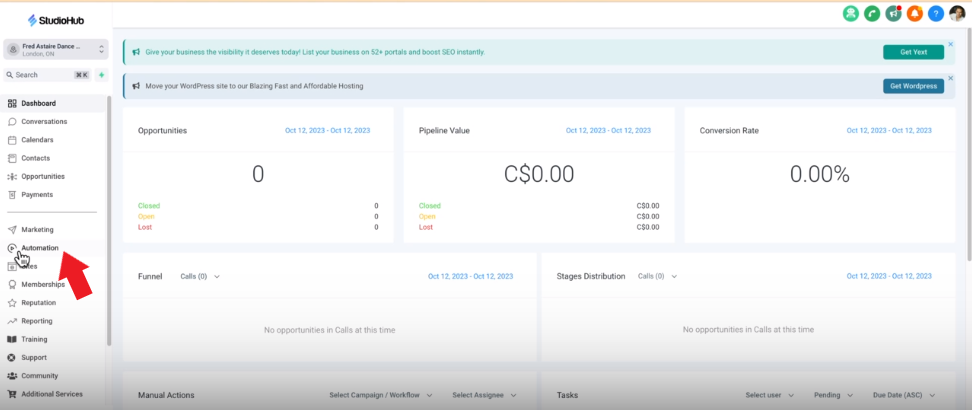
Step 1: Access Automation Settings
- In StudioHub, navigate to the "Automation" section located on the left-hand menu.
Step 2: Create a New Workflow
- Scroll down and click on "User Accessible"
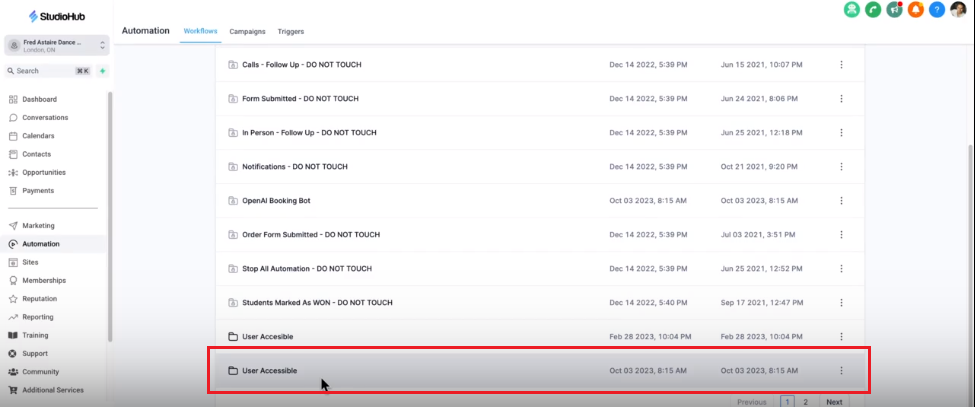
- Click on "Create Workflow."

- Choose the "Start from scratch" option

Step 3: Name the Workflow
- Name the workflow by clicking on the title at the top

- Click save on the top right corner for the effect to take place

Step 4: Set Up the Trigger
- Click on "New Trigger" at the top.
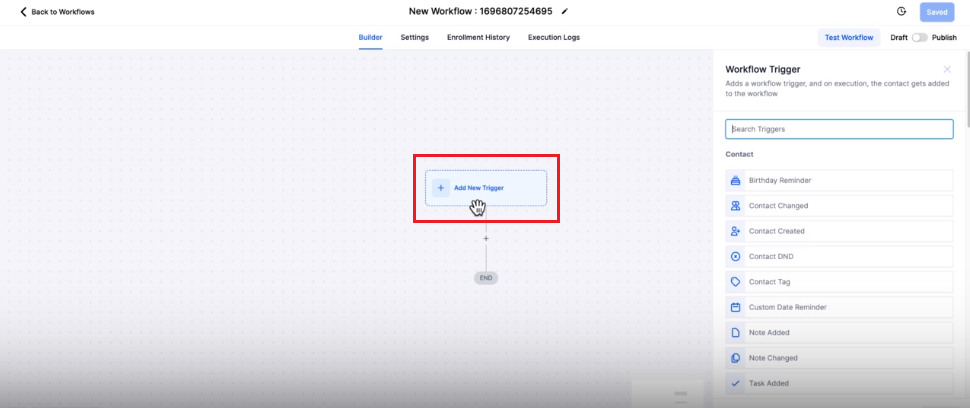
- Search for "Order Form Submission" from the trigger list on the right. Select it

Step 5: Add a Filter (Optional)
- To further specify the trigger, you can add a filter. You can select the in-funnel/website option for which you want to be notified when an order is submitted. In this case, "Five Lesson Introductory Offer"
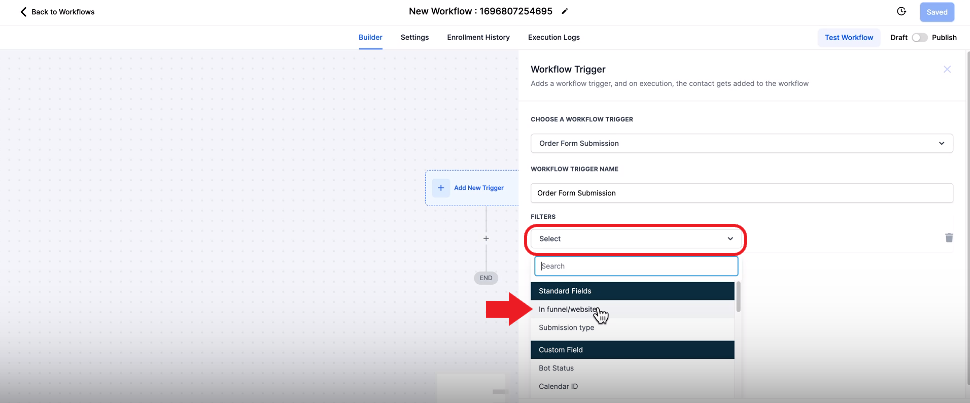
- Click "Save Trigger" to save the changes

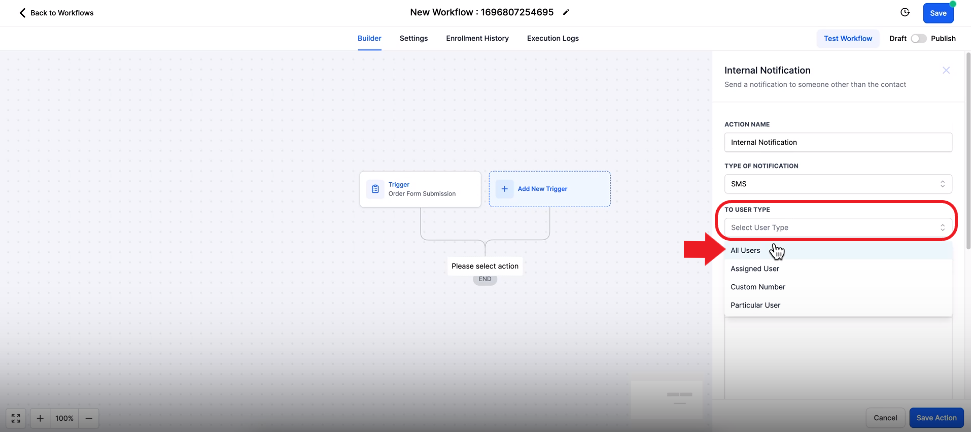
Step 6: Set Up Notifications
In this step, we will be adding an internal notification allowing you to know that a customer has purchased a product
- After setting up the trigger, it's time to add notifications. Click the "Add Action" symbol

- From the Action list on the right panel search for "Send Internal Notification". Select it

- Select the Type of Notifiction as "SMS"

- Set User Type to "All Users"
- In the Message use custom value {{contact. name}} and then type the message. The custom value will automatically replace the syntax with the name of the customer
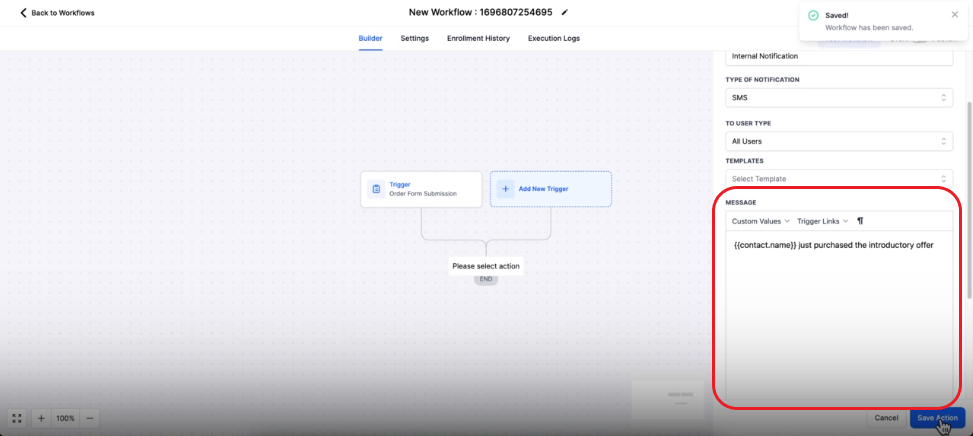
- Once done click "Save Action"

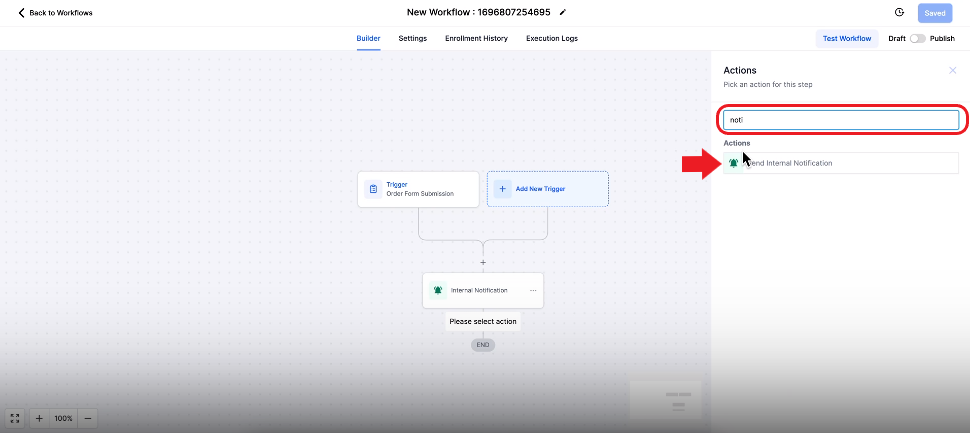
Step 7: Setting Up In-App Notifications (2nd Notification)
This notification will send you an In-app motivation on your device that already has the StudioHub Application installed
- Click on the "Add action" symbol

- On the Actions list on the right search for "Send Internal Notification" again
- For Type of Notification, select the "Notification" option from the drop-down

- Enter the notification title
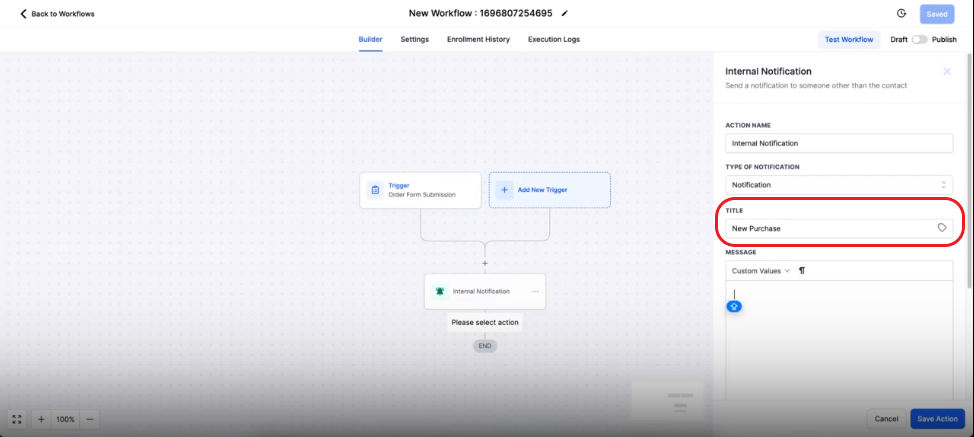
- Write a message and make sure to use custom values

- Click on the Redirect Page field and select "Conversation" from the drop-down
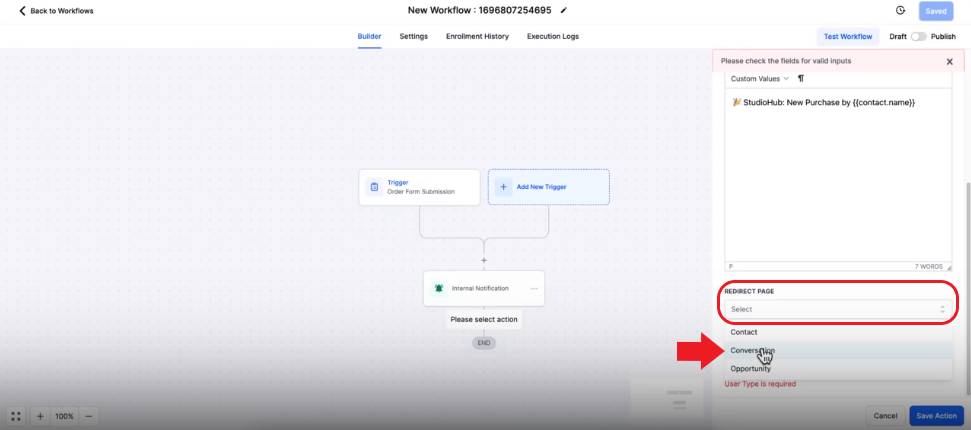
- For user type select "All Users"

- Click on "Save Action"

- Make sure to hit save on the top as well to save changes for the entire workflow automation

Step 8: Publishing the Workflow
- Once everything is done toggle the publish switch on the top right. It should turn blue
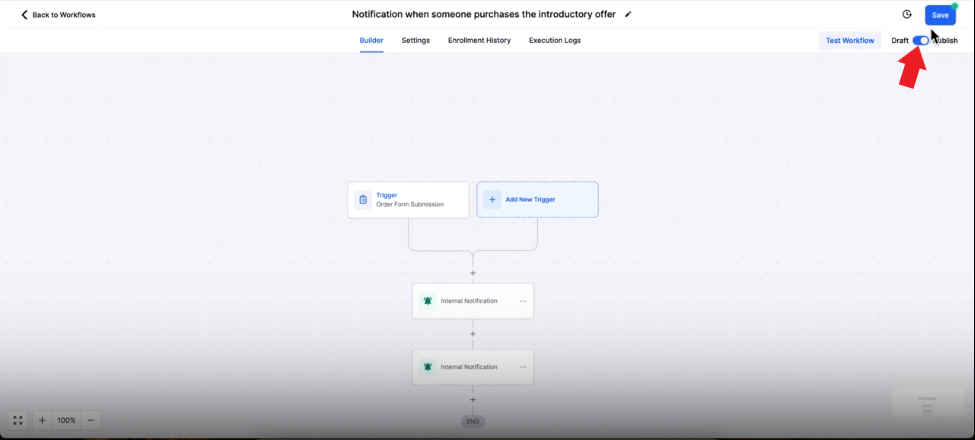
- Click save again on the top to save the changes

- In "Settings," ensure "Allow Reentry" is turned on.
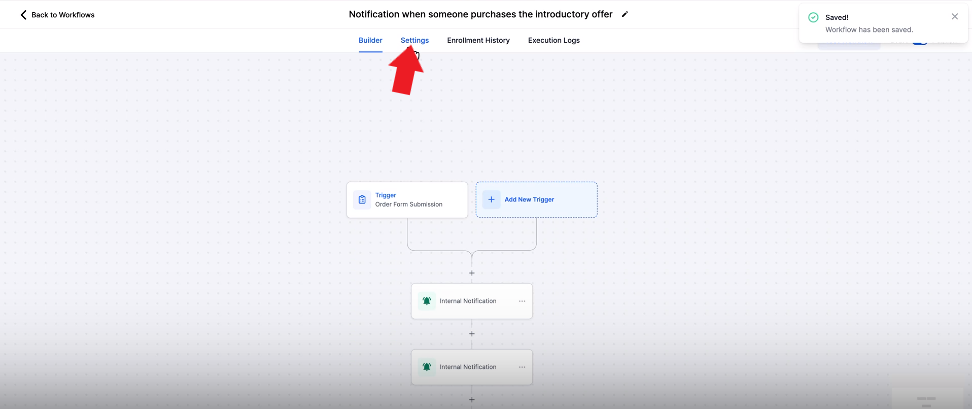

- Click save again

Conclusion
You've successfully set up an automation in StudioHub to receive notifications when someone buys your product. This will help you stay informed about purchases and engage with your customers more effectively. Now you can react promptly to new orders and enhance your customer service.