Introduction
In this guide, we'll walk you through creating a sales funnel for your product within StudioHub. This funnel will help you effectively sell your product by creating a page for your customers to make purchases and a thank-you page. Lastly, we'll discuss how to set up an automation that notifies you when a customer makes a purchase.
Steps
Step 1: Access the Sales Funnel Creation
- In Studio Hub, navigate to "Sites"
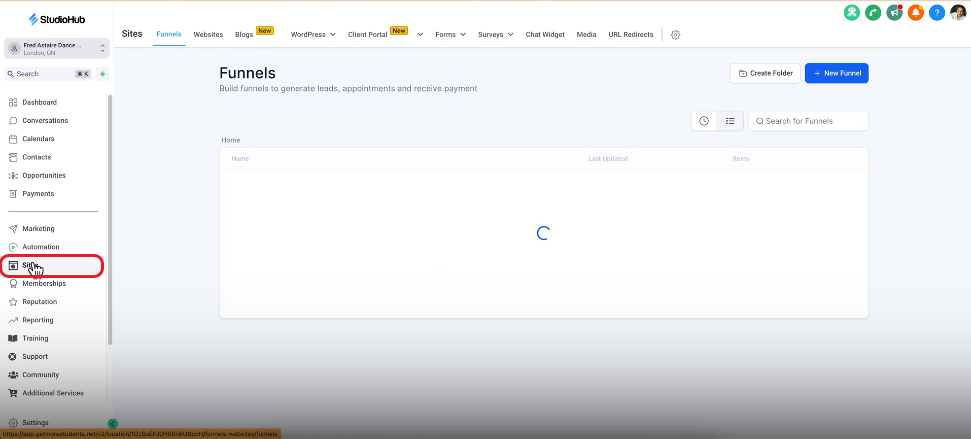
- Click on "New Funnel"

- Choose the From Blank option and name the Funnel. For this guide, we'll name it "5 Lessons Introductory Offer."

- Click on "Create"

Step 2: Create the Sales Funnel
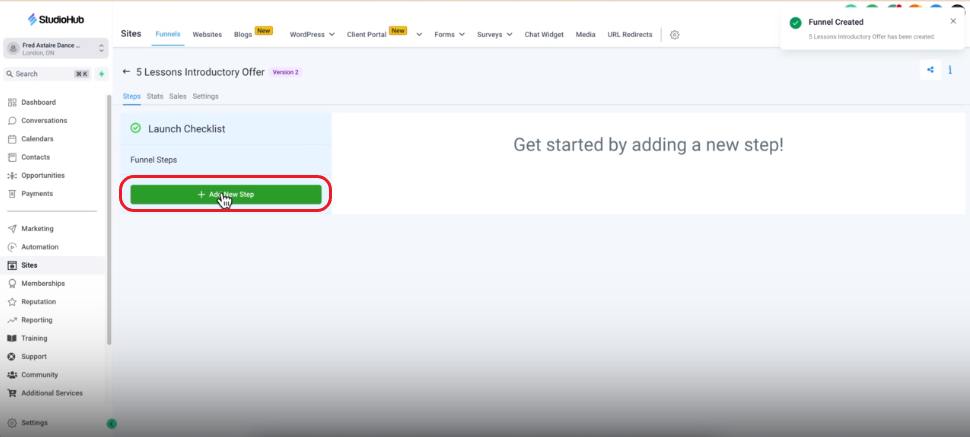
- Click on the Newly created funnel

- Within your newly created funnel, Click on "Add New Step"
- Name the page as "Order Form."
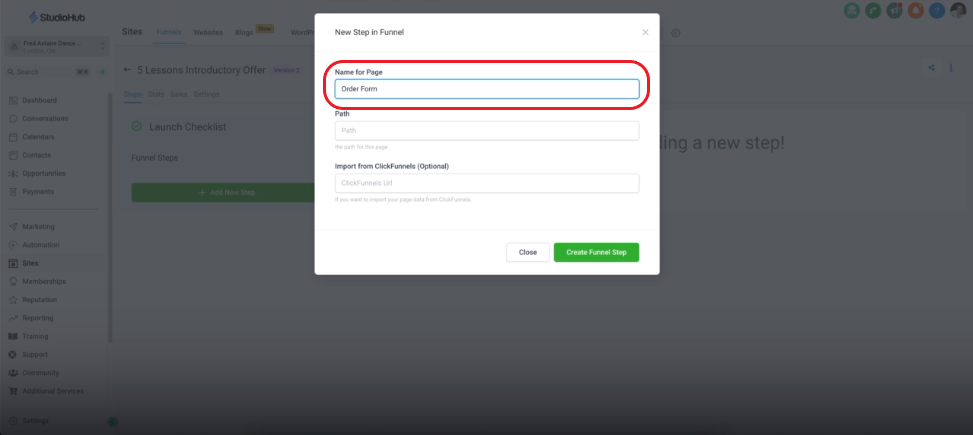
- Click on "Create Funnel Step"

- Follow the above steps again to add another step called "Thank You Page."

Step 3: Customize the Thank You Page
- Click on the "Thank You Page" step from the Funnel step list

- Edit the "Thank You Page" by clicking "Create from Blank."

- You will be directed to the editing page where you can design the product page. Choose the "Full Width" option from the layout setting on the right

- Click on the "Add Row" option

- Choose the "1 Column" option

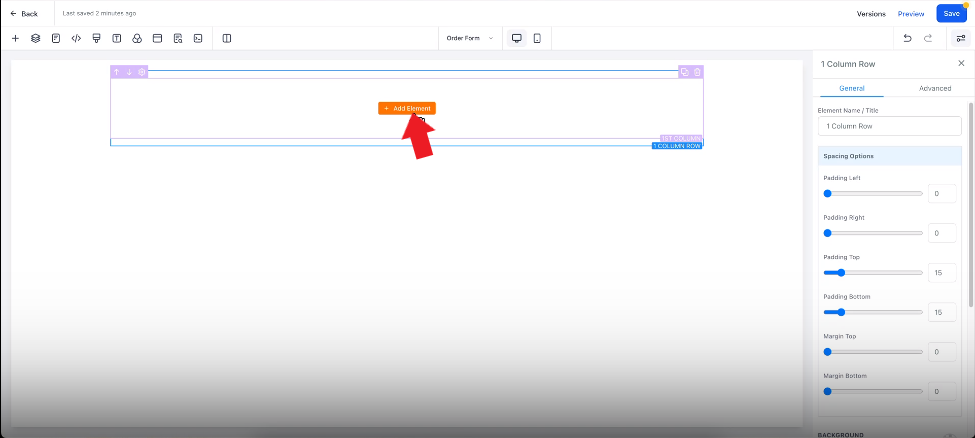
- Click on the "Add Element" option
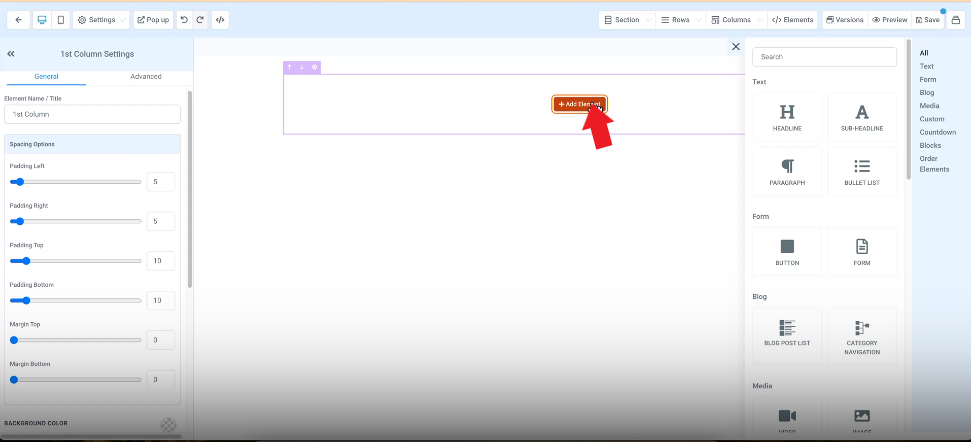
- Choose the text element "Headline" from the options

- Edit the headline according to your liking e.g. "Thank you for purchasing the introductory offer. We're excited to dance with you."

- Make sure to save the page by clicking "Save" on the top right corner

Step 4: Design the Order Form Page
- Edit the "Order Form" by clicking "Create from Blank."

- Choose the "Full Width" option

- Click on "Add Row"

- Choose the "1 Column" option

- Click on "Add Element"
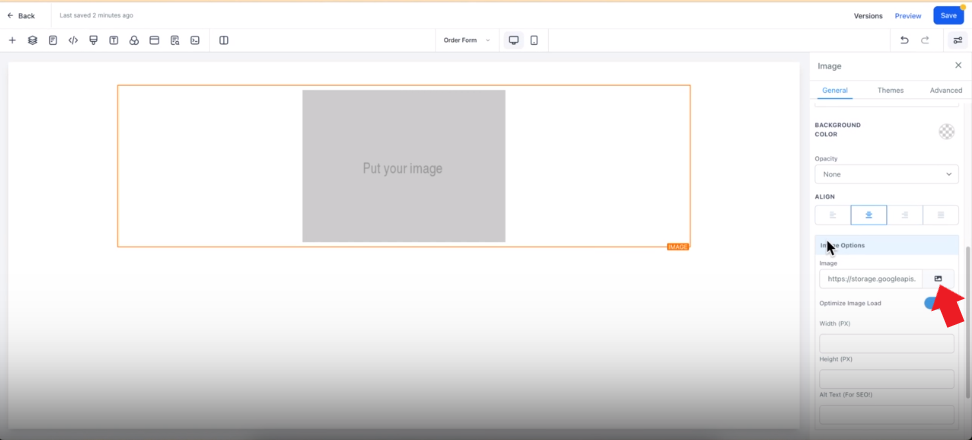
- Scroll down in the "Add an Element" section and click on the "Image" option

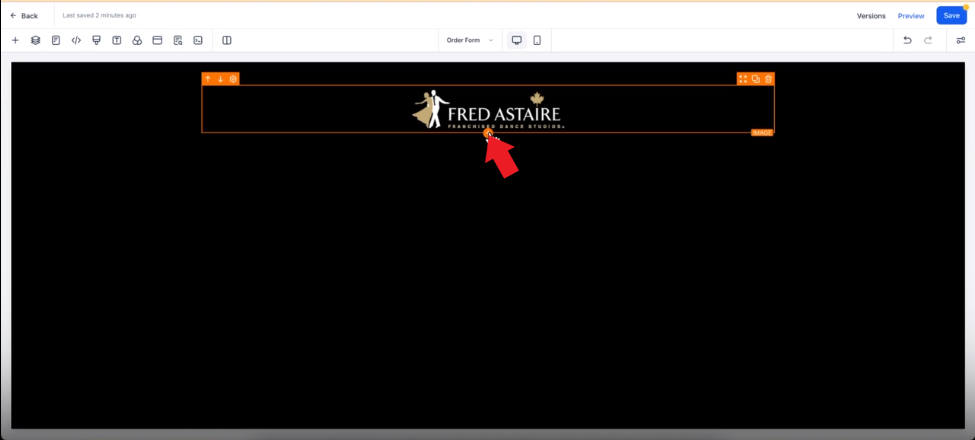
- On the right click on "Image options" to select the image of your logo
- To change the background color, click on the "Background" option and change it to the color you want

- To add an element below the current one click on the plus symbol
- From the element option choose the "Headline" option

- To change the color of the text, look into the color option on the right panel

- To add space between the two elements select the element at the top and use the "Bottom Margin" slider

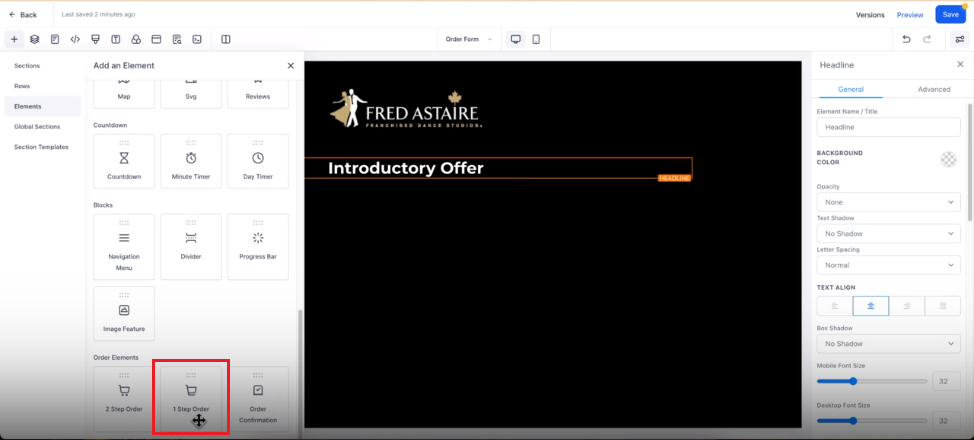
- Add an "Order Form" element by clicking the plus symbol again below the "Introductory Offer" headline

- From the Elements option on the left panel scroll down and locate the "1 Step Order" element
- Increase the margin distance between headline 2 and the order form by clicking on the "Introductory Offer" headline and then adjusting the "Margin Bottom" slider.

Step 5: Editing the Order form
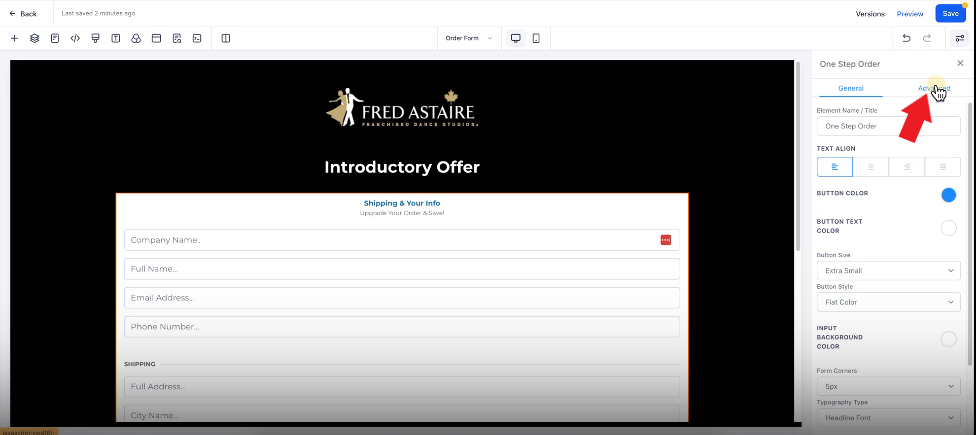
- Once the order form has been placed on your product page, click on the little gear icon at the top of the order form to access its setting

- On the settings panel on the right click on "Advanced". The following changes are recommended but not necessary you can make changes to the form according to your requirements
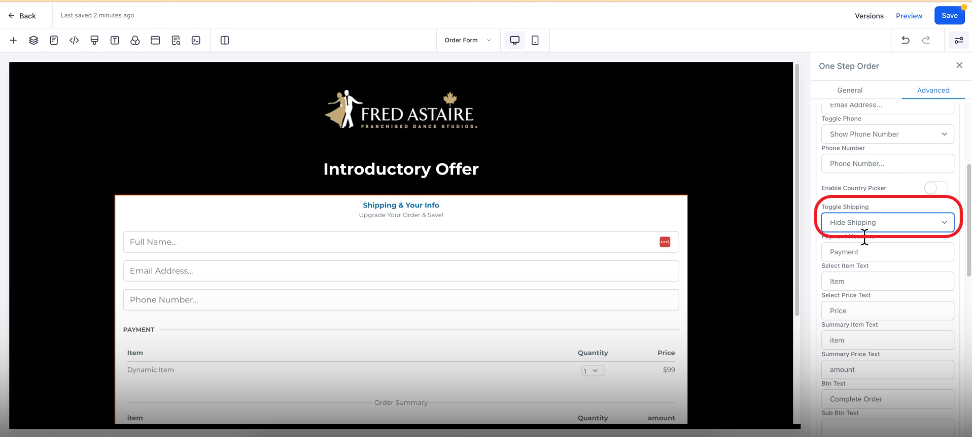
- Click on the "Toggle company name" option and from the drop-down choose the "Hide company name" option

- For the Toggle Shipping option choose the "Hide Shipping" option from the drop-down
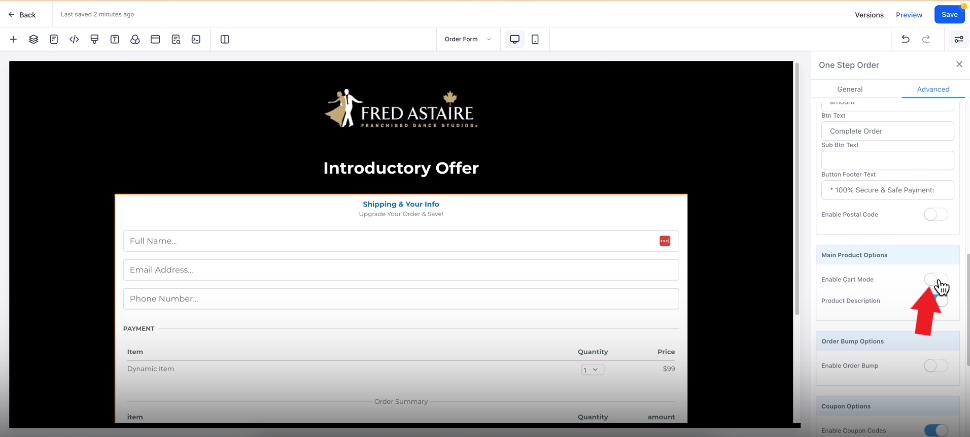
- Turn off the "Enable cart mode" by toggling the switch. It should turn grey/white when off
- Turn off enable coupon codes
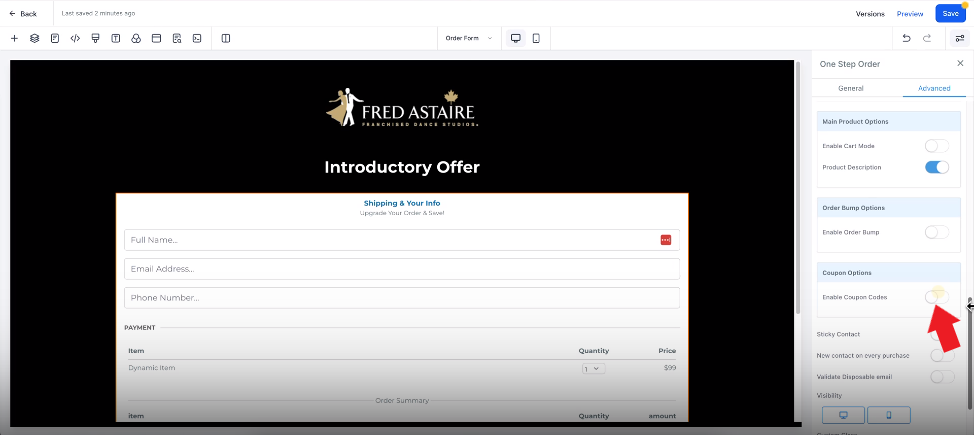
- Enable "Sticky Contact"

- Once done hit "Save"

- This is how the order form should look. Currently, the order form does not have a product. In the next step, we will add some products to this order form

Step 6: Adding products to the Order Form
- On the order form page click on the "Products" option on the right
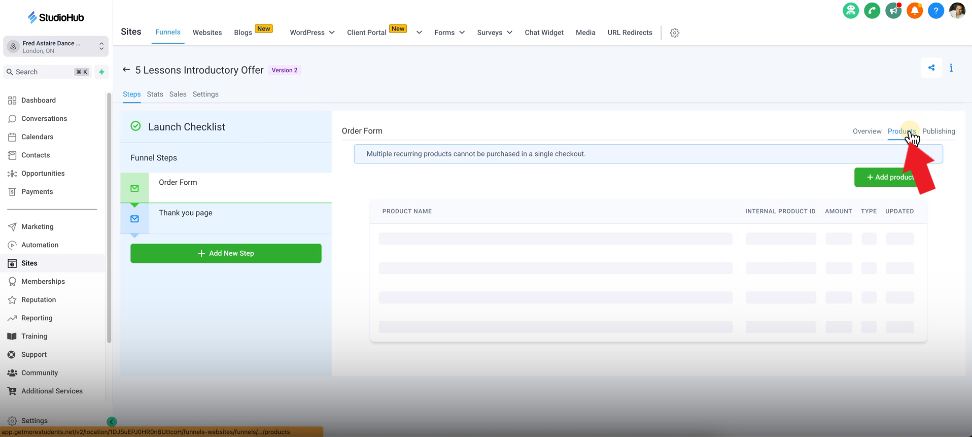
- Click on "Add Product"

- Click on the "Product" option and from the drop-down select the product that you want to add

- Enter the Product name

- Select the price of the product from the Price drop-down

- Click "Save" once done

- You can now see that the product is available in the order form

Step 7: Link a Domain
- In the Funnels section click on the "settings" option

- Click on the "Domain" field and from the drop-down select the domain of choice

- Once done click save

Conclusion
You've successfully created a sales funnel in Studio Hub to sell your product. Now you have a dedicated order form page and a thank-you page for your customers. In the next guide, we will discuss how to set up automation that ensures you receive notifications whenever someone makes a purchase. This will help streamline the sales process and enhance your online presence.