Introduction
In this guide, we'll walk you through creating a product inside StudioHub that customers can purchase. Let's get started with the first step.
Steps
Step 1: Access Payments and Integrate Stripe
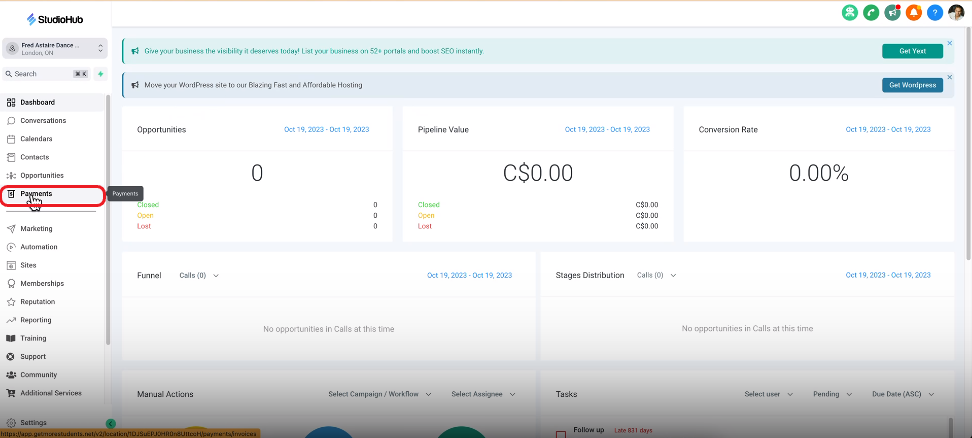
- Before creating your product, ensure your Stripe account is integrated with Studio Hub. If it's not integrated, head to the "Payments" section
- Click on "Integrations" at the top. Follow the steps and connect your Stripe account with your StudioHub account

Step 2: Creating a Product
- With your Stripe account integrated, click "Products" at the top.

- Click on "Create Product"

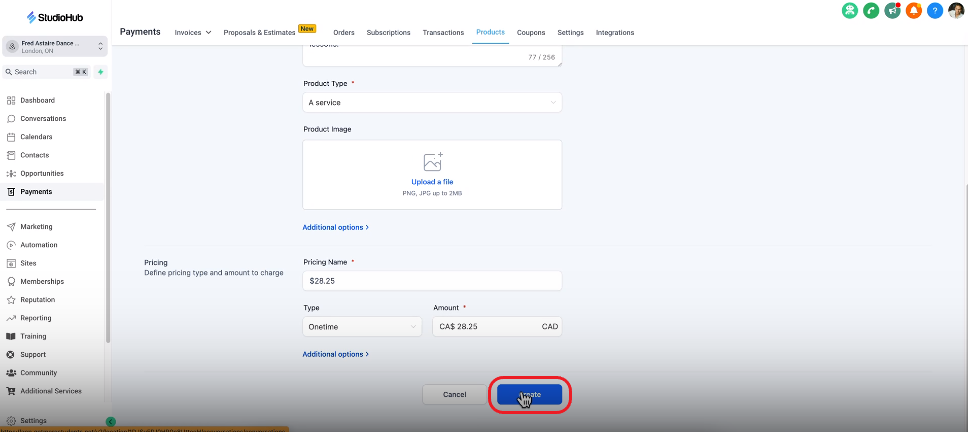
- Create a new product with the following details:
1. Name: Provide a descriptive name for your product, such as "5 Lessons Introductory Offer."
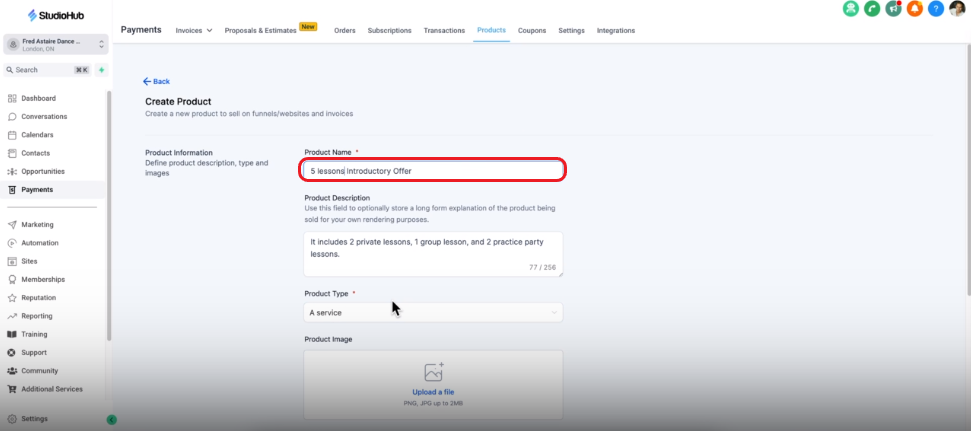
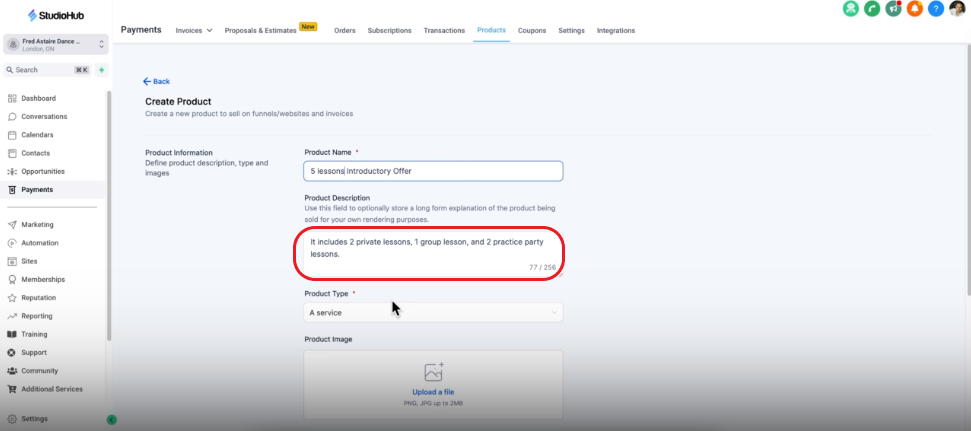
2. Description: Explain the product or service.
3. Product Type: Select the most suitable type (e.g., service).
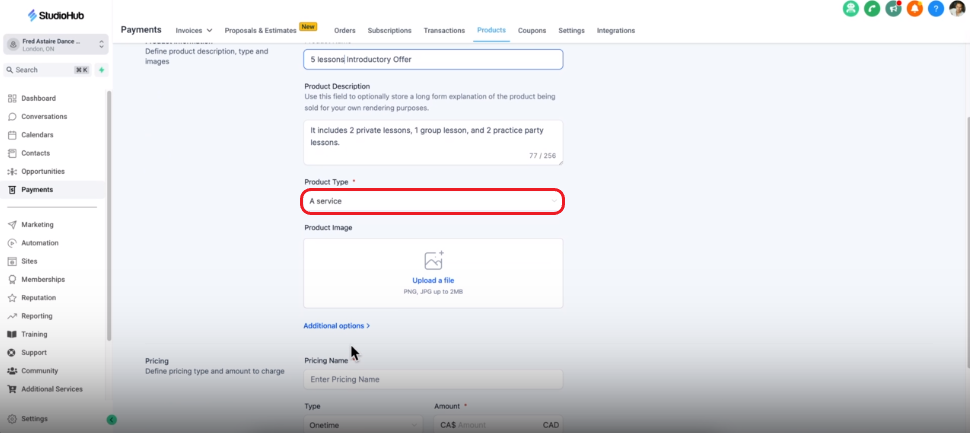
4. Pricing Name & Amount: Set the price (e.g., $28.25).

- Once the details have been entered click "Create"
Conclusion
You've taken the first steps to create a product within StudioHub and integrate it with Stripe. The next part of this guide will help you design an attractive sales page to showcase your product. Continue on this journey to successfully offer your product to your audience, and remember that in the next part, we'll discuss setting up automation for purchase notifications.