Introduction
Creating effective reminder workflows can make managing events and communications a breeze. In Studio Hub, you can create workflows tailored to specific dates, ensuring that your messages reach your audience right on time. This step-by-step guide will walk you through the process, making it easy to set up workflows for various events and dates.
Steps
Step 1: Login and Access Automation
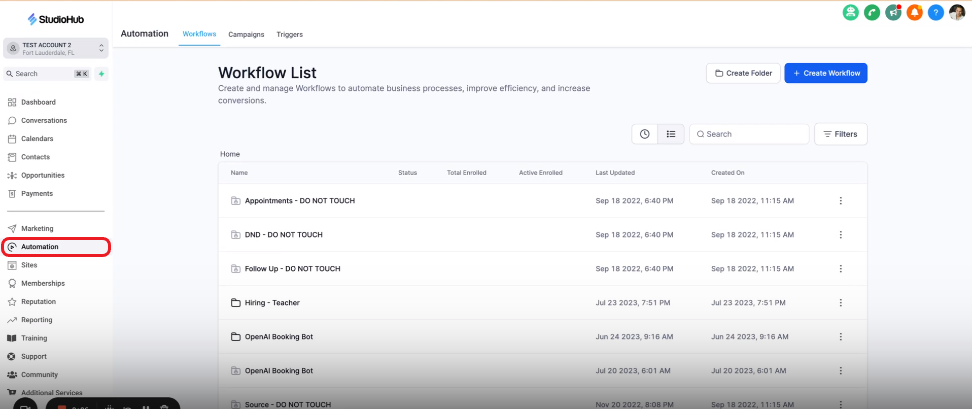
- Begin by logging into Studio Hub on your computer. Make sure you have your account credentials ready. From the Studio Hub dashboard, navigate to the "Automation" tab. This is where you can manage various automated tasks.
Step 2: Enter Workflow Section
- Under "Automation," you'll find several options. Click on "Workflows" to access the workflow management area.

Step 3: Create New Workflow
- Inside the "Workflows" section, look for "User Accessible". Click on it to start creating a new workflow.

- Click on the "Create Workflow" option at the top

Step 4: Start from Scratch
- Click on the option "Start from Scratch". This option allows you to build your workflow from the ground up.

Step 5: Name Your Workflow
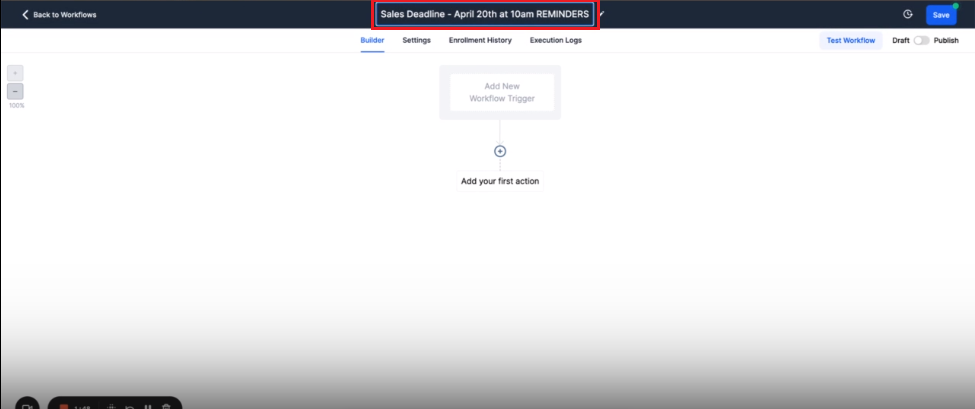
- Name your workflow descriptively. Include the event name and date, such as "Open House -August 20th at 10 am REMINDER".
Step 6: Adding Action step
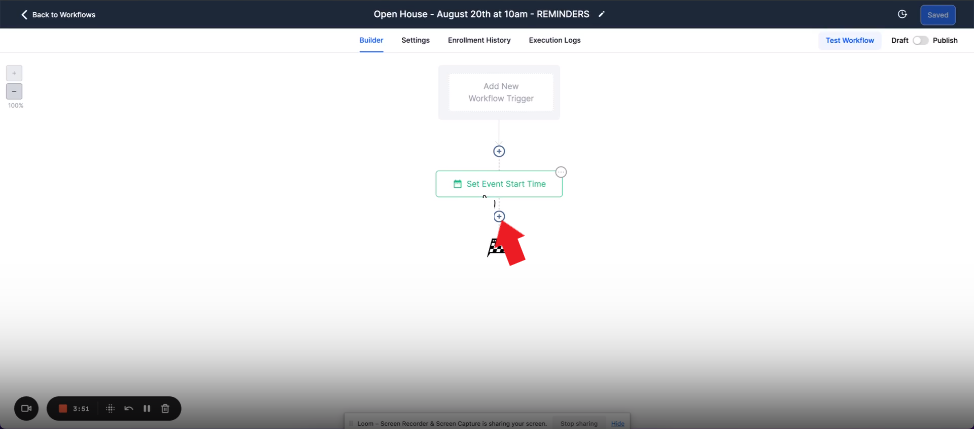
- Click on the "Add Action" or the Plus symbol. This will open a menu on the right

- In the Action menu on the right, search for "Set event start date" and select the action option

- In the TYPE field, select the "Specific Date/Time" option

- Select a desired date and time from the "Select Date" Calendar

- Click on "Save Action"

- Click "Save" on the top right corner to save the workflow changes

Step 7: Add a Wait step
- Click on the Add action/plus symbol again
- Search for "Wait" in the Actions search bar and select it

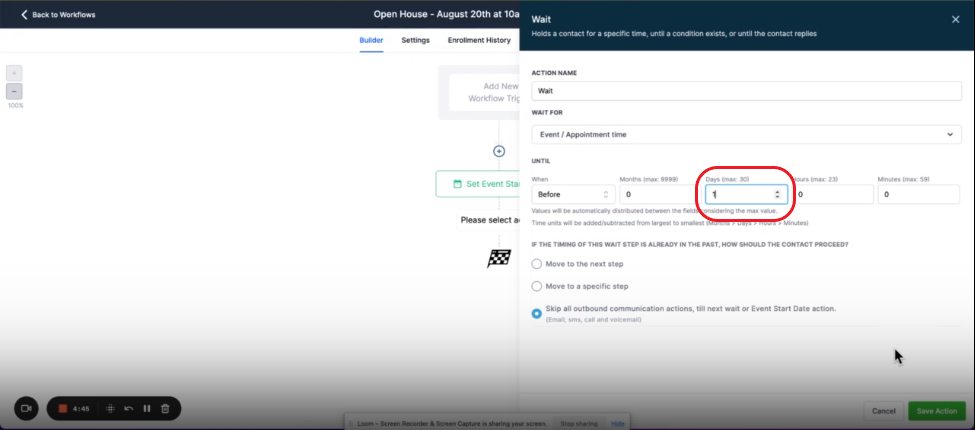
- Click on the "Wait For" field and select the "Event/Appointment Time" from the drop-down

- If you want people to receive the reminder the day before then choose "Before" and "24 hours" or if you want them to receive it before one hour, then choose "Before" and "1 hour"
- Select "Before" in the When field

- If it's a day before then add a value in the Days field, or if it's an hour or X hours before then a particular value in the Hour field. We have chosen to send this reminder a day before hence we will be adding 1 in the Day(s) field
- Click "Save Action"

Step 8: Add a "Send SMS" step
- Click on the Add action/plus symbol again

- In the Action menu locate or search for the "Send SMS" option

- Create a message that you would like to send to your client as a reminder. Try to customize it by adding custom values. These custom values will automatically add the client details in the messages whenever used
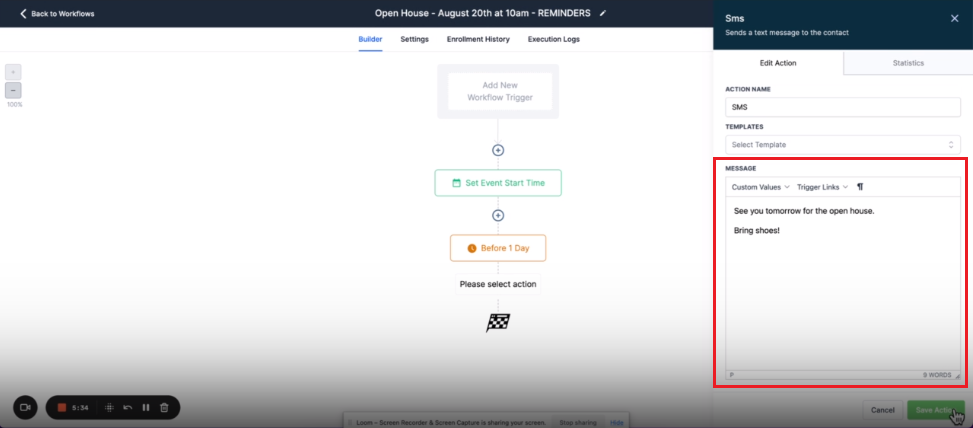
- Click "Save Action"

- Click the blue Save button on the top right corner to update and save the workflow progress

Step 9: Add a "Send Email" step (Optional)
- This step is optional you can omit it if you want to. This step will allow you to send an email reminder. Click on the Add action/plus symbol

- Search or locate the "Send Email" action

- Add details about the email such as Sender's name, Email, Subject, and then the message that you want to send
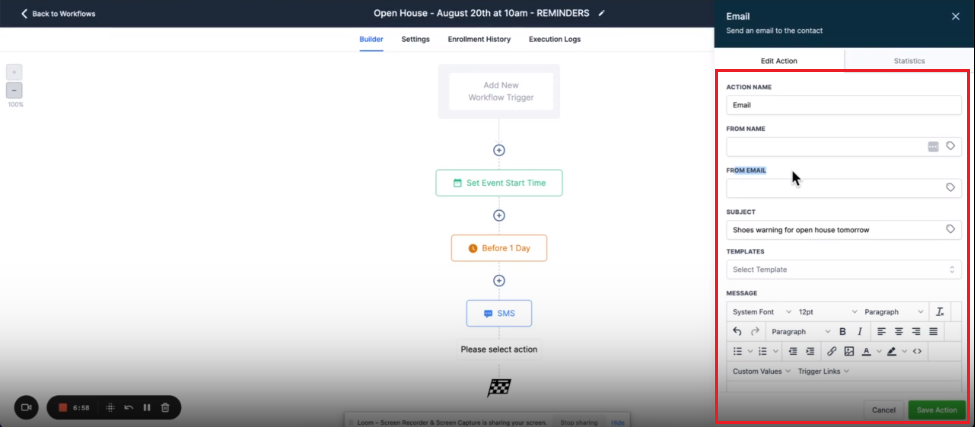
- Click "Save Action"
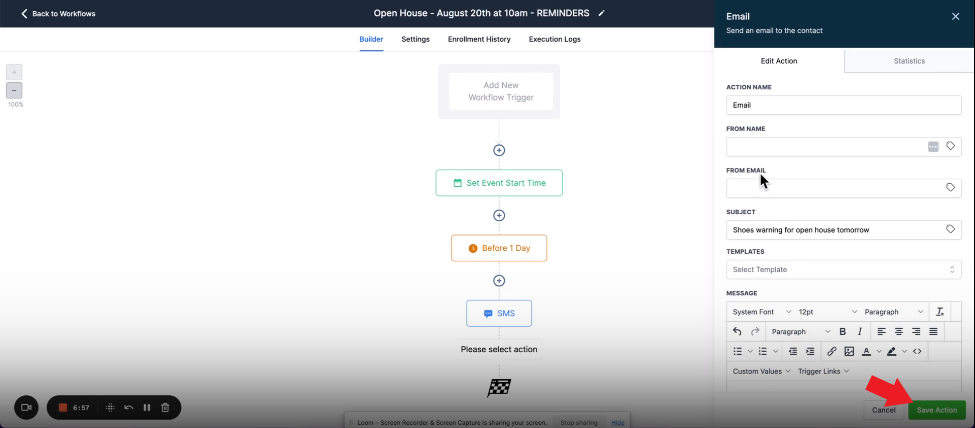
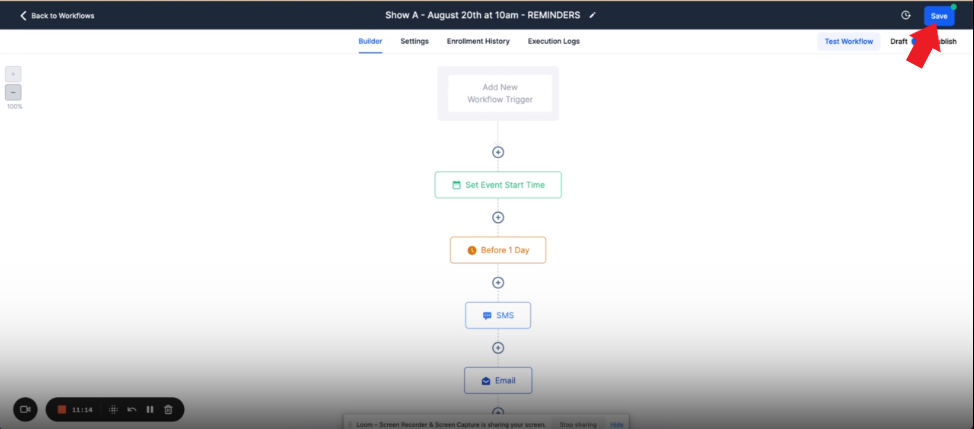
- Make sure to save the workflow by clicking the save button at the top right corner

You can repeat steps 6 to 9 if you want to add more reminders and action steps
Step 10: Publish and Save
- After configuring your workflow, make sure to "Publish" the workflow by toggling the switch on the top right.

- Click "Save" to save the workflow
Duplicate Workflows (Optional)
To save time when dealing with similar events, you can duplicate an existing workflow. Adjust the name, date, and settings to match the new event.
- In the workflows section click the 3 dots beside the workflow that you want to copy
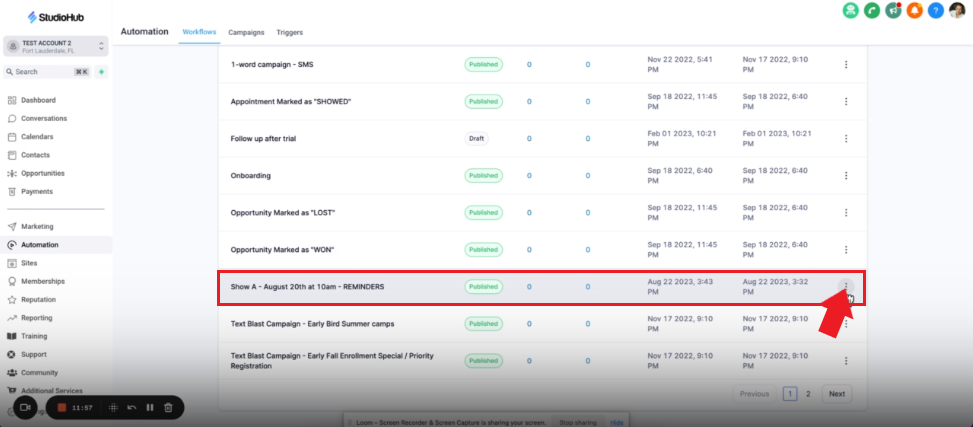
- Choose the "Duplicate Workflow" option

- Change the name to whatever you like and then click "Create"

NOTE: Make sure to make changes to the event date and time since this workflow is a duplicate and will have the same settings
Conclusion
Creating reminder workflows for specific dates in StudioHub is an efficient way to manage your events and communicate with your audience. This guide simplifies the process, whether you have single or multiple events to organize. By setting up workflows, you can ensure timely and effective communication, making event management smoother and more organized.