Introduction
In this guide, we'll walk you through the process of setting up custom notifications for specific ads. By doing this, you can receive tailored notifications whenever you receive leads from particular advertising campaigns, allowing you to engage with potential customers more effectively.
Steps
Step 1: Mapping Fields
- After launching, ensure that you map the fields correctly. This step is crucial for setting up specific notifications later. To map fields make sure to go through this entire guide
Step 2: Identify the Form Name
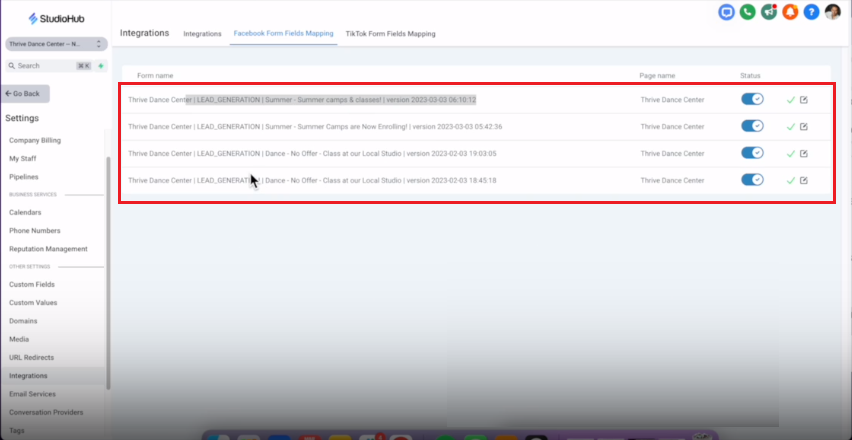
- Once you've launched the ad, make sure to save or write down the name of the form that was mapped. This form name will help you identify which ad campaign the leads are coming from. To access your forms go to Integrations and then select Facebook Forms Field Mapping from the top menu.

- You will see the names of the forms that are available
Step 3: Create a Workflow
- On the left side panel menu of StudioHub click on "Automation".
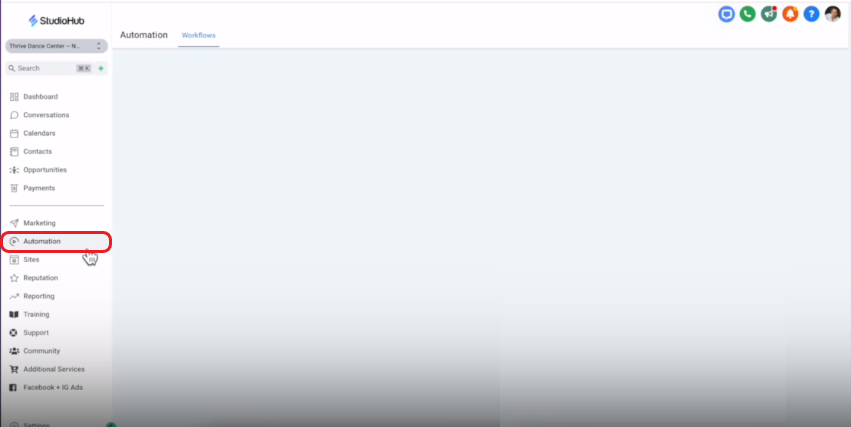
- Select "Workflows".

- Choose the "User Accessible" folder

- Create a new workflow by clicking "Create New Workflow."

Step 4: Set Up the Workflow
- Click on the "Start From scratch" option for Workflow Templates and then click on the green "Create new workflow" button on the top right.

- Name the workflow based on the campaign, e.g., "Notifications for Summer Ads". Make sure the workflow name is related to the ad.
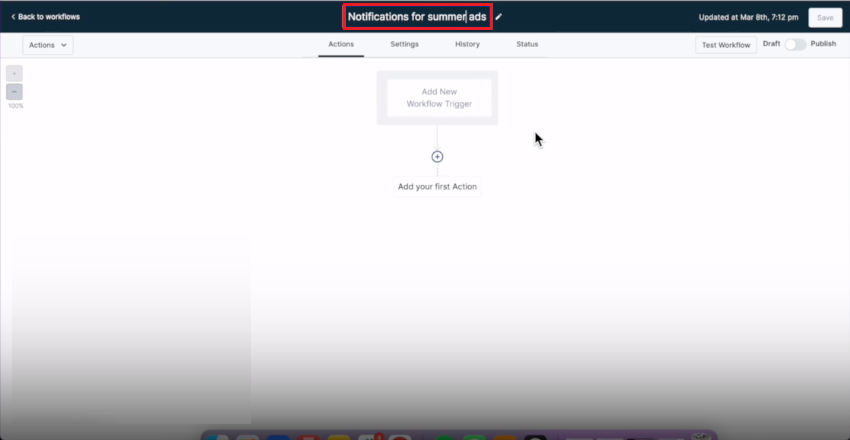
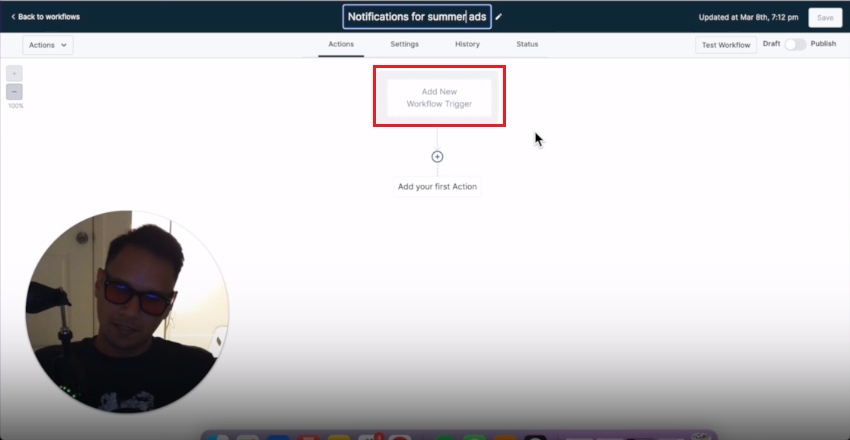
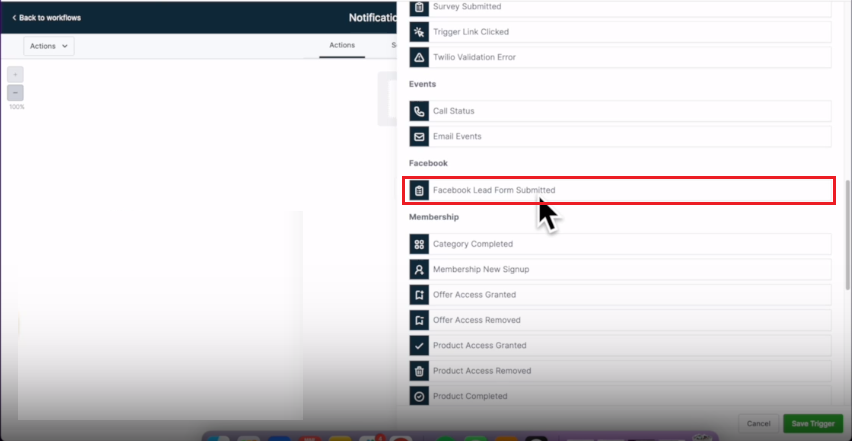
- Click on "Add New Workflow Trigger"
- Search or locate "Facebook Lead Form Submitted".
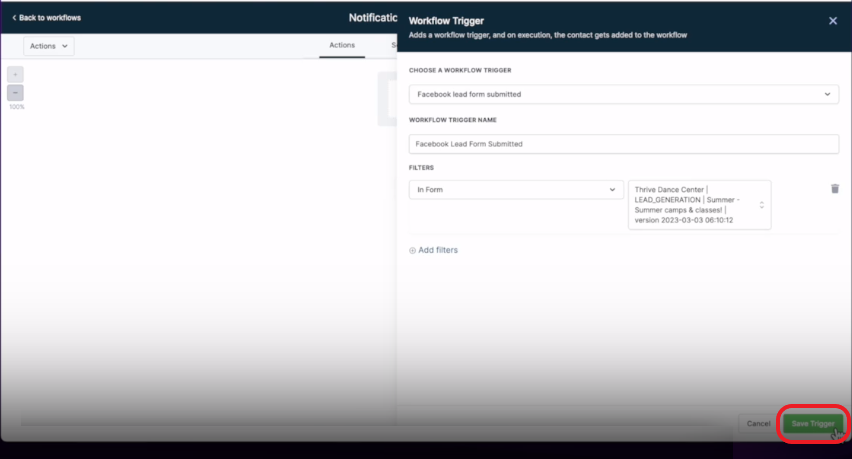
Step 5: Add Filters
- Click "Add Filter"

- Click on the filter select field and select the filter "In Form"

- Choose the specific form associated with the ad campaign you're interested in. This is the same form that you were asked to remember or save the name of in Step 2

- Click on "Save Trigger" to save the trigger settings
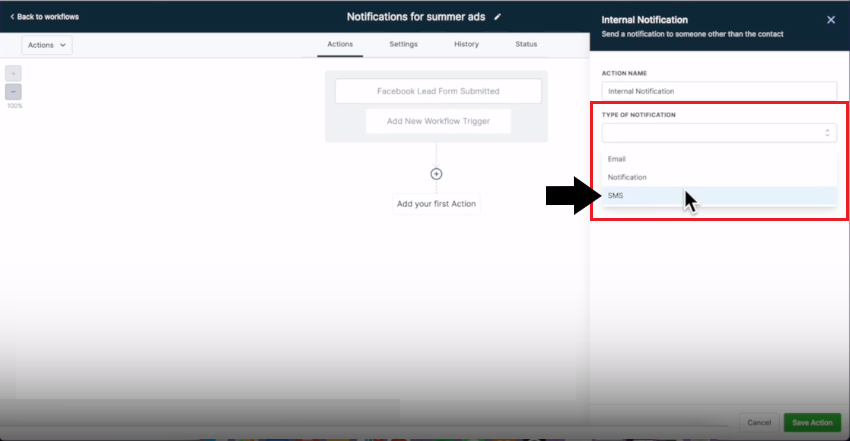
Step 6: Send Internal Notification
- Click on "Add Action"

- Select "Send Internal Notification". You can either search for it using the search bar or can scroll down and select it manually

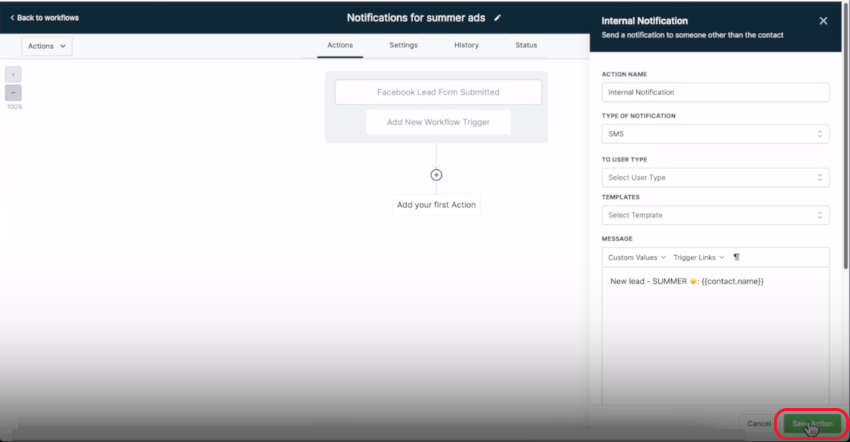
- Click on the TYPE OF NOTIFICATION field and from the drop-down menu select "SMS"
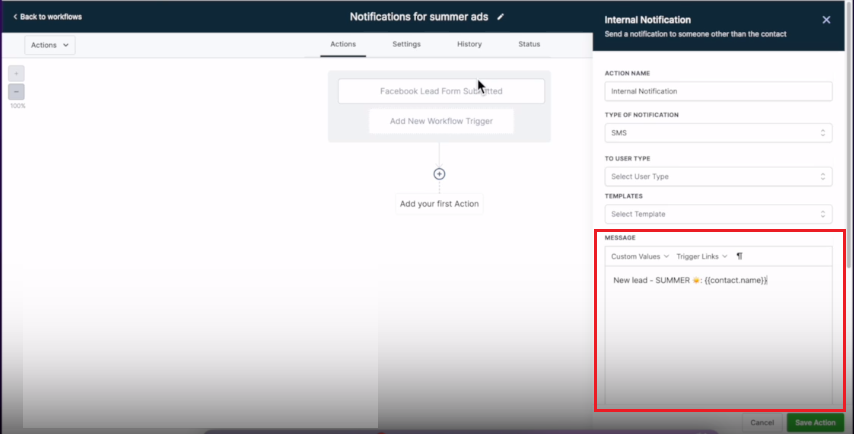
Step 7: Customize the Notification
- In the notification text, include relevant information like "New lead summer" and use emojis or tags for better identification.
- Add custom values by clicking on the "Custom Values" option

- Click on "Contacts" and then choose "Full Name"

- This is how the notification text box should look like. So once you get a new lead for a custom dance program you will receive a custom SMS notification with this text.
- Specify the user type as "All Users". This will notify all users about the lead

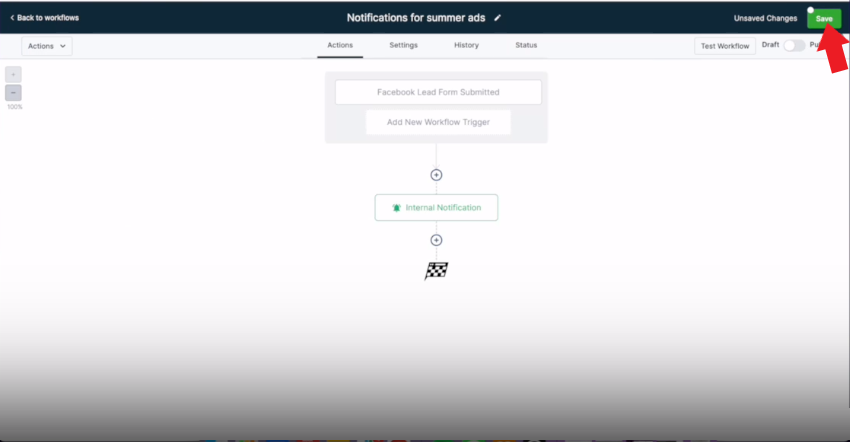
- Click "Save Action"
 `
`- Make sure to hit "Save" on the top too.
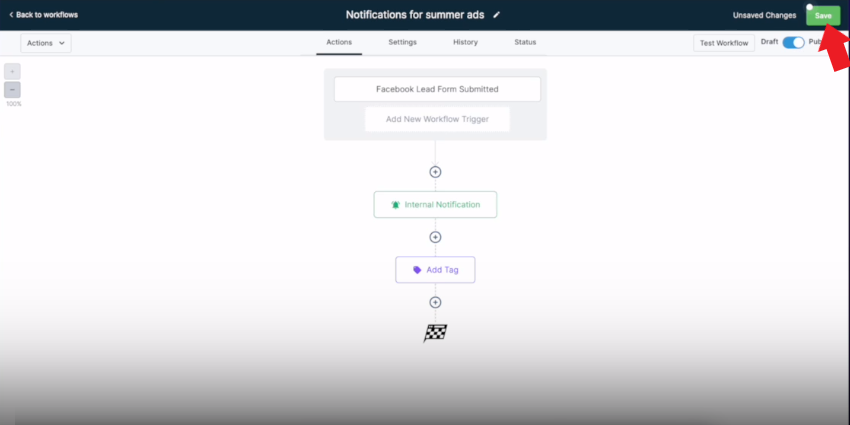
Step 8: Add a Tag (Optional)
- If desired, add a contact tag to categorize leads from this campaign. Click the Add Action icon

- In the action menu select "Add Contact Tag". You can either search for it using the search bar or locate it manually.

- Under TAGS, search for the tag that you want, in this case, we searched for "summer".

- If can't find a specific tag you can make a new one simply by typing it out on the search bar and clicking on the "ADD NEW TAG" option.

- Once done click on "Save Action".

- Make sure to hit "save" on the top as well for the changes to take effect
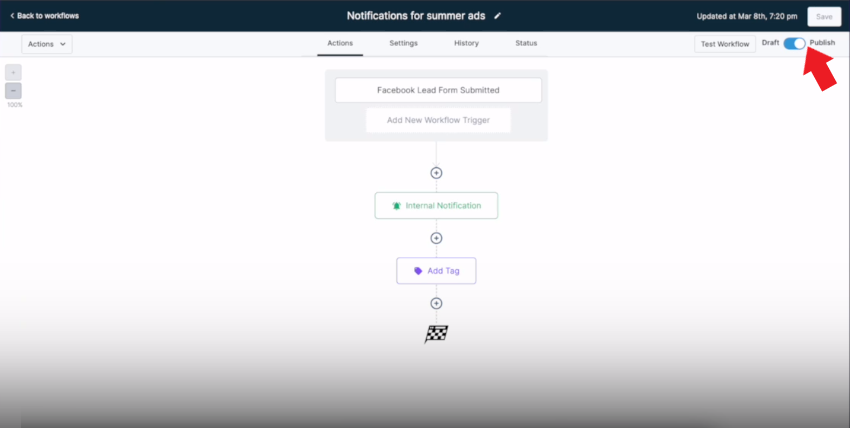
Step 9: Publish
- Ensure the workflow is published by checking that the "Publish" button is toggled on and is blue in color.
If you launch a new ad campaign, repeat the process by changing the form in the workflow settings.
Conclusion
Congratulations! You've set up custom notifications for specific ads. Now, you'll receive notifications tailored to the campaign from which leads are generated, helping you engage with potential customers more effectively. Remember to create separate workflows for different campaigns if needed. If you have questions or need further assistance, don't hesitate to reach out. Good luck with your advertising efforts!