Introduction
In this guide, you'll learn how to update the Calendar ID in your Studio Hub settings. This is crucial for ensuring your calendars are correctly configured and linked to your Studio Hub account.
Steps
Step 1: Access Studio Hub Settings
- Begin by logging into your Studio Hub account on your computer. Navigate to your dashboard and scroll down to the bottom left corner, where you'll find the "Settings" option. Click on it.

Step 2: Access Calendar Settings
- Inside the "Settings" menu, locate and select "Calendars".

Step 3: Identify Your Main Calendar
- It's essential to know that this process works best when you have only one calendar. Ensure you are working with your "Main Calendar". If you have multiple calendars or locations, choose the one labeled as your main calendar.

Step 4: Copy the Permanent Link
- Once you've found your main calendar, click on the three dots

- From the options, select "Copy Permanent Link."

Step 5: Paste the Link
- Open a new tab on your browser

- Paste the copied permanent link in the search bar and DO NOT press enter

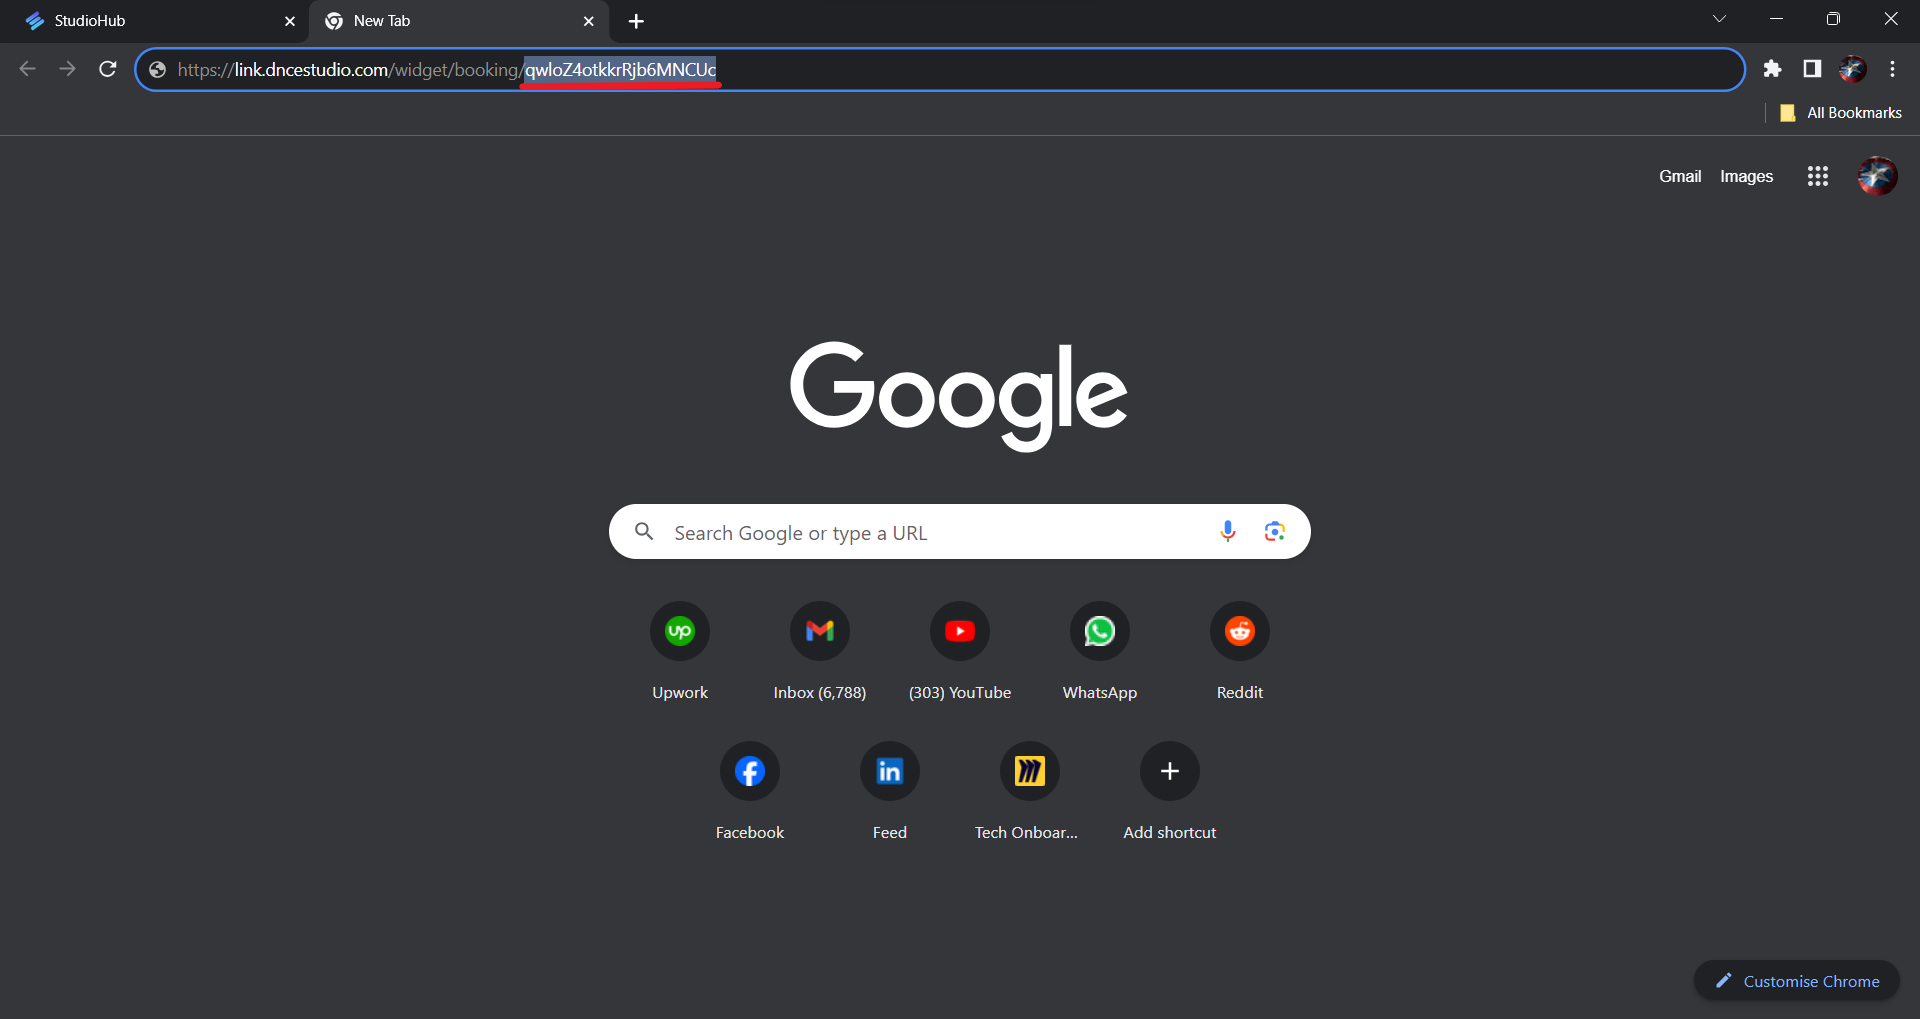
Step 6: Extract the Calendar ID
- In the pasted link, you'll see various characters, numbers, and letters. What you need to copy is the data after the last forward slash (/).
Step 7: Update the Calendar ID in Studio Hub
- Return to your Studio Hub settings. Click on the "Custom Values" option in the settings menu.

- Find the custom value labeled as "Calendar ID". It should currently be empty.

- Click on the pencil icon next to the calendar ID to edit it.

- In the editing window, paste the data extracted in Step 6 and click "Update"

Step 8: Verify the Update
- Once it's completed, you should see the Calendar ID displayed under the "Calendar ID" custom value.

Conclusion
By following these steps, you'll ensure that your StudioHub account is correctly configured with the updated Calendar ID, enabling seamless integration and accurate calendar management.
Check out the next guide on How to add an intro message to your bot in StudioHub