Introduction
Sending out email communications, such as newsletters or email blasts, is a powerful way to engage with your audience. StudioHub offers a user-friendly platform for creating and sending emails to your contacts. This guide will walk you through the steps to effectively send out an email blast using StudioHub.
Steps
Step 1: Access Email Marketing:
- Begin by logging into your StudioHub account on your computer. Once logged in, click on "Marketing" on the left panel.

Step 2: Create an Email Template:
- In the marketing section, click on the Email tab on the top and select the "Templates" option
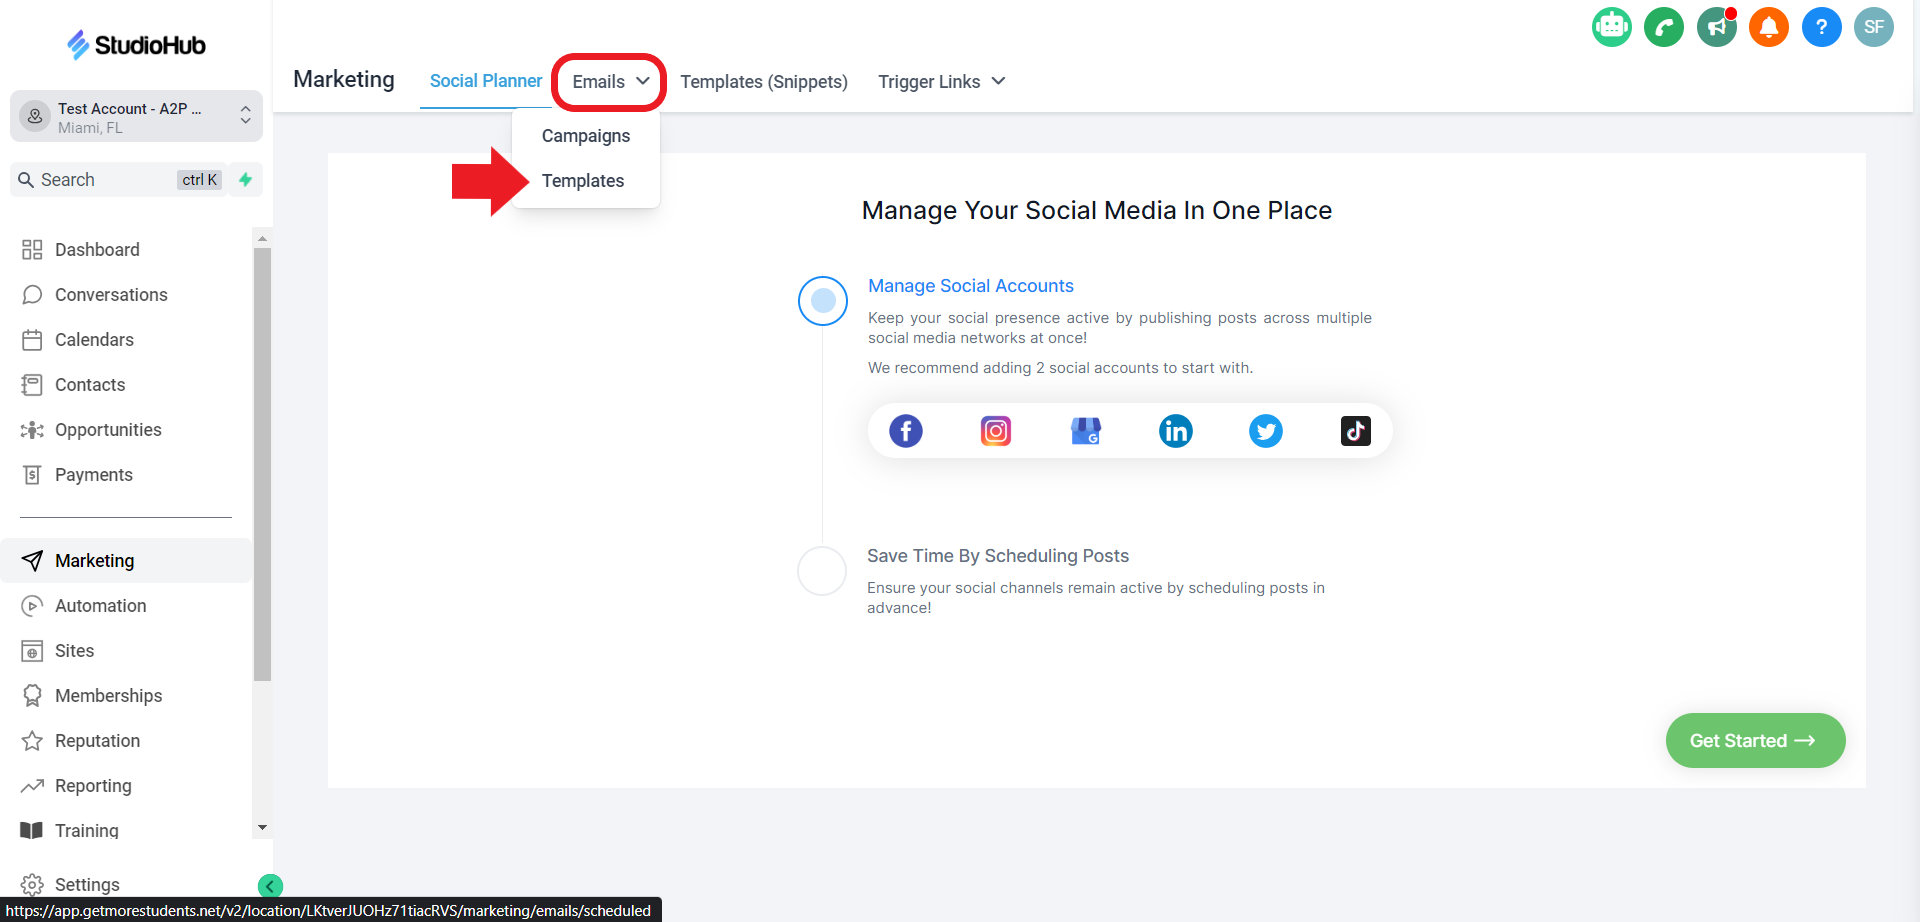
- Click on the "Create Template" option

- Select the "Design Editor" option

Step 3: Customize Your Template:
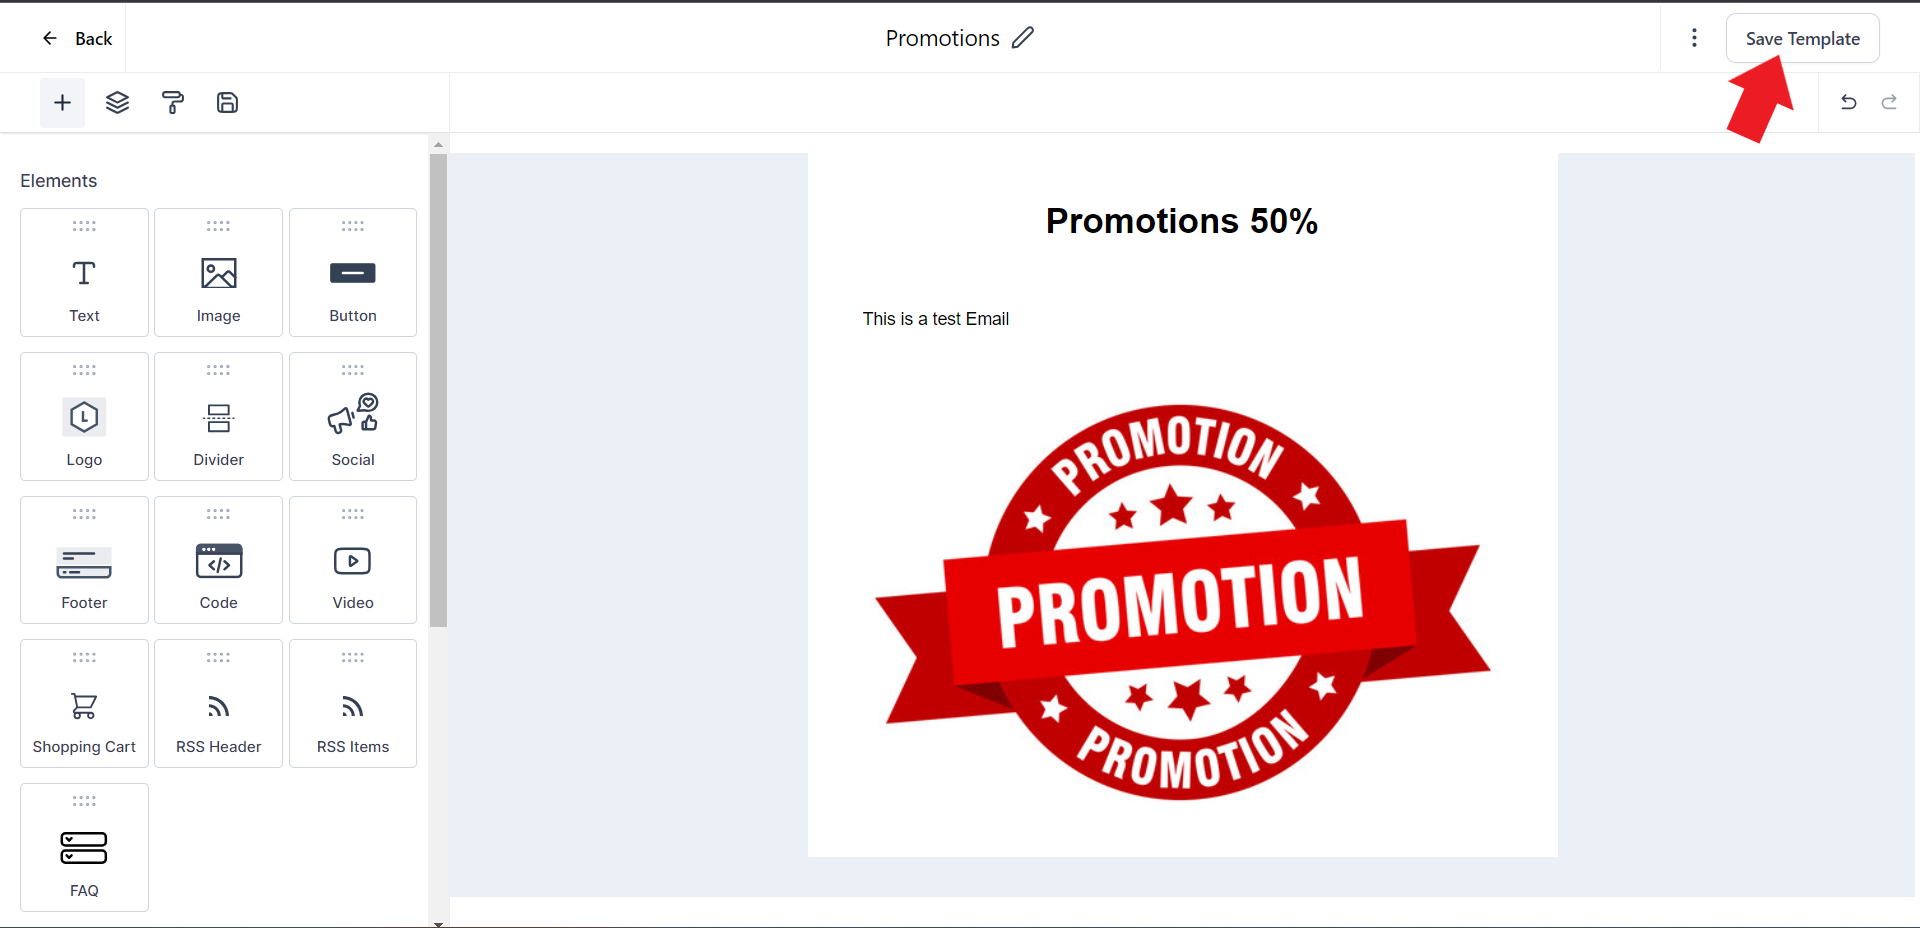
- Start by adding a title for your email template to make it easily identifiable.

- To add a text box, drag and drop the text element from the Elements panel

- Customize the template by dragging and dropping images, videos, and text blocks.

- Click the "Save Template" button on the top to save the changes
Step 4: Configure Email Settings:
- Click on the 3 dots on the top right, and from the options select the "Settings" option

- Provide the necessary details, including the "From Name", "From Address", and "Subject Line" for your email. Give your email an internal name for easy reference in your account. Click save once everything is entered.

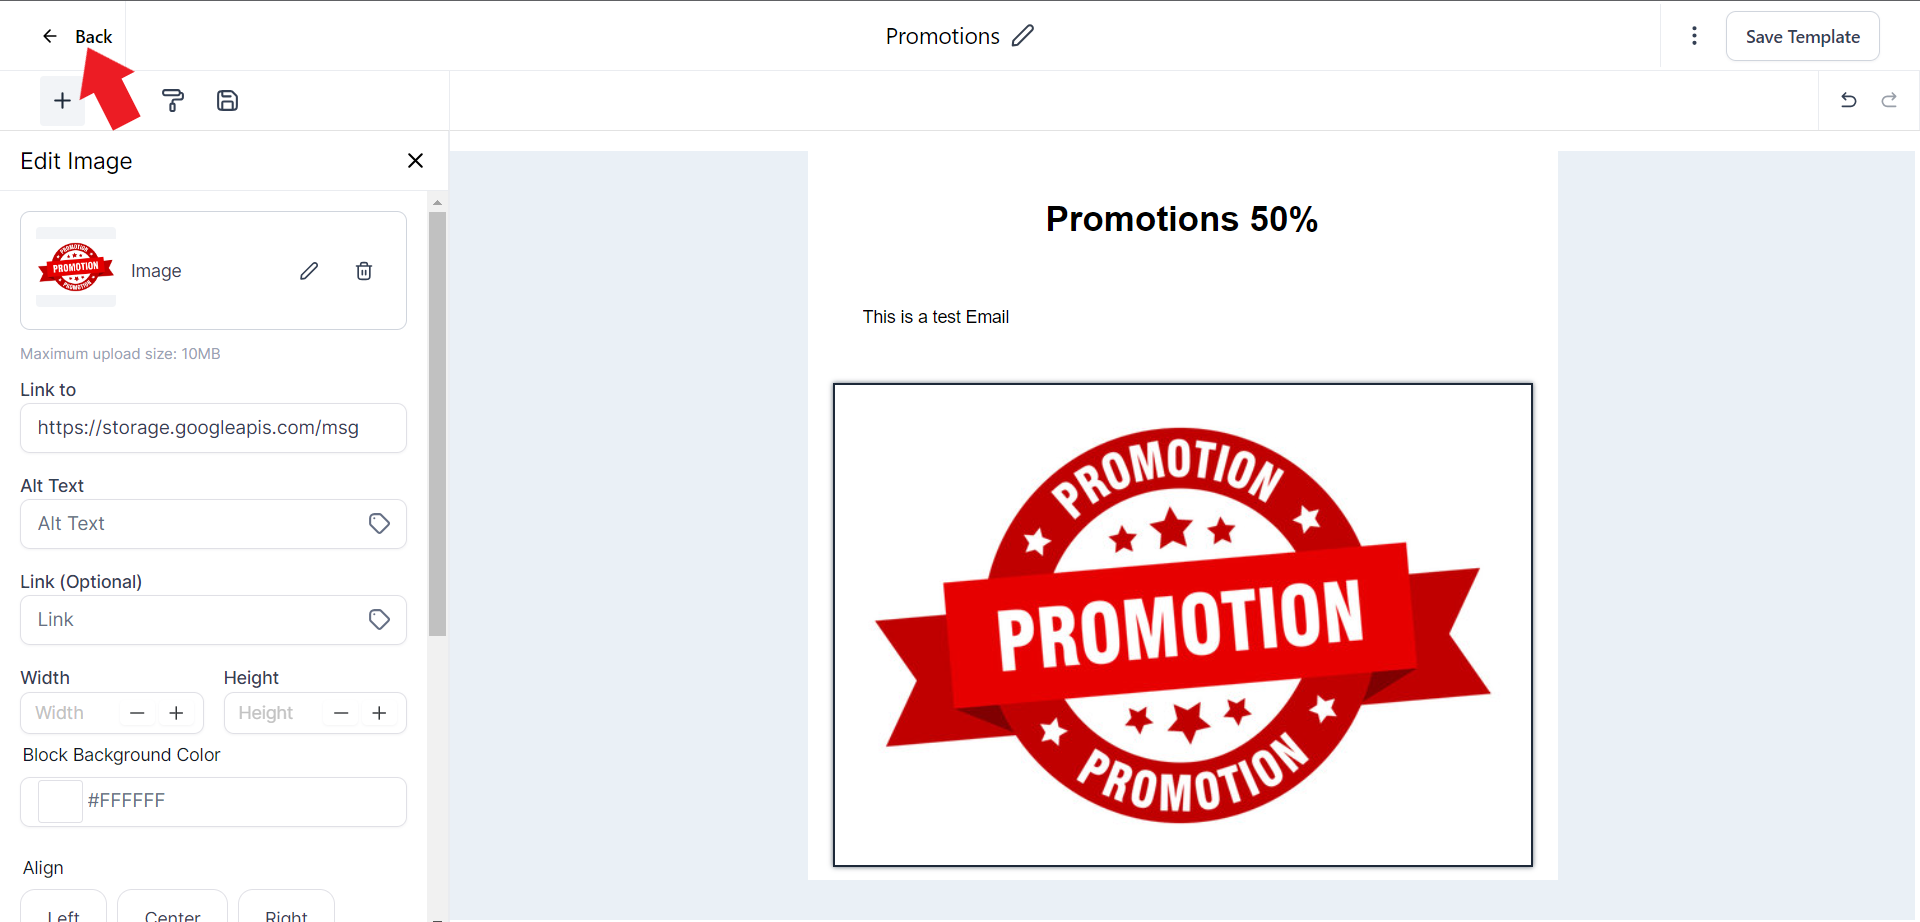
- Once you've made changes to your email template click the "Back" option on the top left corner.
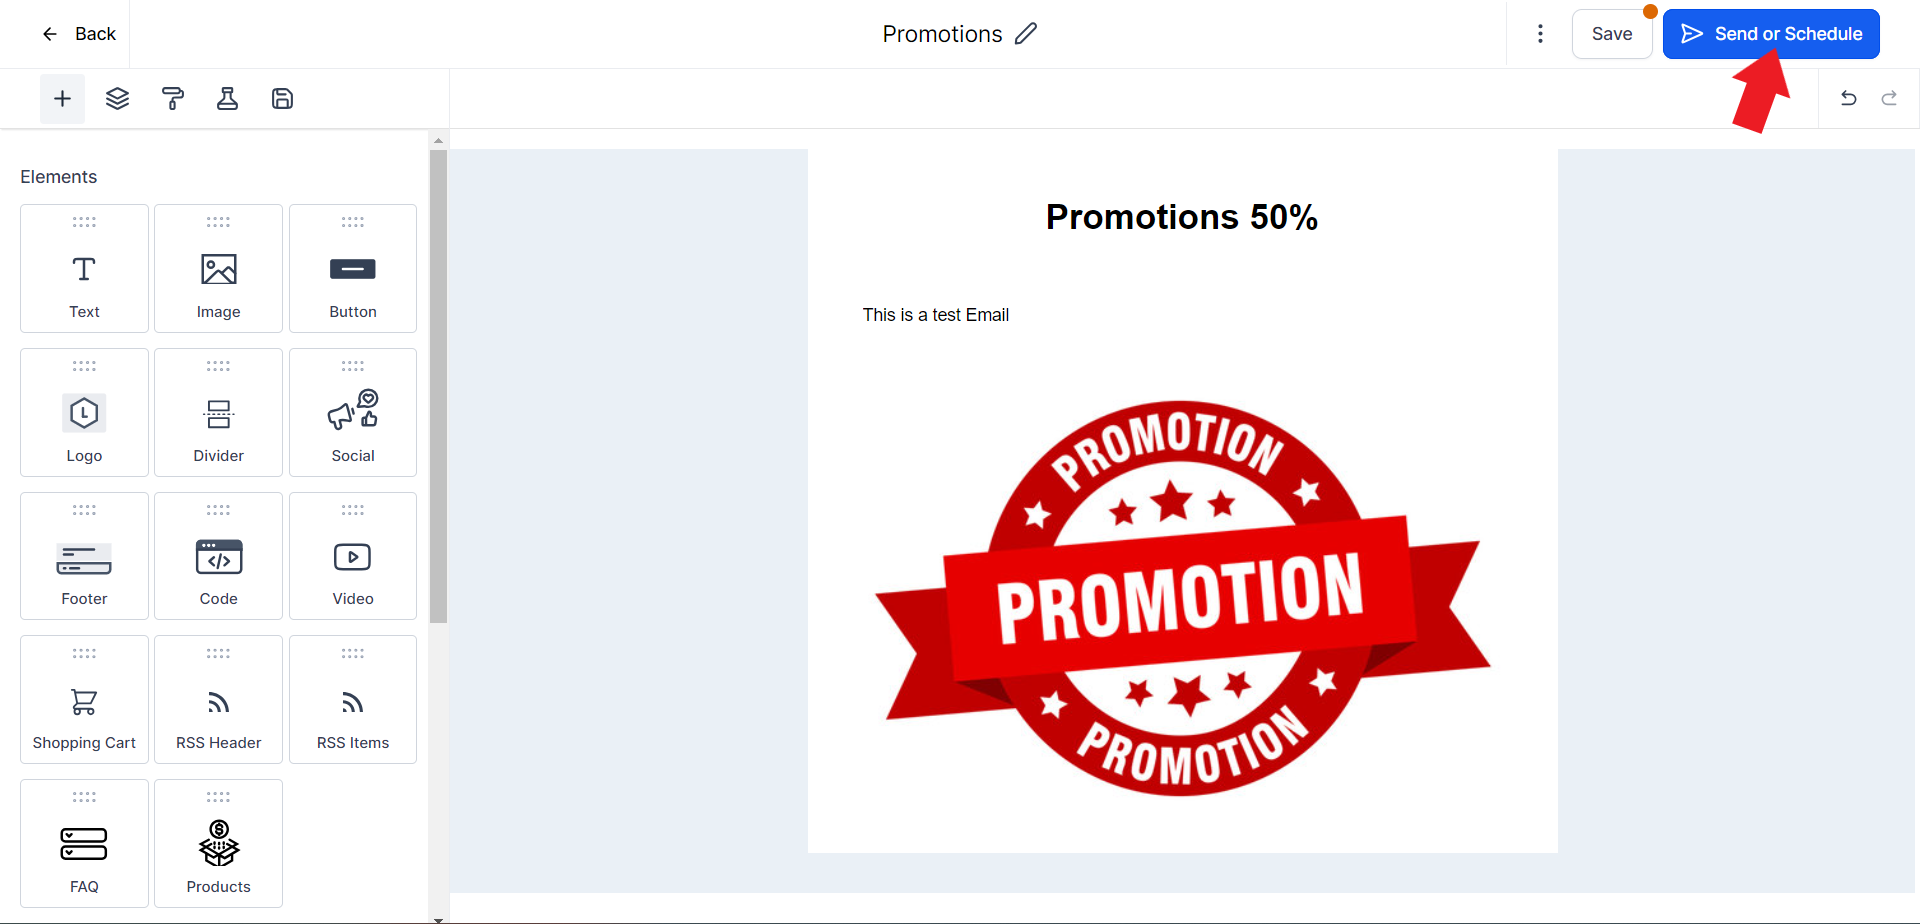
Step 5: Choose Send or Schedule:
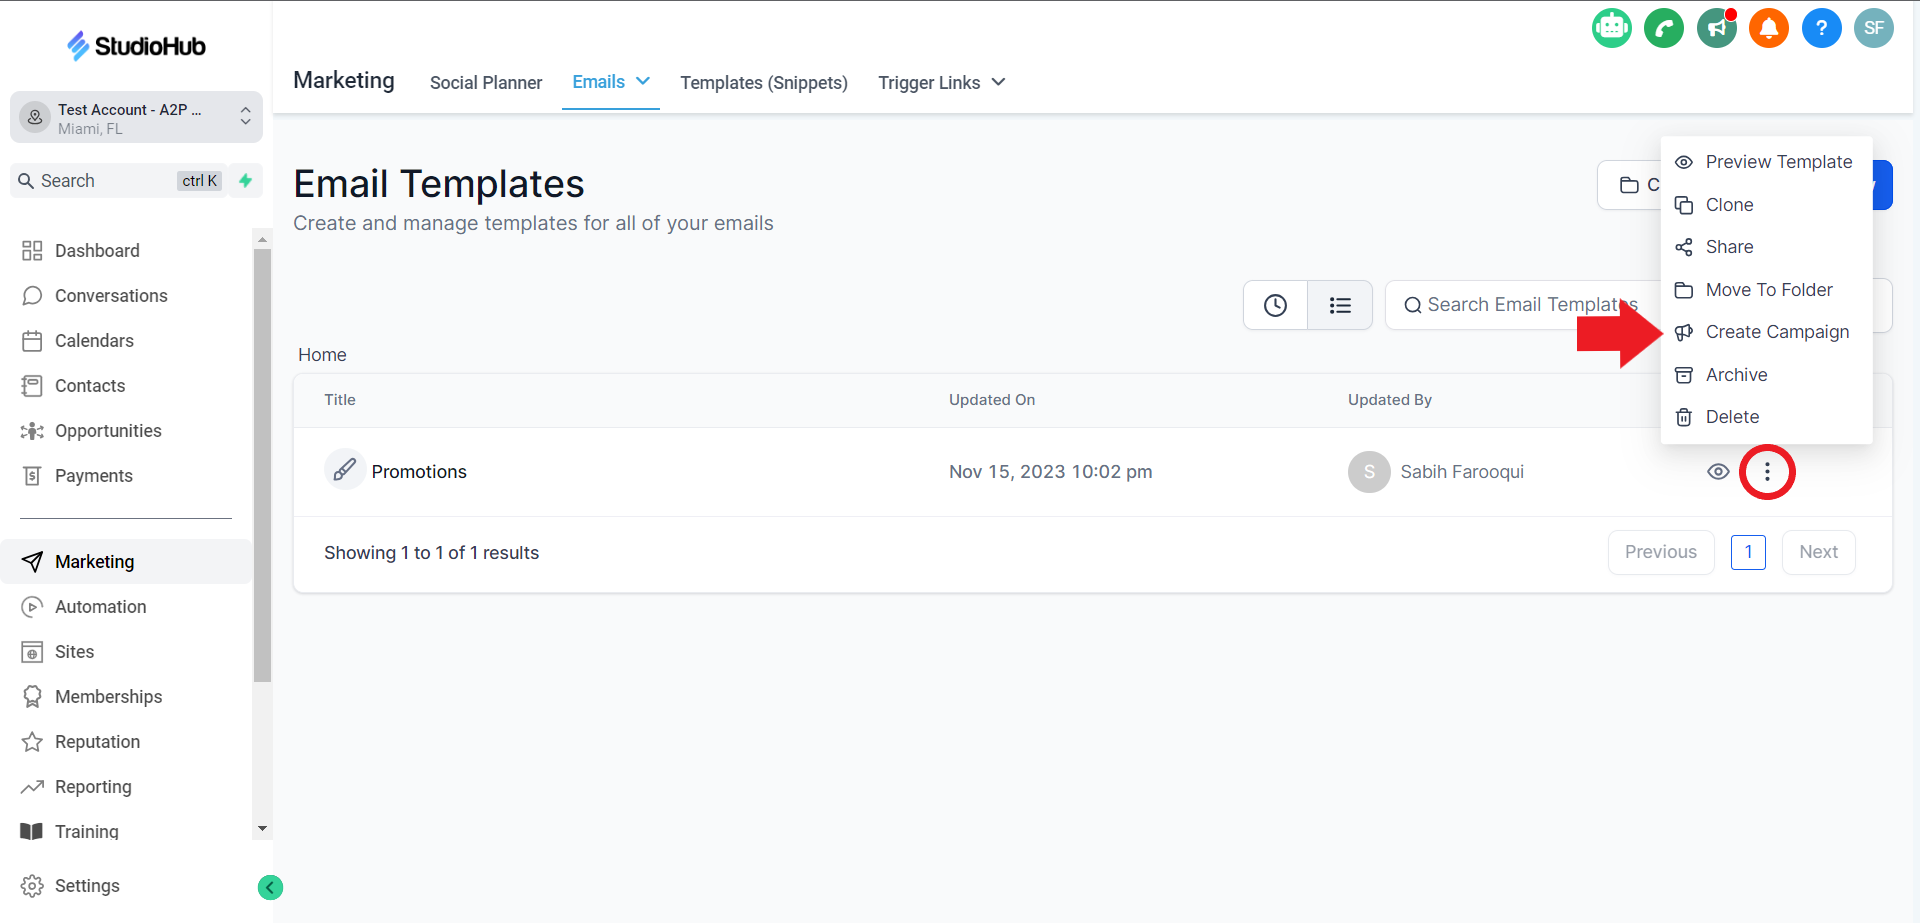
- Click the 3 dots of the Email template that you've just created and select the "Create Campaign" option
- Click on the "Send or Schedule" option on the top right
- You can select the "Send Now" option if you want to send this email blast immediately

- You can also select the "Schedule" option. This will ask you for the date and time on which this email will be sent out to the recipients.

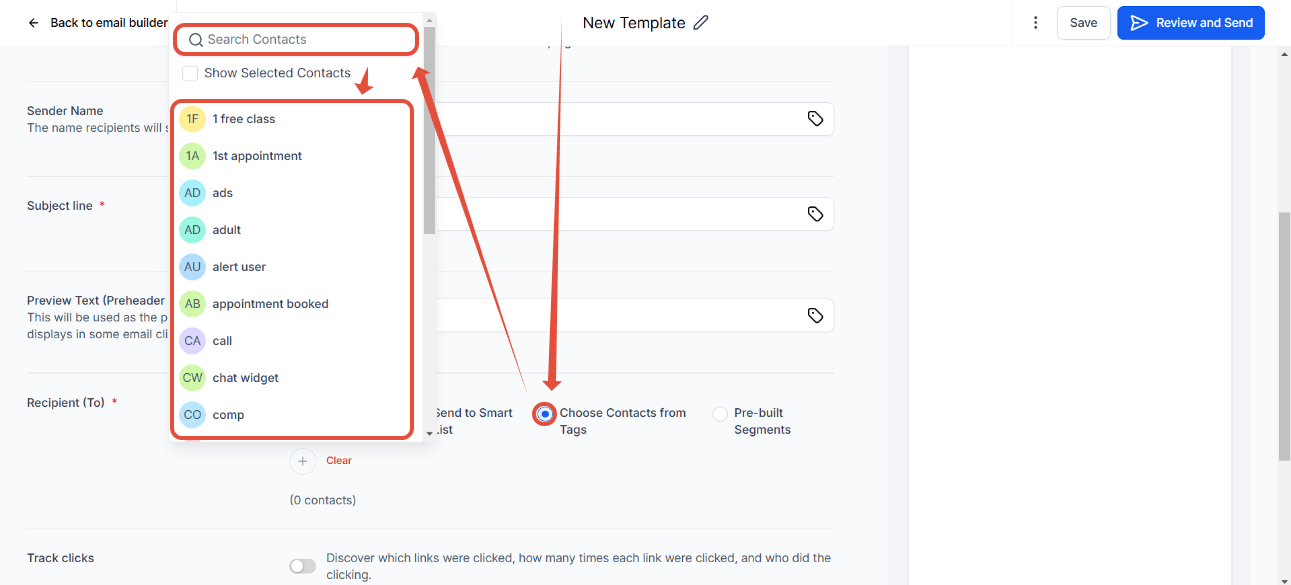
Step 6: Selecting Recipients:
- To choose contacts individually, click on the "+" in the Recipient section

- Type in the name of the contact in the seach bar
- Select the contact you want to email from the dropdown menu

- You can also use tags to target specific groups within your contact list. Use the "Choose contacts from Tags" option and search for the tag name in the search bar
- Select the tag from the dropdown menu
- If you want to select all contacts, select the "all contacts" button in the recipient section

Step 7: Review and Send:
- Once you've made all the changes, review your email and click "Save"

- Click "Review and Send" or "Review and Schedule" depending on what option you choose

Conclusion
Using StudioHub's email marketing features, you can efficiently send out email blasts, newsletters, and other communications to your contacts. By following these steps, you'll be able to create and schedule email communications that are personalized and engaging. Remember to thoroughly review your emails before sending them to ensure accuracy and relevance. With StudioHub, you can effectively connect with your audience and keep them informed about your offerings and updates.
.