Introduction
If you have a contacts list that you want to import into StudioHub, this guide will walk you through the process step-by-step. By following these instructions, you can efficiently import your contact database and ensure that your communication efforts are well-organized.
Steps
Step 1: Access the Contacts Menu:
- Log in to your StudioHub account. On the left-hand menu, locate and click on the "Contacts" option. This is where you manage your contacts.

Step 2: Initiate Contact Import:
- Within the Contacts menu, search for the "Import Contacts" button.

- After clicking on the "Import Contacts" button a pop-up window will appear where you can upload or drop in your contact list CSV file.
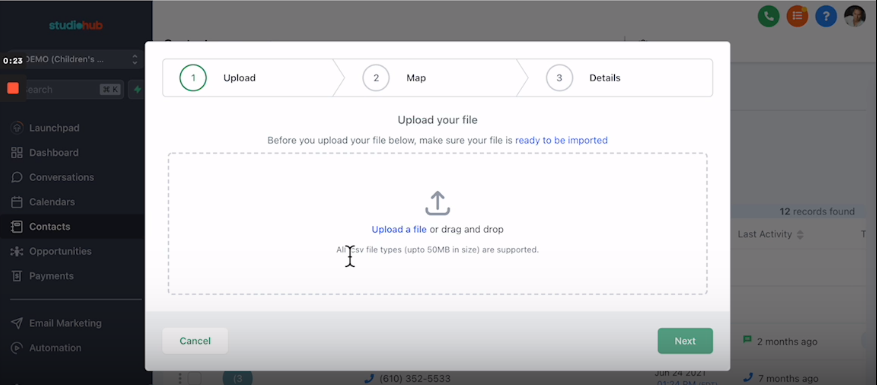
Step 3: Formatting CSV file:
- Before uploading the CSV file make sure that your CSV file is in the correct format so that StudioHub can read it. To see the acceptable format, click on the "ready to be imported" text in blue.

Step 4: Review Formatting Guidelines:
- Once you click on it, this will take you to a new page that has the required formatting information for the CSV file. You can also access that document through this link.

Once the CSV file is in the correct format upload it and click the Next option until the process is complete.
Conclusion
Uploading a contacts list to Studio Hub can greatly enhance your communication management. By meticulously following the outlined steps and properly formatting your CSV file, you'll ensure that your contact list integrates seamlessly with Studio Hub. Accurate data mapping and formatting are key to successful import. Once completed, your contact list will be efficiently organized within Studio Hub, enabling more effective communication management.