Introduction
In this guide, we'll explore the first method to manage multiple locations from one StudioHub account. While this approach is relatively simple, it has some drawbacks to consider. By modifying templates, you can ensure that trial class attendees receive location information for all your branches or venues. Let's dive into the process!
Steps
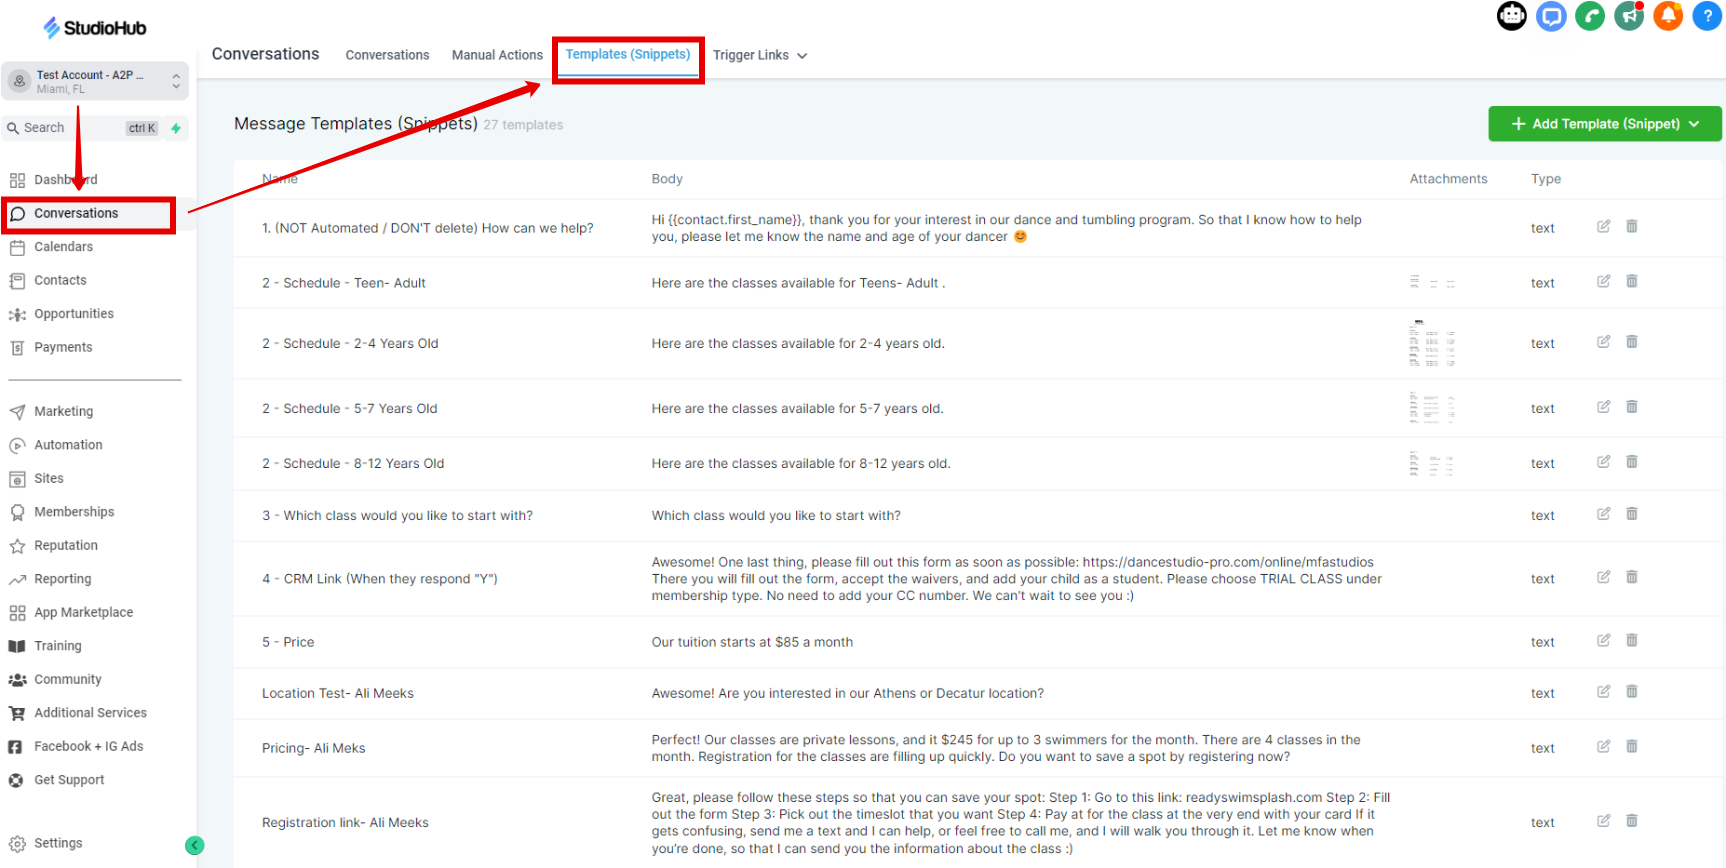
Step 1: Accessing Templates:
- Log in to your StudioHub account and navigate to the "Conversations" section.

- Click on "Templates" to access the template settings.
Step 2: Modifying Templates:
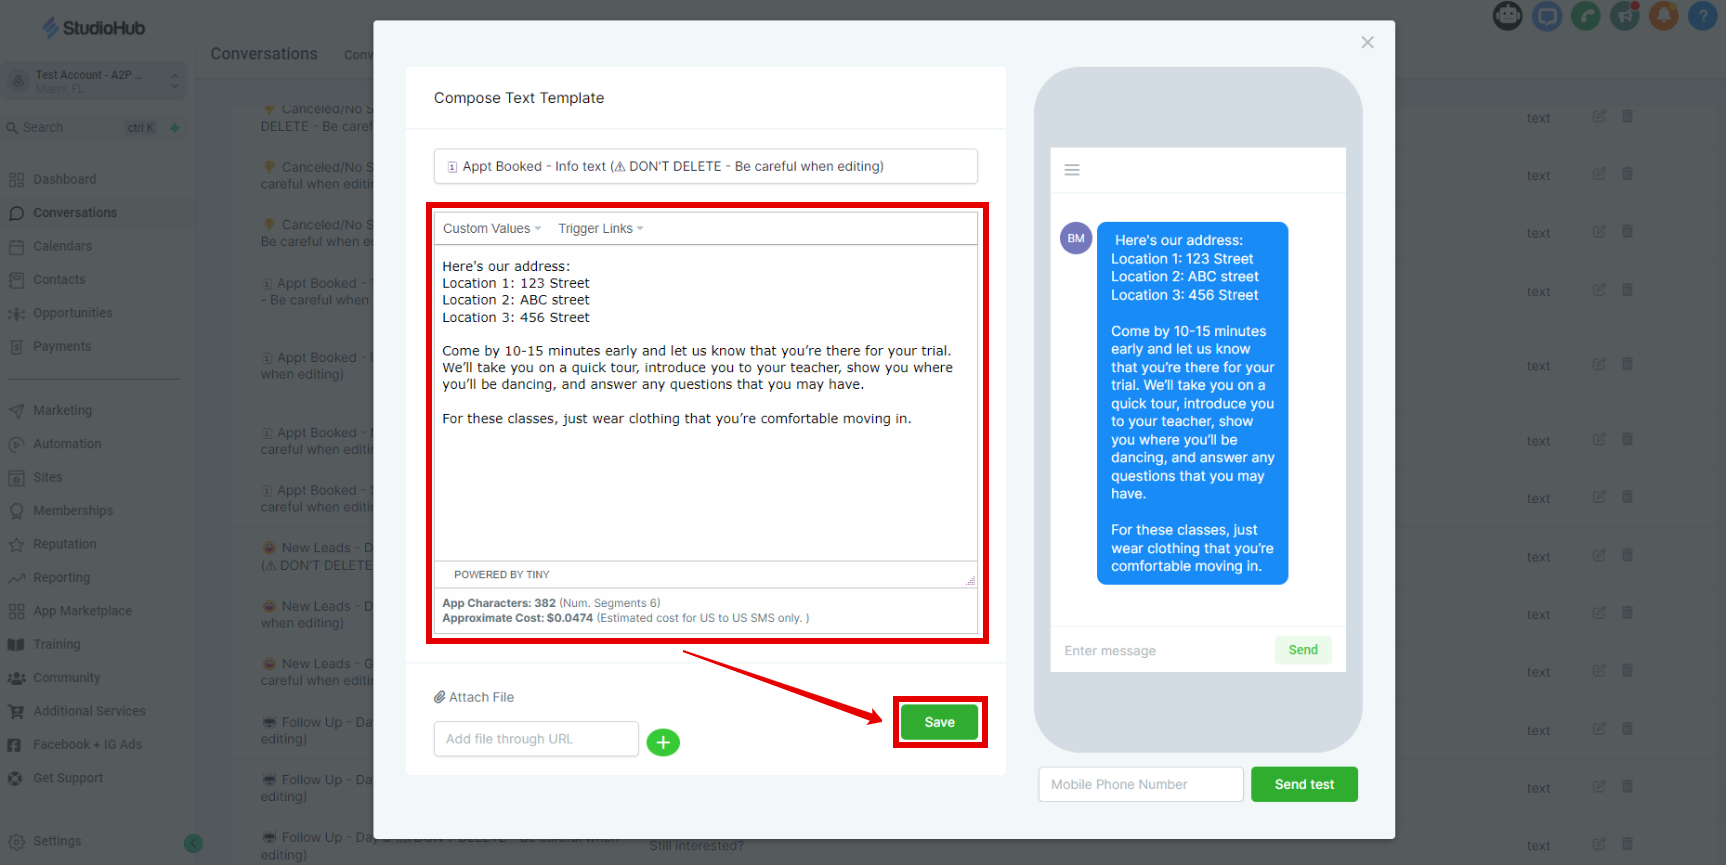
- Scroll down and locate the template named "Appointment Booked 1 Hour Before Reminder". Click the pencil icon to edit the template.

- Edit the message to include all other locations of your studios. Once done click "Save".

Step 3: Update Other Templates:
- Repeat the process for other relevant templates, such as "Appt Booked-Info Text". Click on the "Pencil" edit icon

- Edit the message, and add multiple locations. Once the new locations are added to the message, click on "Save".
- Repeat this same process for the 3rd time for the template "Appt Booked-See You Tomorrow".

- Edit the message, and add other locations. Click "Save" once done

Conclusion
Modifying templates is an easy way to provide clients with multiple location addresses. However, this method may lead to confusion as clients receive all addresses. If you want to streamline the process further and ensure clients receive the correct address based on their booking, consider the Second method: creating new calendars. In the next guide, we'll explore this alternative method in detail.